 Introduction:
Installing a new kitchen faucet can enhance the functionality and aesthetic appeal of your kitchen. While the task may seem intimidating, it is a straightforward process that can be completed with basic tools and some patience. In this comprehensive guide, we will provide step-by-step instructions on how to install a kitchen faucet. By following these simple instructions carefully, you can successfully replace your faucet and enjoy the benefits of a new and improved kitchen fixture.
 Some common materials used for kitchen faucets:
Kitchen faucets are available in a variety of materials, each offering different characteristics, durability, and aesthetic appeal. Here are some common materials used for kitchen faucets:
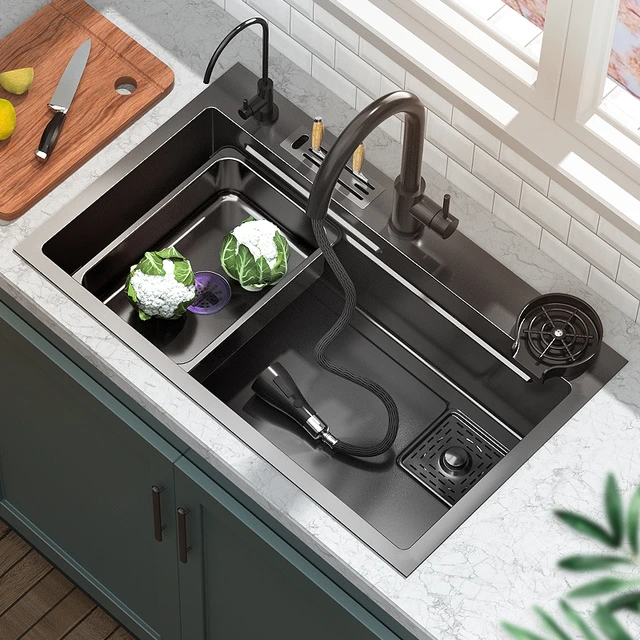
Stainless Steel:
Stainless steel faucets are popular due to their durability, resistance to corrosion, and easy maintenance. They have a sleek and modern look that complements various kitchen styles.
Brass:
Brass faucets are known for their classic and elegant appearance. They can be polished for a shiny finish or left untreated for an aged or antique look. Brass faucets are durable and resistant to corrosion, although they may require occasional polishing to maintain their shine.
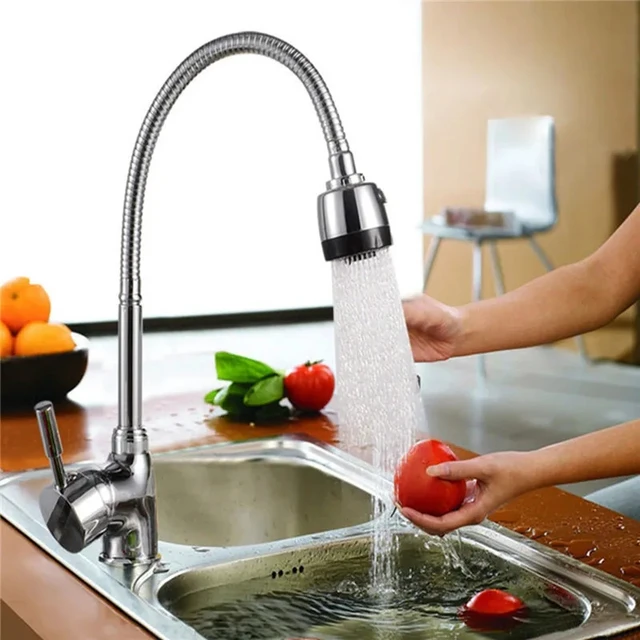
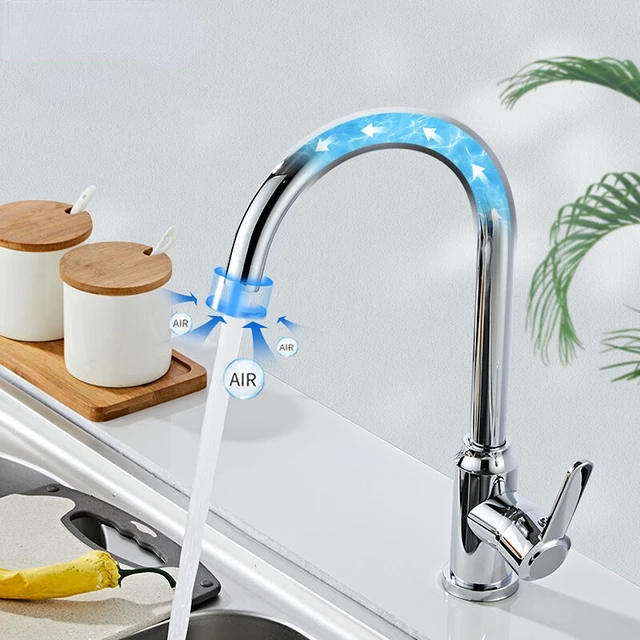
Chrome:
Chrome-plated faucets have a mirror-like, shiny finish that adds a modern touch to the kitchen. Chrome is a highly durable material that resists scratches and tarnishing, making it a popular choice among homeowners.
Bronze:
Faucets made from bronze offer a warm and rustic look to the kitchen. This material is durable, resistant to corrosion, and available in various finishes, such as oil-rubbed bronze or brushed bronze.
Copper:
Copper faucets add a unique and distinctive look to the kitchen with their warm, reddish-brown color. Over time, copper develops a natural patina that adds to its appeal. Copper faucets are durable and antimicrobial, but they require regular maintenance to prevent tarnishing.
Plastic:
Some budget-friendly faucets are made from plastic, often coated with a chrome finish. While plastic faucets may not offer the same durability and longevity as metal options, they can be a cost-effective choice for temporary or low-budget kitchen renovations.
When selecting a kitchen faucet material, consider factors such as durability, maintenance requirements, compatibility with water quality and hardness, and aesthetic preferences. Additionally, choose a reputable brand and ensure the faucet meets quality standards to ensure long-term performance and satisfaction.
 Some common types of kitchen faucets:
There are several types of kitchen faucets available, each with its own features and functionality. Here are some common types of kitchen faucets:
Single-handle faucet:
This type of faucet has one handle that controls both the temperature and flow of water. It offers convenience and ease of use, with the ability to adjust water temperature and flow with one hand.
Double-handle faucet:
Double-handle faucets have separate handles for hot and cold water. They provide more precise control over water temperature but may require two hands to operate.
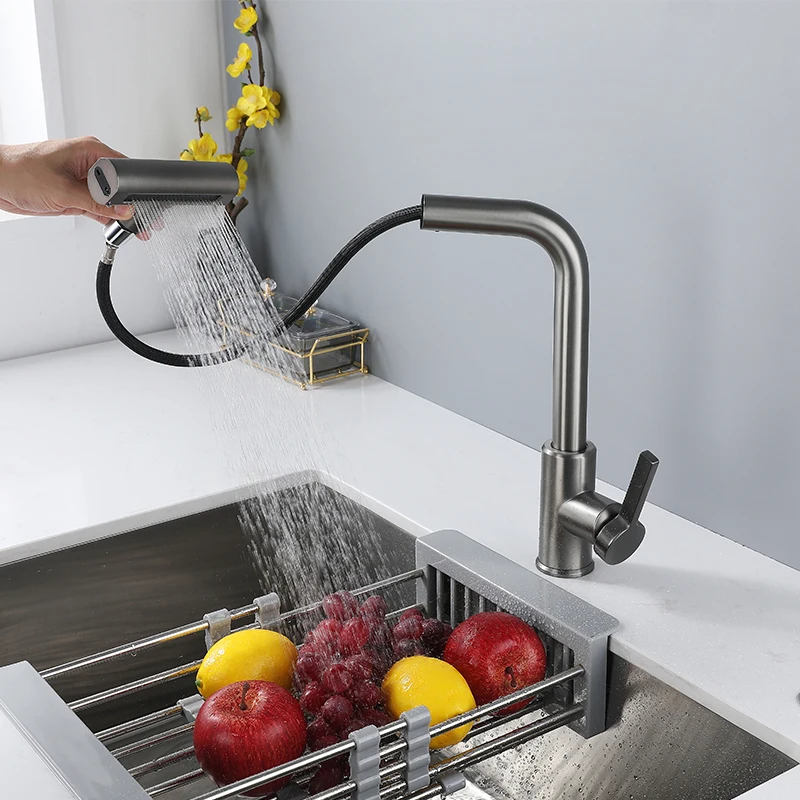
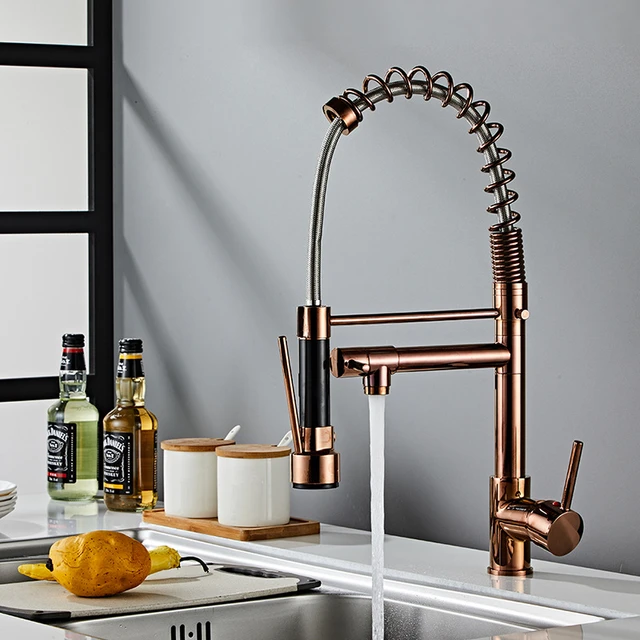
Pull-out faucet:
This type of faucet offers flexibility and convenience for tasks such as rinsing dishes or cleaning the sink.
Pull-down faucet:
Similar to pull-out faucets, pull-down faucets have a spray head that can be pulled down directly towards the sink. This makes filling or washing larger pots and pans easier.
Touchless or motion-sensor faucet:
Touchless faucets use motion sensors to detect hand movements, allowing for hands-free operation. They are hygienic and convenient, as they can be turned on and off without touching the faucet handle.
Wall-mounted faucet:
Wall-mounted faucets are attached to the wall above the sink instead of the countertop. This style offers a sleek and clean look, with the added benefit of more countertop space.
These are just a few examples of the types of kitchen faucets available. When choosing the right faucet for your kitchen, consider factors such as functionality, aesthetic preferences, ease of installation and maintenance, and compatibility with your sink and plumbing setup.
Preparing for Installation
Gather the Necessary Tools and Materials:
Before you begin, gather the tools and materials you will need, including an adjustable wrench, pliers, Teflon tape, a bucket, a cloth or towel, and the new kitchen faucet kit.
Turn Off the Water Supply:
Locate the shut-off valves under the sink and turn them clockwise to shut off the water supply.
Release any remaining water pressure by turning on the faucet and allowing the water to drain.
Removing the Old Faucet
Disconnecting the Water Supply Lines:
Use an adjustable wrench or pliers to loosen and disconnect the water supply lines from the old faucet.
Place a bucket under the connections to catch any remaining water.
Removing the Old Faucet:
Loosen and remove the nuts or mounting screws that secure the old faucet to the sink.
Carefully lift the old faucet off the sink and set it aside.
Installing the New Faucet
Preparing the New Faucet:
Read the manufacturer’s instructions and assemble any necessary parts of the new faucet, including handles, spout, and spray nozzle.
Applying Teflon Tape:
Wrap several layers of Teflon tape around the threaded ends of the faucet where it will connect to the water supply lines.
This tape helps create a watertight seal.
Positioning the New Faucet:
Position the new faucet on the sink, aligning the mounting holes with the holes on the sink.
Ensure the faucet is centered and level before proceeding.
Attaching the New Faucet:
Secure the new faucet to the sink by tightening the nuts or mounting screws.
Be careful not to overtighten, as it may cause damage to the faucet or sink.
 Connecting the Water Supply Lines and Testing
Connecting the Water Supply Lines:
Reconnect the water supply lines to the corresponding hot and cold water connections on the underside of the faucet.
Use an adjustable wrench or pliers to tighten the connections.
Checking for Leaks:
Slowly turn on the shut-off valves to restore the water supply.
Check for any leaks around the connections and make any necessary adjustments or tightenings.
Testing the Faucet:
Turn on the new faucet and check for proper water flow and temperature control.
Ensure the handles and sprayer, if applicable, are functioning as expected.
Cleaning up and Final Steps
Cleaning the Work Area:
Remove any residue or debris from the installation process.
Use a cloth or towel to wipe the sink and surrounding area clean.
Completing the Installation:
Follow any additional steps outlined in the manufacturer’s instructions for your specific faucet model.
This may include attaching a deck plate or connecting any additional accessories.
 Conclusion:
By turning off the water supply, removing the old faucet, and installing the new faucet correctly, you can successfully upgrade your kitchen fixture. Remember to check for leaks, properly connect the water supply lines, and test the functionality of the faucet after installation. With a new kitchen faucet in place, you can enjoy improved water flow, functionality, and update the look of your kitchen.