 Introduction:
Replacing a kitchen sink can be a daunting task for many homeowners. However, with the right tools, preparation, and following a step-by-step guide, it is a manageable DIY project that can dramatically improve the look and functionality of your kitchen. In this article, we will provide a simple guide on how to replace your kitchen sink, helping you upgrade your kitchen with ease.
 Matching kitchen sinks and faucets:
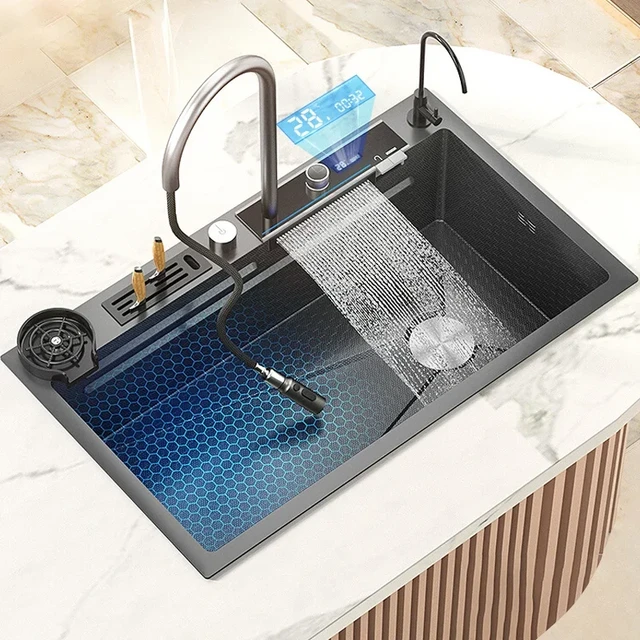
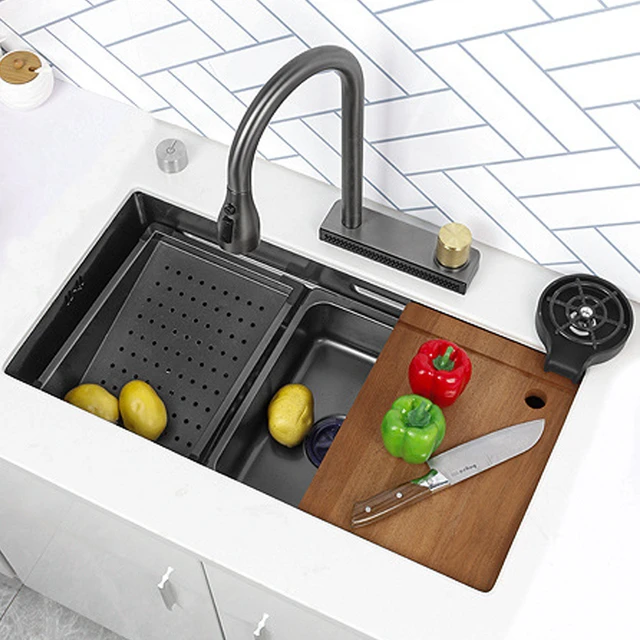
Matching kitchen sinks and faucets is an important aspect of kitchen design. Here are some considerations for pairing kitchen sinks and faucets:
Size and configuration:
Ensure that the faucet is compatible with the size and configuration of the sink. For example, a larger sink may require a faucet with a longer spout reach to adequately cover the sink area.
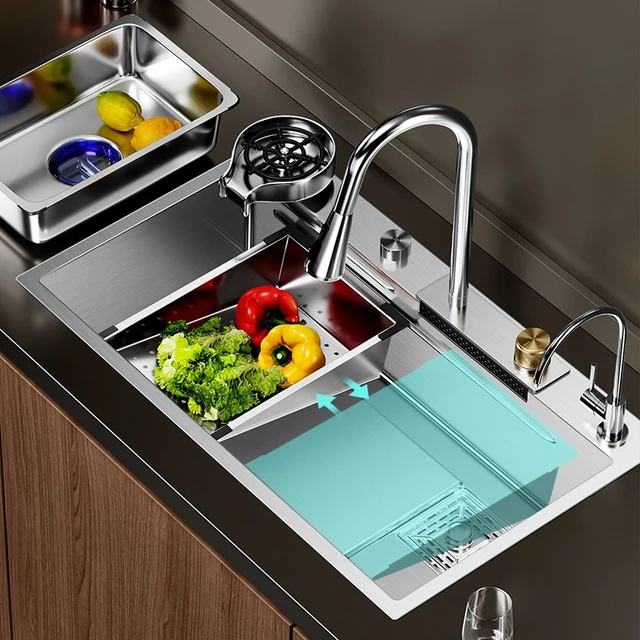
Mounting style:
Consider the mounting style of the faucet and how it aligns with the sink. Top-mount sinks typically pair well with faucets that are installed on the countertop, while undermount sinks go well with wall-mounted or deck-mounted faucets.
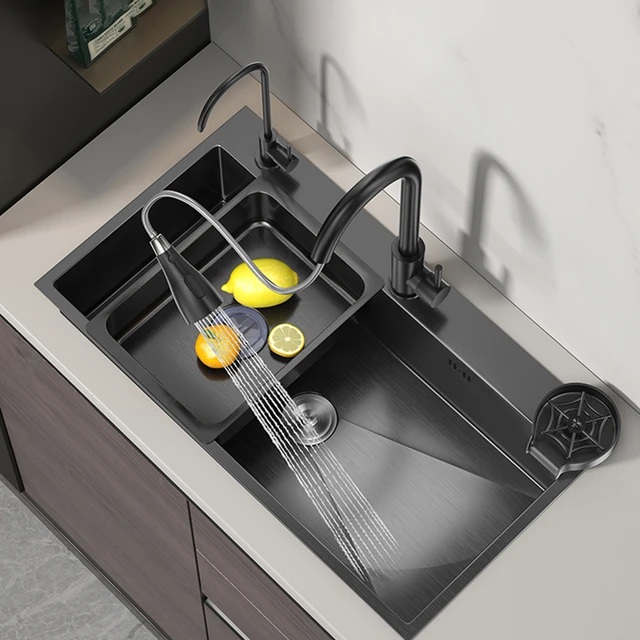
Design and style:
Coordinate the design and style of the sink and faucet to create a cohesive look in your kitchen. Match the overall aesthetic, whether it’s modern, traditional, farmhouse, or industrial, to ensure a harmonious appearance.
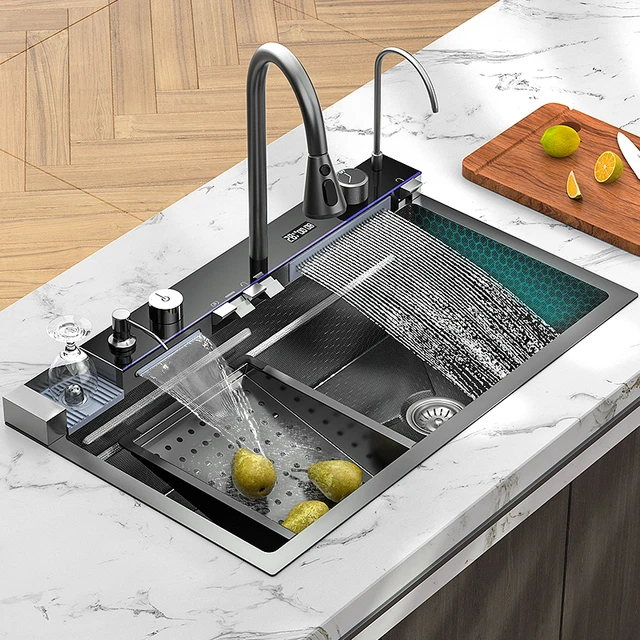
Finish and material:
Choose a faucet finish that complements the sink material and other kitchen fixtures. Popular finishes include stainless steel, chrome, brushed nickel, and oil-rubbed bronze. Ensure that the faucet finish matches or coordinates with the sink material (e.g., stainless steel sink with a stainless steel faucet).
Functionality:
Consider the functionality and features of the faucet. Decide if you want a single-handle or dual-handle faucet, a pull-down or pull-out sprayer, or any additional features like touchless activation or water filtration.
Budget:
Keep your budget in mind when selecting a sink and faucet combination. There are options available at various price points, so find one that fits your budget without compromising on quality and style.
It’s important to carefully consider these factors when choosing the combination of kitchen sink and faucet to ensure functionality, durability, and aesthetic appeal in your kitchen.
 Assess the Existing Sink
Before embarking on the replacement process, it is crucial to assess the existing sink and plan accordingly.
Evaluate the Sink Type: Take note of the current sink type, whether it is a top-mount (drop-in) sink or an undermount sink. This will determine the steps needed for removal and installation.
Measure the Sink: Measure the dimensions of the sink, including its length, width, and depth. This will help ensure that the new sink fits properly in the existing space.
Identify Plumbing Connections: Familiarize yourself with the plumbing connections that are currently in place and note how they are connected to the sink.
Gather the Necessary Tools and Materials
To complete the replacement process efficiently, gather the required tools and materials beforehand.
Basic Tools: Prepare a set of basic tools, including adjustable wrenches, screwdrivers, pliers, and a utility knife.
Plumbing Supplies: Have plumbing supplies on hand, such as Teflon tape, plumber’s putty, and PVC cement, for any necessary repairs or adjustments.
New Sink: Purchase a new sink that fits your desired style and meets the measurements of the existing sink.
Prepare for Sink Removal
To remove the existing sink, a few initial steps are necessary to disconnect the plumbing connections.
Shut Off the Water: Locate the water shut-off valves beneath the sink and turn them off to stop the water supply.
Disconnect the Supply Lines: Use adjustable wrenches to loosen and disconnect the water supply lines from the faucet connections. Remember to place a bucket or towel underneath to catch any water that may drip out.
Remove the Drainpipe: Unscrew the nuts connecting the drainpipe to the sink’s tailpiece. Check for any additional screws or fasteners, and remove them if necessary.
Remove the Existing Sink
With the plumbing connections disconnected, it is time to remove the old sink from its countertop or cabinet.
Release the Sink Mounting Clips: If the sink is top-mounted, locate the mounting clips underneath the sink and loosen them with a screwdriver or pliers.
Cut Through Adhesive: For undermount sinks, use a utility knife to cut through any caulking or adhesive holding the sink in place.
Lift and Remove the Sink: Carefully lift the sink out of its position, ensuring that it does not damage the surrounding countertop or cabinets.
Prepare for New Sink Installation
With the old sink removed, it is important to properly prepare the area for the installation of the new sink.
Clean the Area: Thoroughly clean the countertop or cabinet where the new sink will be installed, removing any debris, adhesive residue, or old caulk.
Install Sink Clips (For Top-Mount Sinks): If the new sink is a top-mount style, securely attach the sink clips to the underside of the countertop according to the manufacturer’s instructions.
 Install the New Sink
With the preparation complete, it is time to install the new sink into its designated space.
Position and Secure the Sink: Carefully place the new sink into the countertop or cabinet opening, ensuring it aligns properly. For top-mount sinks, tighten the sink clips to secure the sink in place.
Connect Plumbing: Reconnect the water supply lines to the faucet connections and tighten them using adjustable wrenches. Use Teflon tape on the threads for a secure connection.
Attach Drainpipe: Reattach the drainpipe to the sink’s tailpiece and tighten the nuts securely. Apply plumber’s putty if needed to create a watertight seal.
Test and Finish
Once the sink is securely installed, it is important to test for any leaks and add finishing touches.
Check for Leaks: Turn on the water supply and check for any leaks around the faucet connections or drainpipe. Tighten any loose connections if necessary.
Apply Caulking: Use silicone caulk around the edges of the sink to provide a watertight seal and give a finished appearance.
Clean and Enjoy
With the new sink successfully installed, take some time to clean up and enjoy your upgraded kitchen.
Clean the Sink: Give the new sink a thorough cleaning with a mild cleaner to remove any manufacturing residue or fingerprints.
Organize and Decorate: Reorganize the items under the sink and decorate the area to enhance the overall look and functionality of your kitchen.
 Conclusion:
Replacing a kitchen sink may seem like a complex task, but with the right guidance and preparation, it is a manageable DIY project. By following this step-by-step guide, you can confidently tackle the replacement process, upgrading your kitchen and creating a functional and attractive space. Remember to work carefully, consult manufacturer instructions when needed, and seek professional assistance for any complex plumbing or electrical work if necessary. Enjoy your newly installed kitchen sink and the transformed ambiance it brings to your home.