 Introduction:
Redoing kitchen cabinets is a cost-effective way to give your kitchen a fresh and updated look. Whether you want to change the color, refinish the surface, or replace the hardware, redoing kitchen cabinets can transform the entire space. In this comprehensive guide, we will provide a step-by-step approach to help you successfully redo your kitchen cabinets. By following these simple instructions, you can achieve a stunning transformation and breathe new life into your kitchen.
 Introduction to Redoing Kitchen Cabinets
Redoing kitchen cabinets involves updating their appearance, whether through painting, refinishing, or replacing hardware.
A. Budget-Friendly Makeover: Redoing kitchen cabinets is a more affordable option than a full kitchen renovation.
B. Customization: Redoing cabinets allows for personalized design choices that suit your style and preferences.
Different types of kitchen cabinets available:
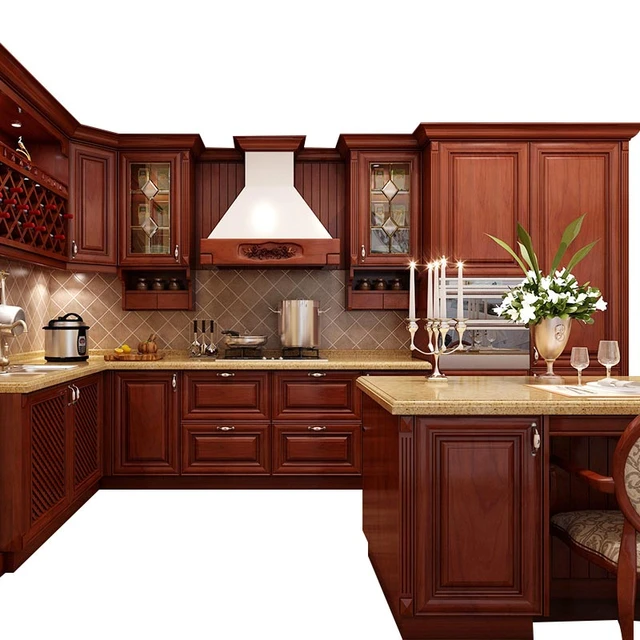
There are different types of kitchen cabinets available, each with its own style, functionality, and placement options. Here are some common types of kitchen cabinets and their typical placement locations:
Base Cabinets:
Base cabinets are the standard cabinets that sit on the floor and provide storage space for larger kitchen items like pots, pans, and small appliances. They are usually placed along the lower level of the kitchen walls and are topped with a countertop.
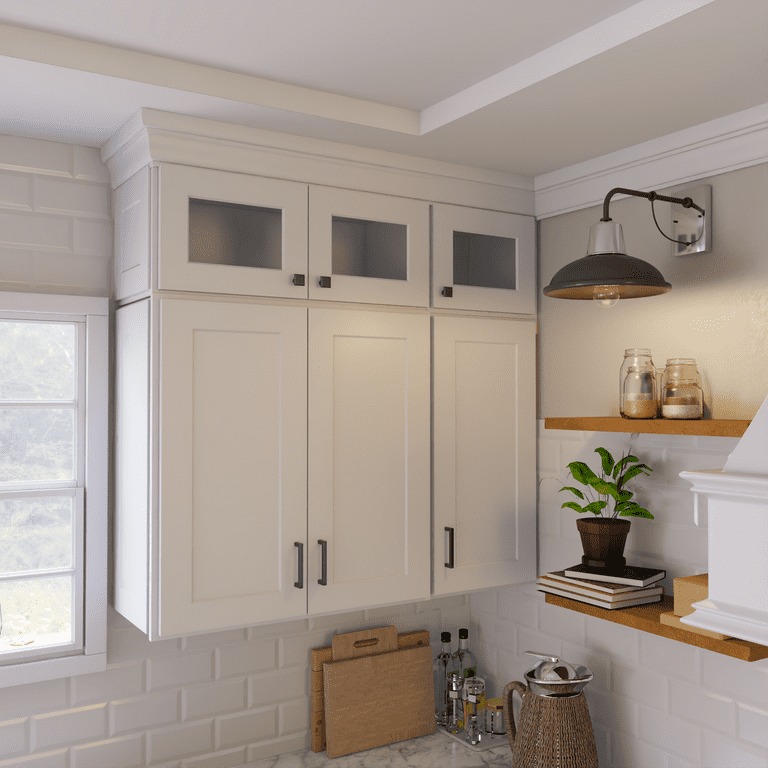
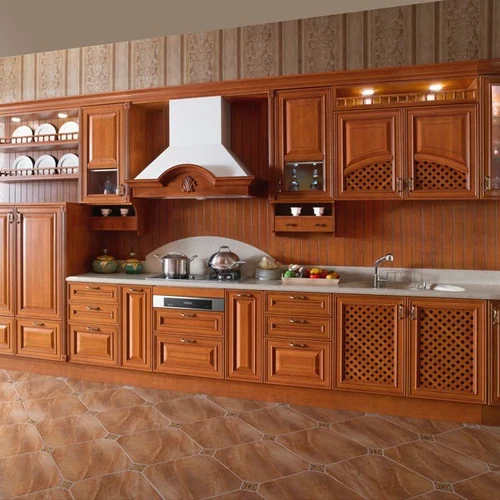
Wall Cabinets:
Wall cabinets are mounted on the walls above the countertop and provide storage for items that are frequently accessed, such as plates, glasses, and mugs. They are typically installed at a height that allows easy reach while standing.
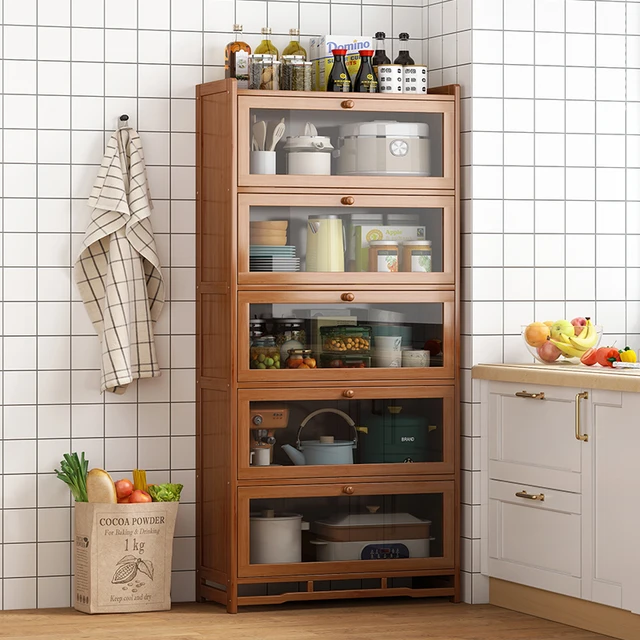
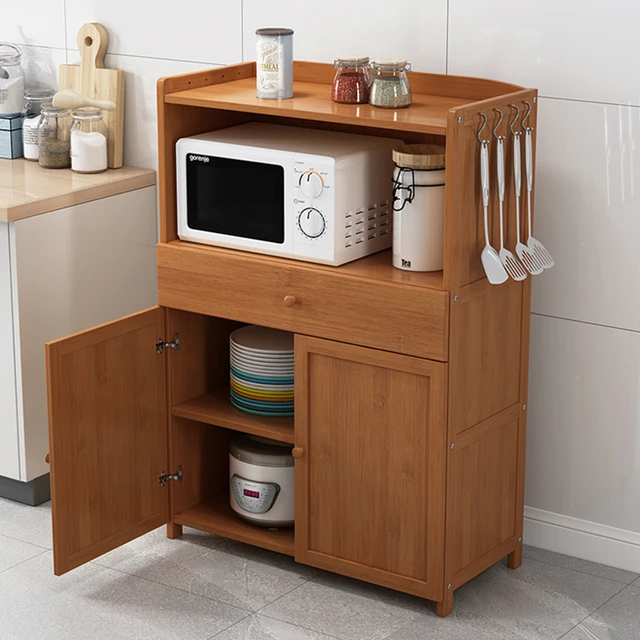
Tall Cabinets:
Tall cabinets, also known as pantry cabinets or utility cabinets, are floor-to-ceiling cabinets that offer extra storage space for food items, cleaning supplies, or kitchen appliances. They are often placed near the refrigerator or in a dedicated pantry area.
Corner Cabinets:
Corner cabinets utilize the space in kitchen corners, which is usually a challenging area to access. They can come in different configurations, such as L-shaped, diagonal, or curved, providing storage solutions for various kitchen items. Corner cabinets can be incorporated into both base cabinets and wall cabinets.
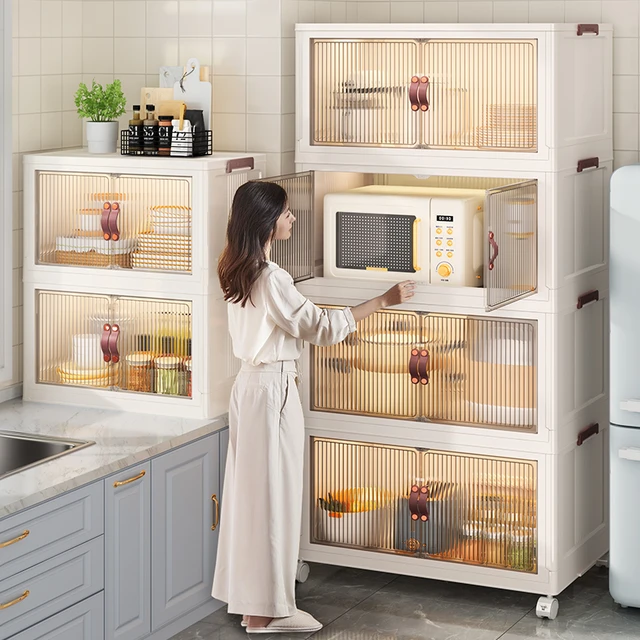
Specialty Cabinets:
Specialty cabinets are designed for specific purposes and often serve as functional or decorative features in the kitchen. Examples include wine racks, plate racks, open shelving, or glass-front cabinets. These cabinets add style and personality to the kitchen while offering unique storage options.
Kitchen Island Cabinets:
Kitchen islands often feature cabinets that provide additional storage space beneath the countertop. Island cabinets can be designed to match the style and functionality of the surrounding cabinetry.
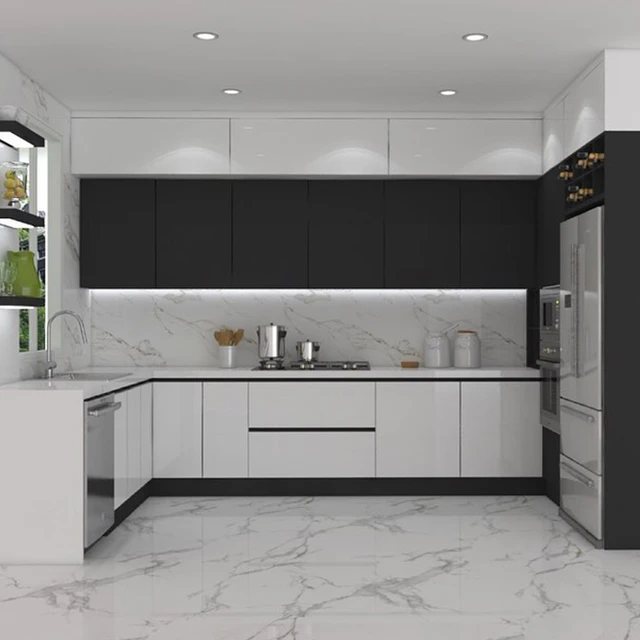
Upper/Lower Cabinets:
Upper and lower cabinets refer to the placement of cabinets along the vertical axis of the kitchen walls. Upper cabinets are mounted above the countertop, while lower cabinets sit beneath it. The specific placement of upper and lower cabinets depends on the kitchen layout and individual preferences.
It’s important to consider the kitchen layout, available space, and individual storage needs when determining the placement and types of cabinets for your kitchen. Customizing the configuration and style of cabinets can optimize storage and create a functional and aesthetically pleasing kitchen design. Consulting with a kitchen designer or professional can help determine the best placement and cabinet options based on your specific requirements.
 Assessing the Cabinets
Before starting the redoing process, assess the condition of your cabinets and determine the changes you want to make.
A. Cabinet Structure: Check the overall stability, quality, and construction of the cabinets.
B. Surface Condition: Assess the current finish, noting any damage, scratches, or peeling paint.
C. Design Changes: Decide on the desired changes, such as changing the color, refinishing the surface, or replacing hardware.
Gathering Materials and Tools
Collect the necessary materials and tools for the cabinet redoing process.
A. Cleaning Supplies: Gather cleaning materials such as mild detergent, water, and a sponge or cloth.
B. Sandpaper and Sanding Block: Depending on the current finish, select the appropriate grit sandpaper and sanding block for surface preparation.
C. Paint, Stain, or Varnish: Choose the desired paint, stain, or varnish based on the finish and color you want to achieve.
D. Paintbrushes or Roller: Use paintbrushes or a paint roller for applying the chosen finish.
E. Screwdriver: Have a screwdriver on hand for removing and installing cabinet hardware.
Preparing the Cabinets
Properly preparing the cabinets is essential for a smooth and successful redoing process.
A. Remove Cabinet Doors and Hardware: Use a screwdriver to remove cabinet doors, drawers, and hardware.
B. Clean the Surfaces: Thoroughly clean the cabinets using mild detergent and water to remove grease, grime, and any residue.
C. Sanding the Surfaces: Lightly sand the cabinet surfaces with sandpaper to create a smooth and even surface for the new finish.
 Applying the New Finish
Once the cabinets are prepared, apply the chosen finish to achieve the desired look.
A. Priming (optional): If using paint, consider applying a primer to enhance adhesion and improve coverage.
B. Painting: Use a paintbrush or roller to apply the paint evenly, following the grain of the wood. Apply multiple coats if necessary, allowing each coat to dry completely before applying the next.
C. Staining or Varnishing: If you prefer a natural wood look, apply the chosen stain or varnish according to the manufacturer’s instructions.
Installing New Hardware
Replacing cabinet hardware can further enhance the updated look of your kitchen cabinets.
A. Measure and Mark: Measure and mark the placement of the new hardware on the cabinet doors and drawers.
B. Drilling Holes: Use a drill with the appropriate bit size to create pilot holes for the new hardware.
C. Installing Hardware: Attach the new hardware to the cabinets using screws and a screwdriver.
Reassembling Cabinets
After completing the finishing touches, reassemble the cabinets and put everything back in place.
A. Attach Cabinet Doors: Reattach the cabinet doors using the original hinges or new hinges if desired.
B. Install Drawers: Slide the drawers back into their original positions or adjust the glides as needed.
Final Touches and Cleanup
Complete the redoing process by making any final adjustments and cleaning up the workspace.
A. Adjustments: Make any necessary adjustments to ensure that the cabinet doors and drawers open and close smoothly.
B. Cleanup: Remove any leftover dust or debris and clean the work area.
 Conclusion
Redoing kitchen cabinets is an excellent way to update the look of your kitchen without breaking the bank. By assessing the cabinets, gathering the necessary materials, and properly preparing the surfaces, you can achieve professional-looking results. Applying a new finish, installing new hardware, and reassembling the cabinets will complete the transformation. With this step-by-step guide, you can confidently redo your kitchen cabinets and create a fresh and stylish look for your kitchen.