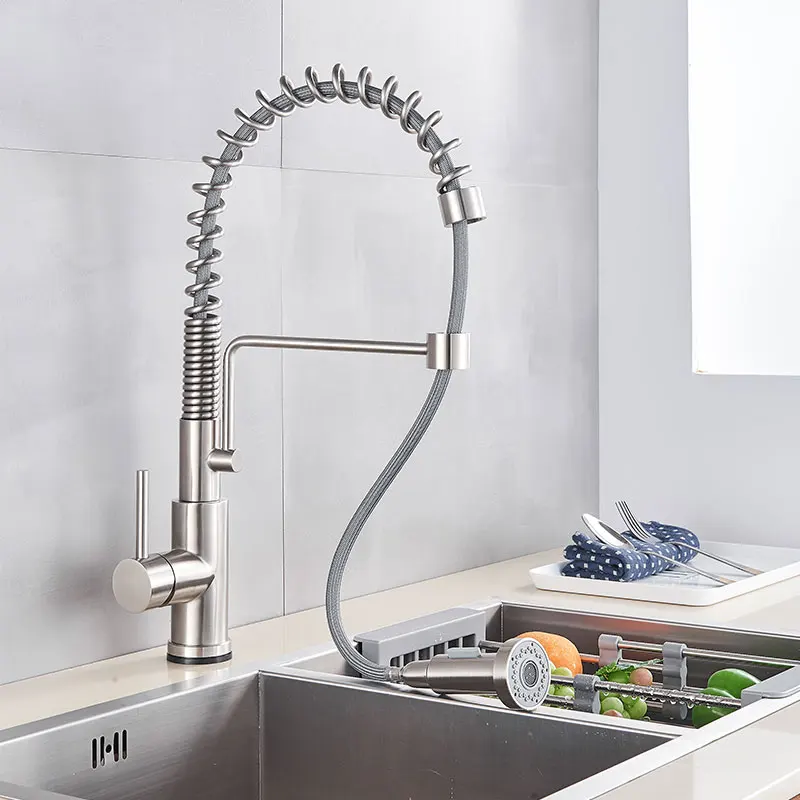
How to fix leaky kitchen faucet single handle
Introduction:
A leaky kitchen faucet is a common household problem that can waste water and increase your utility bills. Fortunately, fixing a leaky single handle kitchen faucet is a task that many homeowners can tackle on their own. This comprehensive guide will walk you through the steps to diagnose and repair the leak, helping you save money and water.
 Understanding Single Handle Kitchen Faucets
Before diving into the repair process, it’s essential to understand the basic components and operation of a single handle kitchen faucet.
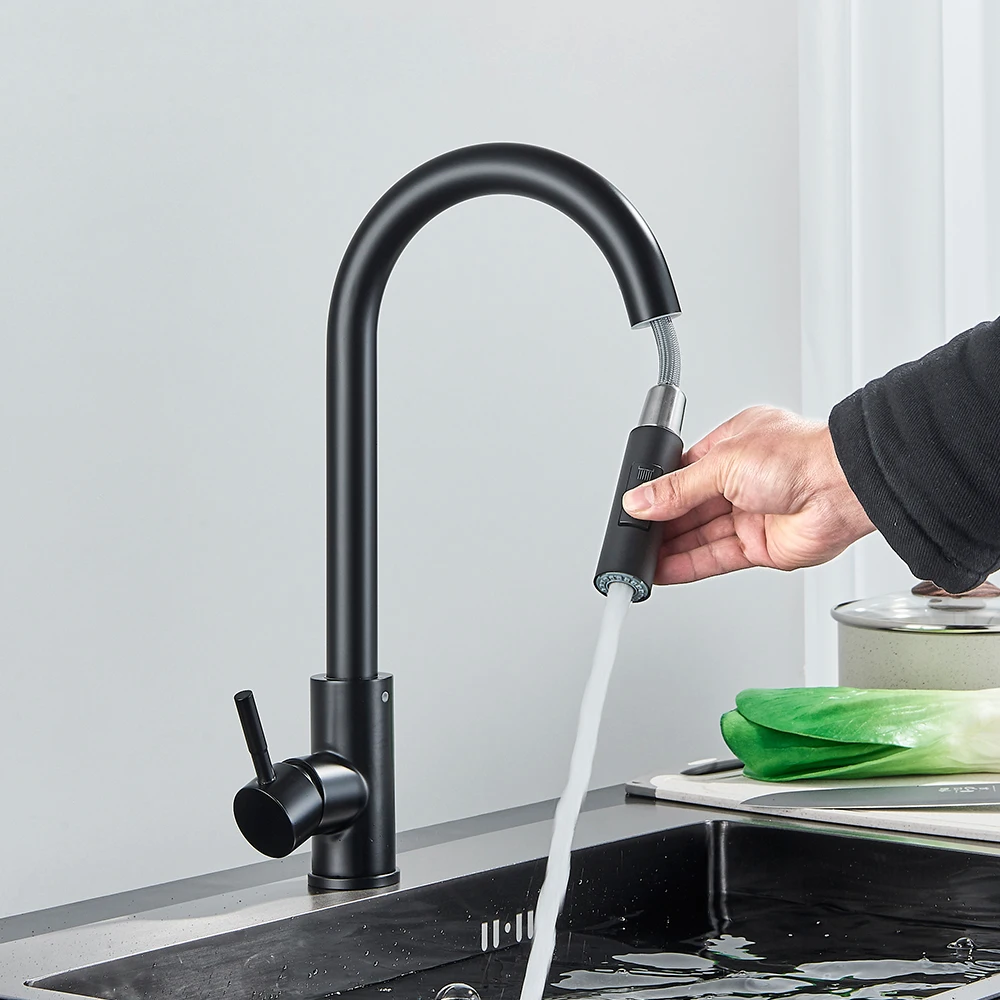
Components of a Single Handle Faucet
Handle: The lever that controls both water flow and temperature.
Spout: The part where water comes out.
Cartridge or Valve: The internal component that regulates water flow and temperature.
O-ring and Seals: Rubber components that prevent water from leaking out of the faucet body.
Aerator: A small screen at the tip of the spout that mixes air with water to reduce splashing and save water.
How It Works
Single handle faucets use a single lever to control both water flow and temperature. When the handle is turned, the cartridge inside the faucet moves to allow water to flow. The cartridge’s position determines the mixture of hot and cold water, providing the desired temperature and flow rate.
Diagnosing the Leak
Before you can fix the leak, you need to determine the source. Common signs of a leaky faucet include water dripping from the spout, water pooling around the base, or water leaking from beneath the handle.
Identifying the Source
Dripping from the Spout: If water leaks from the spout when the faucet is turned off, the issue is likely with the cartridge.
Leak at the Base: If water pools around the base of the faucet or leaks from beneath the handle, the O-rings or seals may be worn out.
Leak under the Sink: If you find water leaking under the sink, the connections between the water supply lines and the faucet may be loose.
Tools and Materials Needed
To fix a leaky single handle kitchen faucet, you’ll need the following tools and materials:
Adjustable wrench
Screwdriver (flathead and Phillips)
Hex key or Allen wrench
Replacement parts (cartridge, O-rings, seals)
Plumber’s grease
Towels or rags
Bucket or container
Step-by-Step Guide to Fixing the Leak
Step 1: Turn Off the Water Supply
Locate the shutoff valves under the sink and turn them off to stop the water flow. If your sink does not have shutoff valves, you’ll need to turn off the main water supply to your home. Turn the faucet handle to the “on” position to release any remaining water in the lines.
Step 2: Cover the Sink Drain
Use a towel or rag to cover the sink drain. This prevents small parts from falling down the drain during the repair.
Step 3: Remove the Handle
Look for a set screw on the faucet handle. It is usually located beneath a decorative cap or at the base of the handle. Use a flathead screwdriver to pry off the cap, if present, and then use a hex key or Allen wrench to remove the set screw. Carefully lift the handle off the faucet.
Step 4: Remove the Cartridge
Under the handle, you will find a retaining nut or collar holding the cartridge in place. Use an adjustable wrench to unscrew and remove the retaining nut. Carefully lift out the cartridge. If the cartridge is stuck, gently wiggle it back and forth to loosen it.
 Step 5: Inspect and Replace the Cartridge
Examine the cartridge for signs of wear or damage. If it appears worn or damaged, replace it with a new one. Make sure to purchase the correct replacement cartridge for your faucet model by referring to the manufacturer’s instructions or taking the old cartridge with you to a hardware store.
Step 6: Replace O-Rings and Seals
Inspect the O-rings and seals around the base of the cartridge and faucet body. If they appear worn or damaged, replace them with new ones. Apply a thin layer of plumber’s grease to the new O-rings and seals before installing them. This helps create a watertight seal and prevents them from drying out.
Step 7: Reassemble the Faucet
Insert the new or cleaned cartridge back into the faucet body, ensuring it is properly aligned. Replace the retaining nut or collar and tighten it with an adjustable wrench. Be careful not to overtighten, as this can damage the faucet components. Reattach the handle and secure it with the set screw. Replace the decorative cap, if present.
Step 8: Turn the Water Supply Back On
Slowly turn the shutoff valves under the sink or the main water supply back on. Check for any leaks around the base of the faucet, handle, and spout. If you notice any leaks, double-check that all parts are properly aligned and tightened.
Step 9: Test the Faucet
Turn the faucet handle to the on position and test both hot and cold water settings. Ensure the water flows smoothly and the leak is resolved. If the leak persists, you may need to re-inspect the cartridge, O-rings, and seals for proper installation.
Maintenance Tips to Prevent Future Leaks
Regular maintenance can help prolong the life of your faucet and prevent future leaks. Here are some tips to keep your faucet in top condition:
Regular Cleaning
Clean the Aerator: Remove the aerator from the spout and clean it regularly to prevent mineral buildup and maintain water flow.
Wipe the Faucet: Use a damp cloth to wipe down the faucet regularly, removing soap scum and mineral deposits.
Check for Wear and Tear
Inspect O-Rings and Seals: Periodically check the O-rings and seals for signs of wear and replace them as needed.
Monitor Water Pressure: High water pressure can cause damage to faucet components. Consider installing a pressure regulator if your home’s water pressure is consistently high.
Perform Routine Inspections
Detect Early Signs: Make it a habit to inspect your faucet for any early signs of leaks, such as water pooling around the base or dripping from the spout.
Address Issues Promptly: Address any issues immediately to prevent them from escalating into more significant problems.
When to Call a Professional
While many homeowners can successfully fix a leaky single handle kitchen faucet, there are situations where calling a professional plumber may be necessary. Consider seeking professional help in the following scenarios:
Complex Repairs
Persistent Leaks: If you’ve replaced the cartridge, O-rings, and seals, and the faucet still leaks, there may be a more complex issue that requires professional expertise.
Broken Components: If you discover broken or damaged components that are beyond your repair capabilities, a professional plumber can properly diagnose and fix the issue.
Lack of Tools or Experience
Specialized Tools Required: If the repair requires specialized tools that you do not have, it may be more cost-effective to hire a professional than to purchase the tools.
Limited Plumbing Experience: If you’re not confident in your plumbing skills or the repair seems too complicated, calling a professional can save you time and prevent potential damage.
 Conclusion
Fixing a leaky single handle kitchen faucet is a manageable task that can save you money on water bills and prevent further damage to your home. By understanding the components and operation of your faucet, diagnosing the leak, and following a step-by-step repair guide, you can successfully resolve the issue.
Regular maintenance, such as cleaning the aerator and inspecting O-rings and seals, can help prevent future leaks and extend the life of your faucet. However, if you encounter complex issues or lack the necessary tools and experience, don’t hesitate to call a professional plumber.
With the information provided in this comprehensive guide, you’re well-equipped to tackle your leaky faucet and keep your kitchen running smoothly. Remember, addressing leaks promptly ensures a functional and efficient plumbing system, contributing to a comfortable and well-maintained home.

