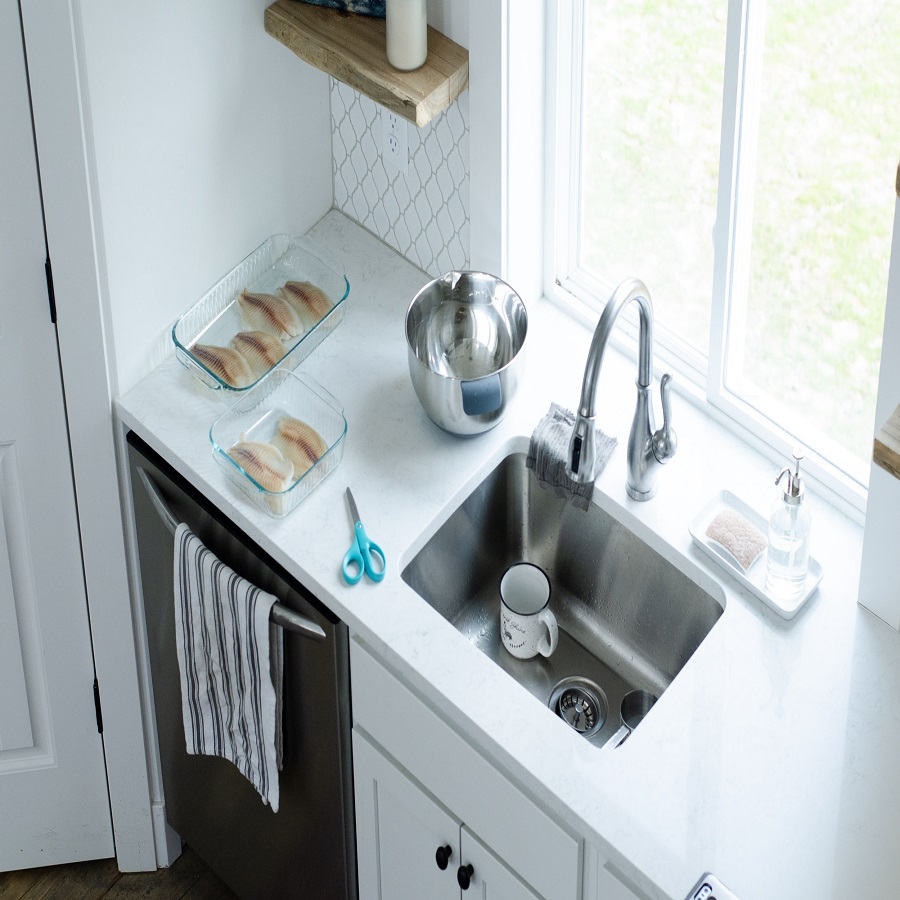
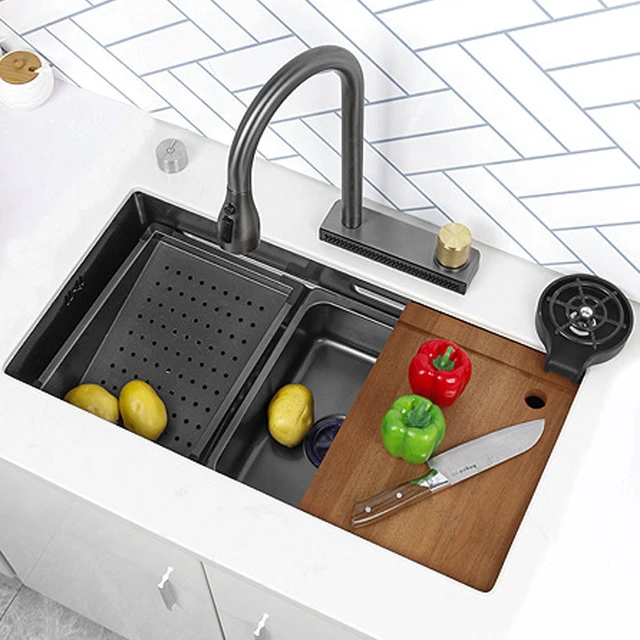
How to remove kitchen sink
Removing a kitchen sink can be a critical step in various home improvement projects, whether you’re replacing an old sink with a new one, updating your countertop, or addressing plumbing issues. While the process might seem daunting, it is entirely manageable with the right tools, preparation, and step-by-step guidance. This comprehensive article will walk you through the entire process of removing a kitchen sink, ensuring you know what to expect and how to tackle each step efficiently.
 Tools and Materials Needed
How to remove kitchen sink
Essential Tools
Wrench: For loosening and tightening nuts.
Screwdriver: To remove screws securing the sink.
Utility Knife: To cut any caulk or sealant around the sink.
Pliers: Helpful for gripping and removing components.
Bucket: To catch any water that may spill during disconnection.
Optional Tools
Plumber’s Putty: May be needed if you’re planning to reinstall or replace your sink.
Silicone Caulk: For sealing edges when reinstalling a sink.
Putty Knife: Useful for scraping off old caulk or sealant.
Rags or Towels: To clean up any spills or debris.
Preparation Before Removal
Ensure Proper Safety
Turn Off Water Supply: Locate and turn off the hot and cold water supply valves under the sink to prevent any water flow.
Disconnect Garbage Disposal: If you have a garbage disposal, turn off its power supply to avoid any accidents.
Clear the Area
Remove Items: Clear out any items stored under the sink to provide sufficient working space.
Position Bucket: Place a bucket under the sink to catch any residual water during the disconnection process.
 Step-by-Step Guide to Removing a Kitchen Sink
Disconnecting Plumbing Connections
Shut Off Water Supply
- Locate Valves: Find the hot and cold water supply valves under the sink.
- Turn Off Valves: Turn off both valves by turning them clockwise until they stop.
- Relieve Pressure: Turn on the faucet to relieve any remaining pressure in the lines.
Disconnect Water Supply Lines
- Use Wrench: Use a wrench to disconnect the water supply lines from the faucet.
- Catch Water: Place a bucket underneath to catch any water that drips out.
Remove Drain Pipes
- Loosen Slip Nuts: Use pliers or a wrench to loosen the slip nuts connecting the drain pipes to the sink’s tailpiece.
- Disconnect P-Trap: Carefully remove the P-trap and drain pipes, placing them in the bucket.
Disconnect Garbage Disposal (If Applicable)
- Turn Off Power: Ensure the power supply to the garbage disposal is turned off.
- Disconnect Wiring: Remove the cover plate and disconnect the wiring.
- Remove Disposal Unit: Loosen the mounting hardware and remove the garbage disposal unit.
Detaching the Sink
Cut Caulk or Sealant
- Use Utility Knife: Run a utility knife around the edge of the sink to cut through any caulk or sealant that is securing it to the countertop.
- Break the Seal: Gently pry the sink to break the seal, being careful not to damage the countertop.
Remove Sink Clips or Brackets
- Locate Clips: Find the sink clips or brackets under the sink that are securing it to the countertop.
- Unscrew Clips: Use a screwdriver to unscrew and remove the clips or brackets.
Lifting Out the Sink
- Check for Obstacles: Ensure all plumbing connections and hardware are fully disconnected.
- Lift Gently: Carefully lift the sink out of the countertop cutout. Get help if the sink is heavy or difficult to lift alone.
Cleaning and Inspecting the Area
How to remove kitchen sink
Remove Residual Caulk and Debris
- Use Putty Knife: Use a putty knife to scrape off any remaining caulk or debris from the countertop.
- Clean Surface: Clean the surface with a damp rag or towel to prepare for any installation or repairs.
Inspect for Damage
- Check Countertop: Inspect the countertop for any damage that may need repair before installing a new sink.
- Check Plumbing: Inspect the plumbing connections for any signs of wear or damage that should be addressed.
 Optional: Preparing for New Sink Installation
Measure and Check Fit
- Check Cutout Dimensions: Measure the countertop cutout to ensure it fits the new sink.
- Dry Fit New Sink: Place the new sink into the cutout to confirm it fits properly before proceeding with installation.
Apply Plumber’s Putty or Silicone Caulk
- Prepare Edges: Apply plumber’s putty or silicone caulk around the edge of the sink cutout to create a watertight seal.
- Position Sink: Place the sink into the cutout and press down firmly to ensure a good seal.
Install Sink Clips or Brackets
- Attach Clips: Secure the sink with clips or brackets provided with your new sink.
- Tighten Screws: Use a screwdriver to tighten the screws and hold the sink in place securely.
Reconnect Plumbing
- Connect Drain Pipes: Reattach the P-trap and drain pipes, ensuring all connections are tight.
- Reconnect Water Supply: Attach the water supply lines to the faucet, using a wrench to ensure tight connections.
- Restore Water Supply: Turn on the water supply valves, check for leaks, and test the faucet.
Tips for Successful Sink Removal and Reinstallation
Take Your Time
Patience: Take your time to disconnect and remove the sink carefully to avoid causing any damage.
Double-Check Connections
Ensure Tight Seals: Double-check all plumbing connections to ensure they are tight and leak-free before using the sink.
Use Proper Tools
Right Tools: Use the appropriate tools for each step to make the process smoother and more efficient.
Seek Help if Needed
Get Assistance: If the sink is heavy or difficult to handle, don’t hesitate to ask for help to prevent injury or damage.
 Troubleshooting Common Issues
Difficulty Removing Sink
Stuck Caulk: If the sink is difficult to remove due to hard caulk, use a utility knife to carefully cut through the seal.
Tight Clips: If the sink clips are tightly secured, use a screwdriver or pliers to get better leverage when removing them.
Leaks After Reinstallation
Check Seals: Ensure all seals are correctly applied with plumber’s putty or silicone caulk.
Tighten Connections: Tighten all plumbing connections and check for leaks by running water through the faucet and checking underneath.
Damaged Countertop
Repair Chips: If the countertop is chipped or damaged, repair it with appropriate materials before installing the new sink to ensure a good fit and seal.
Regular Maintenance Tips for a Newly Installed Sink
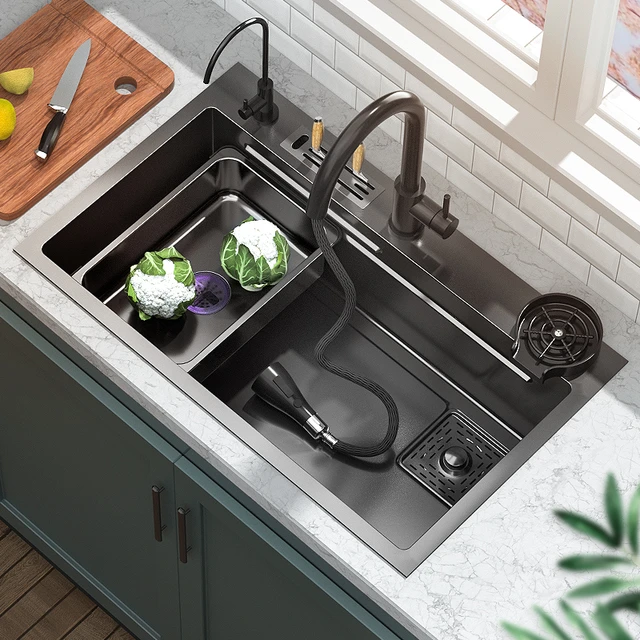
How to remove kitchen sink
Regular Cleaning
Daily Cleaning: Clean the sink daily with mild soap and water to prevent buildup.
Avoid Harsh Chemicals: Use non-abrasive cleaners to avoid damaging the sink surface.
Inspect for Leaks
Monthly Checks: Regularly inspect plumbing connections for any signs of leaks and address them immediately.
Replace Seals: Periodically check and replace seals if they show signs of wear to prevent leaks.
Maintain Drain and Garbage Disposal
Clean Routine: Regularly clean the drain and garbage disposal to prevent clogs and maintain smooth operation.
Flush with Hot Water: Periodically flush the drain with hot water to remove any grease buildup.
 Conclusion
Removing a kitchen sink is an important step in various home improvement projects and can be managed efficiently with the right preparation, tools, and guidance. By following this comprehensive step-by-step guide, you can ensure the removal process is smooth and successful. Properly disconnecting plumbing connections, safely detaching the sink, and preparing the area for any further installation or repair work will help you complete your project effectively. With careful attention to detail and patience, you’ll find that removing and replacing a kitchen sink is a task you can confidently tackle on your own. Happy renovating!