Organizing kitchen drawers might seem like a simple task, but doing it effectively can save you time and make cooking more enjoyable. An organized drawer system reduces stress and helps you know where everything is. In this article, we will explore various methods to organize kitchen drawers, offering practical tips and tricks.
 Why Organize Kitchen Drawers?
Before diving into the details, let us understand why organizing your kitchen drawers is essential.
1. Saves Time
An organized kitchen drawer saves time when you’re cooking. You can quickly find the tools and utensils you need without rummaging through clutter.
2. Increases Efficiency
When everything has its place, cooking becomes more efficient. You can focus on your meal preparation rather than searching for a spatula or a measuring cup.
3. Enhances Aesthetics
An organized drawer looks more appealing. It makes your kitchen feel fresh and clean, which can make cooking more enjoyable.
4. Reduces Stress
A cluttered space can increase stress levels. An organized drawer provides peace of mind and creates a calm cooking environment.
Step-by-Step Guide on Organizing Kitchen Drawers
Let us break down the process of organizing your kitchen drawers into manageable steps.
Step 1: Empty the Drawer
1.1. Take Everything Out
Start by emptying the drawer completely. Take every item out and lay it on a flat surface. This step allows you to see everything you have.
1.2. Clean the Drawer
Once the drawer is empty, take a moment to clean it. Wipe down the surfaces with a damp cloth. If there are any stubborn stains, use mild soap and water. Make sure it’s completely dry before putting anything back inside.
 Step 2: Sort Items
2.1. Categorize Your Items
Group similar items together. For example, put all your cutlery in one pile, cooking utensils in another, and measuring tools in another. This makes it easier to see what you have.
2.2. Assess Necessity
Look at each item and ask yourself if you really need it. If you haven’t used something in the past year, consider donating it or throwing it away. This will help reduce clutter.
Step 3: Find the Right Storage Solutions
3.1. Drawer Dividers
Invest in drawer dividers. These can help keep similar items together and provide a neat look. You can find adjustable dividers that fit any drawer size.
3.2. Compartmentalized Organizers
Use compartmentalized organizers for utensils and smaller items. These boxes help separate various tools, making it easy to access what you need.
3.3. Labeling
Consider labeling each section of the drawer. This is helpful, especially in a shared kitchen. Everyone will know where to find things and where to put them back.
Step 4: Organize by Frequency of Use
4.1. Daily Use Items
Place items you use frequently at the front of the drawer. For example, if you use a particular spatula every day, keep it easily accessible.
4.2. Occasional Use Items
Store less frequently used items towards the back of the drawer. For instance, special serving utensils that you only use during holidays can go further back.
 Step 5: Utilize Vertical Space
5.1. Stackable Containers
Consider using stackable containers if your drawer is tall. You can create more levels to store smaller items.
5.2. Magnetic Strips
Magnetic strips are a fun way to store metal utensils or knives. They can be mounted inside the drawer or on nearby walls, freeing up space.
Step 6: Regular Maintenance
6.1. Schedule Check-Ups
Organizing your drawers is not a one-time task. Set a reminder every few months to check and reorganize your kitchen drawers. This will help maintain order.
6.2. Adapt to Changes
As your cooking habits change, so should your organization system. Feel free to adapt the layout and contents of your drawers as needed.
Common Mistakes to Avoid
When organizing your kitchen drawers, avoid these common pitfalls:
1. Not Measuring the Drawer Space
Before buying any organizers, measure your drawer space. This ensures that everything will fit, leaving you with a neat drawer.
2. Keeping Unnecessary Items
Holding onto items that you rarely use adds to clutter. Be realistic about what you need in your kitchen.
3. Overcrowding the Drawer
Avoid cramming too many items into one drawer. It can create chaos, making it hard to find what you need.
4. Neglecting the Process
It’s easy to forget about drawer maintenance. Make it a habit to check on your organization every few months.
 Ideas for Different Drawer Types
While the steps above apply to all kitchen drawers, different types of drawers might need special attention.
Cutlery Drawer
1. Use a Divider
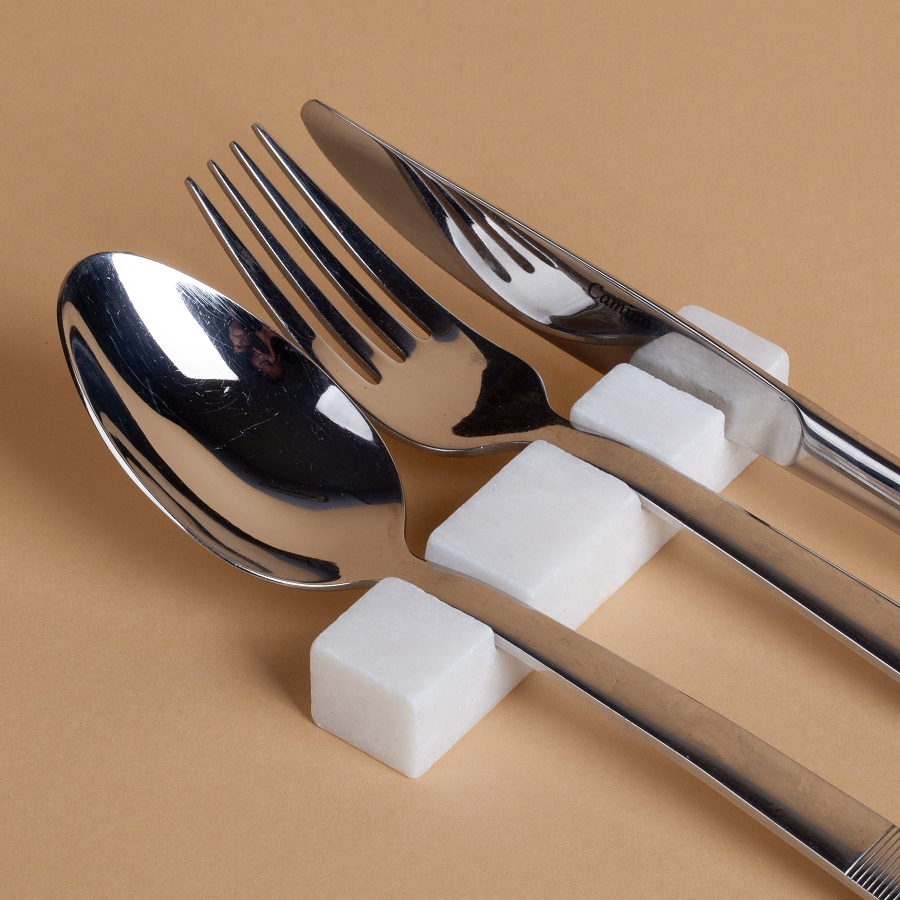
A cutlery drawer typically contains forks, knives, and spoons. Use a divider to keep these items separate.
2. Consider Fork and Spoon Size
Sometimes, it’s better to have separate sections for small forks and larger serving utensils.
Utensil Drawer
1. Use a Sub-Organizer
Consider a smaller organizer within the drawer for items like spatulas, ladles, and whisks.
2. Vertical Storage
Incorporate a vertical element for long utensils. This will make them easier to see and grab.
Spice Drawer
1. Container Choices
Choose uniform containers for your spices. This creates a neat appearance and makes them easier to see.
2. Labeling
Label each container with the spice name. This will save you from confusion when cooking.
Miscellaneous Drawer
1. Categorize
For a miscellaneous drawer that may have a bit of everything, categorize into small groups.
2. Use Ziploc Bags
Bags can neatly contain smaller items like batteries, takeout menus, and matches.
 The trend for kitchen drawers:
How to organize kitchen drawers
The trend for kitchen drawers has evolved significantly over recent years. Here are some popular trends:
Deep Drawers: These allow for better storage and organization of pots, pans, and other large items, making them more accessible.
Pull-Out Pantry Drawers: These are becoming increasingly popular in smaller kitchens as they maximize storage space while keeping items organized.
Customized Dividers: Adjustable dividers help keep utensils and tools neatly organized, allowing for personalized organization.
Soft-Close Mechanisms: This feature provides a smoother, quieter closing experience and is a preferred choice for modern kitchens.
Integrated Lighting: LED lighting inside drawers is gaining traction, enhancing visibility and adding a touch of luxury.
Eco-Friendly Materials: Sustainable materials are becoming more common as consumers seek environmentally responsible choices.
Technology Integration: Smart drawers with built-in charging ports or electronic locks are emerging in high-tech kitchen designs.
These trends reflect a focus on functionality, organization, and modern aesthetics, catering to both practicality and style in kitchen design.
Consider the following tips
When using kitchen drawers, consider the following tips for safety and efficiency:
Organize Contents: Keep similar items together to make finding things easier. Use dividers or small bins to maximize space.
Avoid Overloading: Don’t overload drawers with heavy items, as this can cause them to break or become difficult to open.
Keep It Clean: Regularly clean out your drawers to remove crumbs, spills, or clutter that can accumulate over time.
Check for Wear: Inspect the drawer slides and hardware periodically for signs of wear or damage to ensure smooth operation.
Label Items: For easy access, label drawers or bins, especially if they contain frequently used tools or utensils.
Use Drawer Mats: Consider using non-slip mats to keep items from sliding around when opening or closing the drawer.
Practice Safe Stacking: When stacking items, place heavier items at the bottom to prevent them from falling and causing injury.
By following these guidelines, you can maintain a safe and effective kitchen space.
Conclusion
How to organize kitchen drawers
Organizing kitchen drawers involves thoughtful planning and regular maintenance. By following the steps above, you can create a functional and enjoyable kitchen environment. Remember to continuously adjust your organization based on your needs. An organized kitchen not only saves time but also reduces stress and enhances your cooking experience.
Start today—your kitchen will thank you!


