How to install a single handle kitchen faucet with sprayer
Installing a single handle kitchen faucet with sprayer can seem like a daunting task. However, with the right tools and a clear, step-by-step guide, it can be a straightforward DIY project. In this article, we will walk you through the entire process of installation, from gathering materials to completing the final touches.
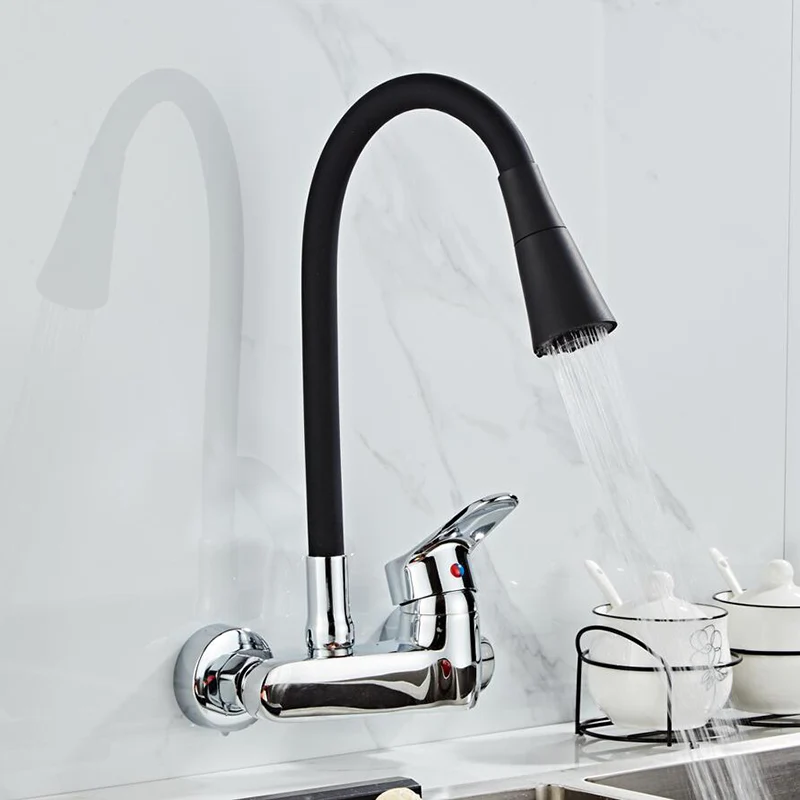 Table of Contents
- Introduction
- Tools and Materials Needed
- 2.1. Essential Tools
- 2.2. Required Materials
- Preparation Before Installation
- 3.1. Turning Off Water Supply
- 3.2. Removing the Old Faucet
- Installing the New Faucet
- 4.1. Assembling the Faucet
- 4.2. Connecting the Water Lines
- 4.3. Securing the Faucet
- Installing the Sprayer
- 5.1. Preparing the Sprayer
- 5.2. Connecting the Sprayer Hose
- Checking for Leaks
- Final Touches
- Conclusion
1. Introduction
The kitchen is often the heart of the home. A functional and stylish kitchen faucet can enhance its overall utility and appearance. A single handle kitchen faucet with a sprayer offers convenience and ease of use. In this guide, we will guide you through the installation process, ensuring that you have all the information you need for a successful project.
2. Tools and Materials Needed
Before diving into the installation process, it is crucial to gather all the required tools and materials. Having everything at hand will make the task smoother and faster.
2.1. Essential Tools
- Adjustable Wrench: Useful for tightening and loosening nuts.
- Screwdriver: A flathead and Phillips screwdriver will cover most needs.
- Plumber’s Tape: Helps seal connections to prevent leaks.
- Bucket: For catching any residual water during the installation.
- Rags: Useful for cleanup.
2.2. Required Materials
- New Kitchen Faucet: Ensure it comes with a sprayer and all necessary parts.
- Water Supply Lines: If needed, purchase new lines compatible with your faucet.
- Mounting Hardware: This should come with your new faucet.
- Sprayer Hose: Often included with the faucet, but double-check.
 The trend for single-handle kitchen faucets with sprayers:
The trend for single-handle kitchen faucets with sprayers has been on the rise due to their combination of functionality and modern design. Here are some key points regarding this trend:
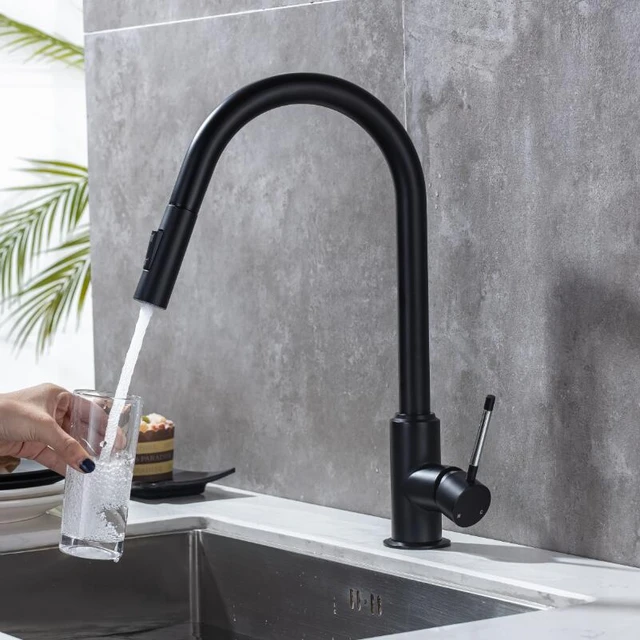
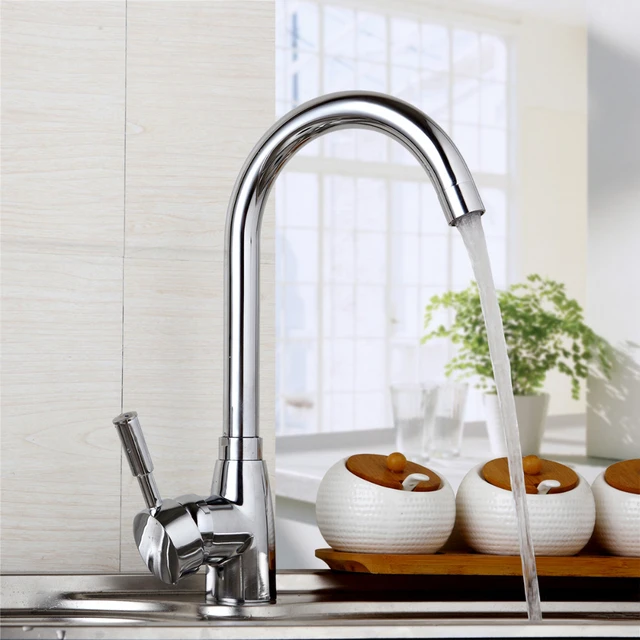
Simplicity and Convenience: Single-handle faucets are appreciated for their ease of use, allowing users to control water temperature and flow with one hand. This feature is particularly appealing in busy kitchen environments.
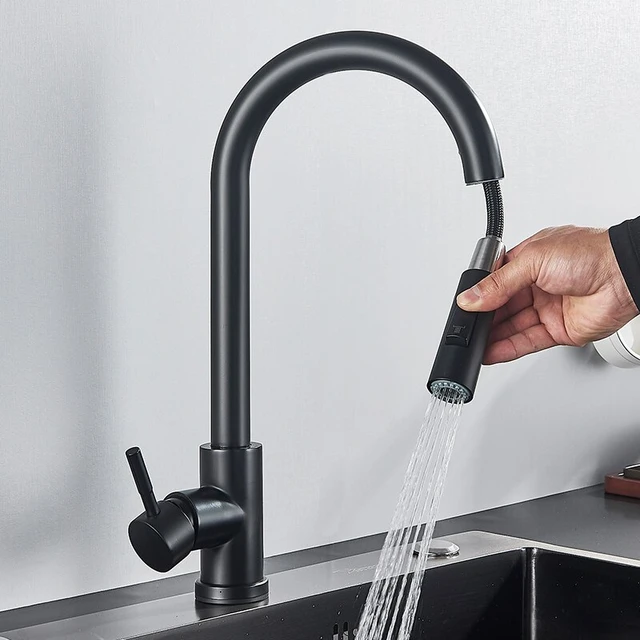
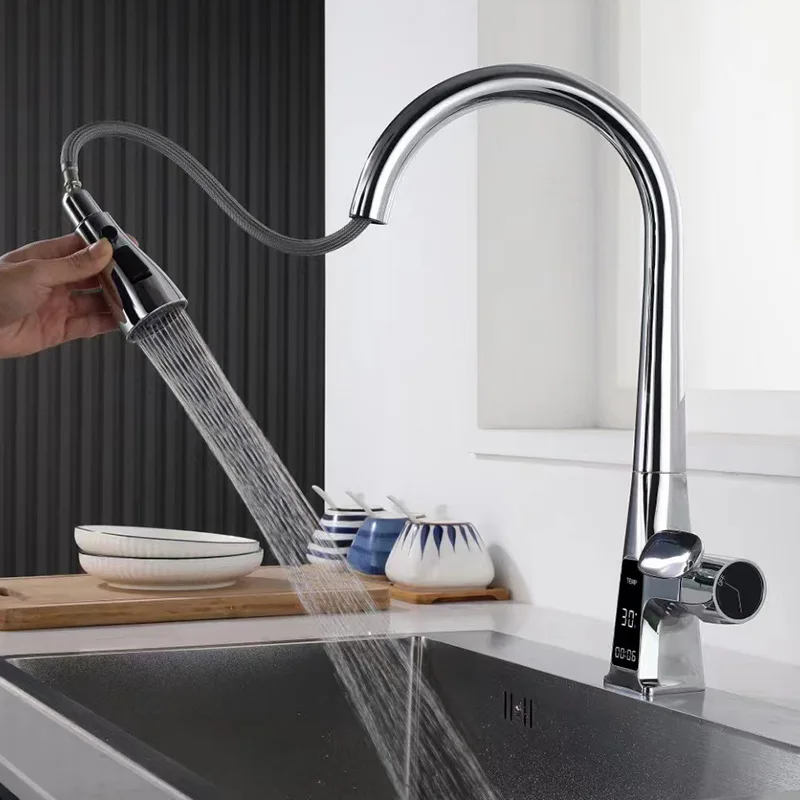
Integrated Sprayers: Many modern designs incorporate pull-down or pull-out sprayers directly into the faucet, offering flexibility for rinsing dishes and filling pots without taking up extra space on the countertop.
Sleek Aesthetics: The minimalist design of single-handle faucets fits well with contemporary kitchen styles. They come in various finishes (like stainless steel, matte black, and brushed nickel) that can complement different kitchen décors.
Smart Technology: Some models now feature touchless activation or voice control, enhancing convenience and promoting water conservation.
Easy Maintenance: With fewer parts than traditional setups, single-handle faucets are often easier to clean and maintain, making them appealing to homeowners.
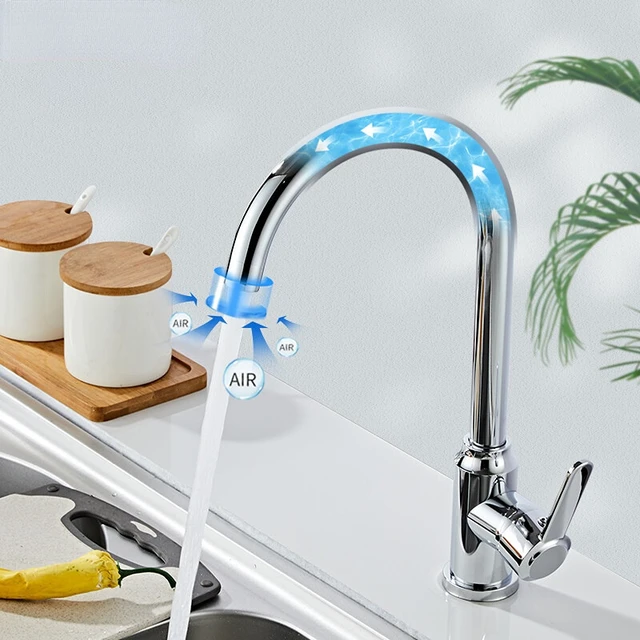
Eco-Friendly Options: Many manufacturers are focusing on water-saving designs, which align with the increasing demand for environmentally friendly home products.
Overall, the trend towards single-handle kitchen faucets with sprayers reflects a preference for practicality, style, and sustainability in modern home design.
 3. Preparation Before Installation
Preparation is key to a successful faucet installation. Follow these steps to ensure you are ready.
3.1. Turning Off Water Supply
Before starting the installation, it is vital that you turn off the water supply to your sink. Locate the shutoff valves under the sink. Turn them clockwise until they are fully closed. If you cannot find them, you may need to turn off the main water supply for your home.
3.2. Removing the Old Faucet
Begin by disconnecting the water supply lines from the old faucet. Use an adjustable wrench to loosen the nuts and remove the lines.
Next, check for any mounting screws holding the faucet in place and remove them. After that, pull the old faucet out from the sink. Make sure to check and remove any old plumber’s tape stuck to the sink’s surface.
4. Installing the New Faucet
Now it’s time to install your new single handle kitchen faucet with sprayer.
4.1. Assembling the Faucet
Follow the manufacturer’s instructions to assemble the faucet. Usually, you will need to attach the baseplate to the faucet. Ensure that all parts fit securely.
4.2. Connecting the Water Lines
After assembling, place the faucet through the hole in your sink. Make sure the sprayer pull-out hose passes through the designated path.
Secure the faucet with the mounting nuts provided. Tighten the nuts with an adjustable wrench, but be careful not to overtighten, which can cause damage.
Next, connect the water supply lines to the designated hot and cold inlets on the faucet. Ensure that you use plumber’s tape on the threads of the connections to prevent leaks.
4.3. Securing the Faucet
Once the water lines are connected, double-check all fasteners to make sure everything is tight. If your faucet has additional mounting hardware under the sink to secure it further, don’t forget to tighten those as well.
 5. Installing the Sprayer
Your new faucet comes with a sprayer, which you can use for various kitchen tasks.
5.1. Preparing the Sprayer
Locate the sprayer and its hose. Feed the hose through the designated hole in the sink or countertop, usually next to the main faucet.
5.2. Connecting the Sprayer Hose
Next, connect the sprayer hose to the faucet. Depending on the model, this may involve screwing the hose onto a fitting or simply pushing it into place until it clicks.
If your faucet has a diverter, ensure that it is correctly positioned to allow for smooth switching between the faucet and sprayer.
6. Checking for Leaks
After completing the installation, it’s crucial to check for leaks. Turn on the water supply by reversing the steps you took to turn it off.
Open the faucet handle and let the water run for a minute. As you do this, observe all the connection points carefully.
If you notice any leaks, turn off the water supply again and tighten the connections as needed. Sometimes, simply adjusting the position of the hose or tightening a nut will resolve the issue.
7. Final Touches
Once you’ve confirmed that there are no leaks, it’s time for some finishing touches. Clean up any excess plumber’s tape or debris left over from the installation process.
If you wish, feel free to wipe down the faucet with a soft cloth to remove any water spots and keep it looking pristine.
Some important considerations:
When considering a Single Handle Kitchen Faucet with Sprayer, here are some important considerations:
Installation: Ensure compatibility with your sink’s configuration. Check if you need additional tools for installation.
Water Pressure: Verify that your home’s water pressure is suitable for the faucet and sprayer to function efficiently.
Material Quality: Look for a faucet made of durable materials like stainless steel or solid brass to prevent rust and corrosion.
Sprayer Functionality: Test the sprayer’s reach and flexibility. A pull-down or pull-out sprayer can provide greater versatility.
Finish: Consider the finish of the faucet (e.g., chrome, matte black) to match your kitchen décor and to resist fingerprints and water spots.
Temperature Control: Make sure the handle provides smooth and precise control over both hot and cold water.
Ease of Cleaning: Choose a design that is easy to clean and maintain, with a finish that resists tarnish.
Warranty: Look for a manufacturer’s warranty or guarantee to ensure support in case of defects or issues.
Lead Compliance: Ensure the faucet meets lead-free standards for safe drinking water.
Style and Design: Pick a design that complements your kitchen aesthetics while providing functional benefits.
By keeping these considerations in mind, you can select a Single Handle Kitchen Faucet with Sprayer that meets both your functional and aesthetic needs.
 8. Conclusion
Installing a single handle kitchen faucet with a sprayer is a manageable task that can greatly improve your kitchen’s functionality. By gathering the right tools, carefully following the steps outlined in this guide, and checking for leaks, you can successfully replace your kitchen faucet.
Hopefully, this guide has made the process clear and straightforward. With your new faucet in place, you’ll be ready to enjoy its convenience and enhance your kitchen experience. Happy DIYing!
In conclusion, don’t forget that if you encounter any issues or feel uncertain at any point in the process, consulting a professional plumber is always a wise choice. Enjoy your new kitchen faucet!