How to fix kitchen sink leak
A leaky kitchen sink can be a real nuisance. It can waste water, damage cabinets, and even lead to mold growth. But don’t fret! Fixing a kitchen sink leak is often a straightforward task that even novice DIYers can handle. This comprehensive guide will equip you with the knowledge and tools to effectively identify and repair common kitchen sink leaks.
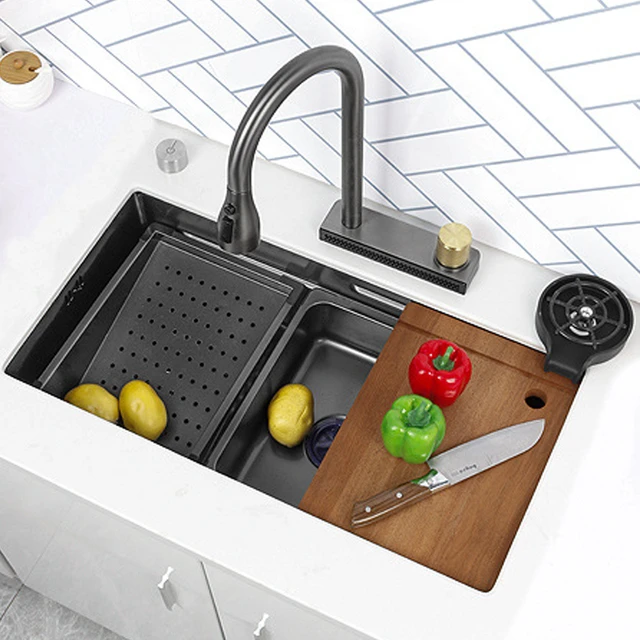
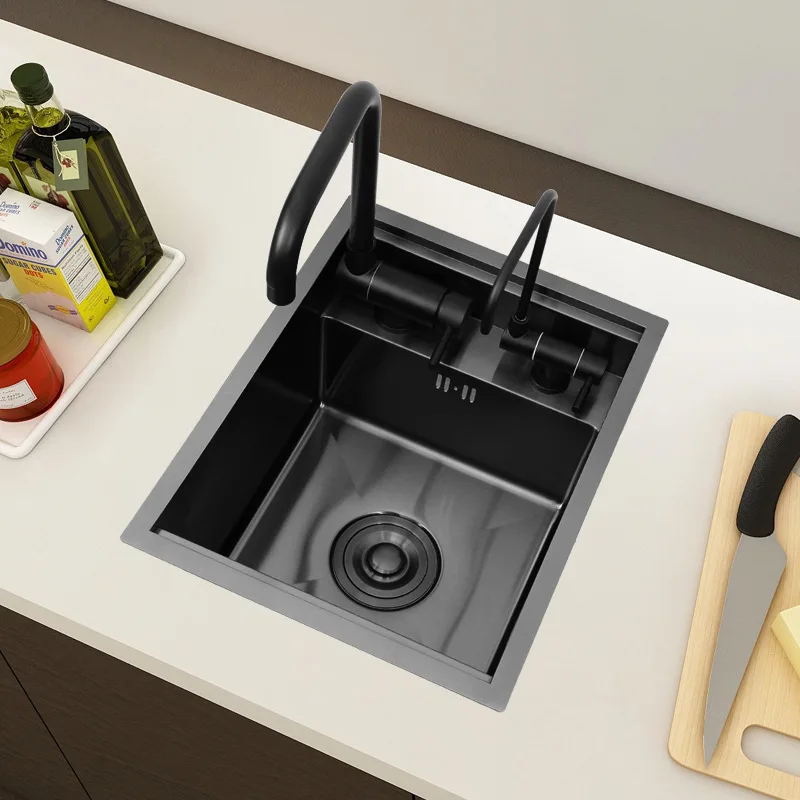
 Understanding the Anatomy of a Kitchen Sink-How to fix kitchen sink leak
Before diving into leak fixes, it’s essential to understand the components that make up a typical kitchen sink:
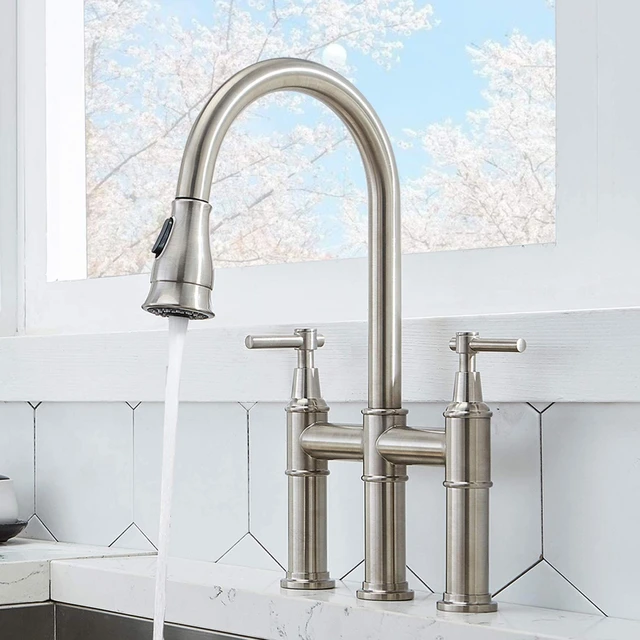
- Faucet: The most common source of leaks, the faucet comprises the spout, handles, and internal components like cartridges, O-rings, and washers.
- Drain: This system collects and carries wastewater away. It includes the drain strainer, P-trap (the curved pipe under the sink), and drain pipe.
- Supply Lines: These flexible tubes connect the faucet to the water shut-off valves, delivering water to the sink.
- Water Shut-Off Valves: These valves control the water flow to the sink, located under the sink or on the wall.
Identifying the Source of the Leak
Pinpointing the exact location of the leak is crucial for effective repair. Here’s a step-by-step process:
- Turn Off the Water Supply: Locate the water shut-off valves under the sink or on the wall and turn them off.
- Inspect the Faucet: Carefully examine the faucet for any visible signs of leakage. Look for dripping from the spout, around the handle, or at the base of the faucet.
- Check the Drain: Inspect the drain strainer, P-trap, and drain pipe for any signs of water seepage or corrosion.
- Examine the Supply Lines: Check the flexible supply lines for any cracks, leaks, or signs of wear and tear.
 Addressing Common Kitchen Sink Leaks
Now that you’ve identified the source of the leak, let’s delve into specific solutions for common kitchen sink leak types:
1. Leaky Faucets:
a) Cartridge-Type Faucets:
- Symptom: Dripping from the spout when the handle is closed.
- Solution: Worn-out cartridges are the primary culprit.
- Repair Process:
- Turn off the water supply and remove the handles.
- Remove the old cartridge and replace it with a new one of the same type.
- Reinstall the handles and turn the water supply back on.
b) Compression-Type Faucets:
- Symptom: Constant dripping from the spout when the handle is closed.
- Solution: Worn-out O-rings and washers are often the culprits.
- Repair Process:
- Turn off the water supply and remove the handle.
- Carefully loosen the packing nut and remove the stem.
- Replace the worn-out O-rings and washers with new ones.
- Reassemble the faucet and turn the water supply back on.
c) Ball-Type Faucets:
- Symptom: Water leaking from the base of the spout or around the handle.
- Solution: Worn-out O-rings and seats are usually the issue.
- Repair Process:
- Turn off the water supply and remove the handle.
- Remove the ball and inspect the O-rings and seats for wear.
- Replace worn-out components and reassemble the faucet.
d) Ceramic Disc Faucets:
- Symptom: Dripping from the spout or leaking around the handle.
- Solution: Worn-out ceramic discs or debris trapped within the discs can cause leaks.
- Repair Process:
- Turn off the water supply and remove the handle.
- Inspect the ceramic discs for wear or debris.
- Clean or replace the discs, ensuring they are properly aligned.
- Reassemble the faucet.
2. Leaky Drains:-How to fix kitchen sink leak
a) Drain Strainer:
- Symptom: Water dripping from the strainer or around its base.
- Solution: The strainer gasket might be worn or damaged.
- Repair Process:
- Remove the strainer and check the gasket.
- Replace the gasket with a new one if it’s worn.
- Reinstall the strainer and tighten it securely.
b) P-Trap:
- Symptom: Water leaking from the P-trap joint or from the pipe itself.
- Solution: Corrosion, cracked pipes, or loose connections can cause leaks.
- Repair Process:
- Check for loose nuts or bolts and tighten them.
- If the pipe is cracked, replace the entire P-trap.
- Apply pipe thread sealant to ensure leak-free connections.
c) Drain Pipe:
- Symptom: Water leaking from the drain pipe.
- Solution: Corrosion, cracks, or loose connections can be the culprits.
- Repair Process:
- If it’s a small leak, try using a pipe repair epoxy to seal the crack.
- If the pipe is severely damaged, replace the entire section.
- Apply pipe thread sealant to ensure tight connections.
 3. Leaky Supply Lines:
- Symptom: Water leaking from the supply lines.
- Solution: Cracks, punctures, or worn-out connectors can cause leaks.
- Repair Process:
- Turn off the water supply to the sink.
- If the leak is minor, you can try using a pipe repair epoxy to seal the crack.
- If the supply line is damaged beyond repair, replace it with a new one.
- Ensure the new supply line is properly secured to the faucet and shut-off valves.
4. Water Shut-Off Valve Leaks:
- Symptom: Water dripping from the shut-off valve when it’s closed.
- Solution: Worn-out washers or a faulty valve can cause leaks.
- Repair Process:
- Turn off the main water supply to the house.
- Close the shut-off valve completely.
- Locate the packing nut on the valve and loosen it.
- Replace the worn-out washer with a new one.
- Reassemble the valve and turn the water supply back on.
Essential Tools for Fixing Kitchen Sink Leaks
To tackle kitchen sink leaks effectively, you’ll need the following tools:
- Adjustable Wrench: For tightening and loosening nuts and bolts.
- Channel Lock Pliers: For gripping pipes and fittings.
- Screwdriver: For removing and replacing faucet handles and other components.
- Pipe Wrench: For tightening and loosening large pipes.
- Plumber’s Tape: For sealing threaded pipe connections.
- Pipe Thread Sealant: For creating watertight seals on threaded pipe connections.
- Replacement Parts: Cartridges, O-rings, washers, gaskets, supply lines, P-traps, drain pipes, etc., as needed.
Tips for Preventing Future Kitchen Sink Leaks
Prevention is always better than cure! Here are some tips to help you avoid future kitchen sink leaks:
- Regular Maintenance: Inspect your kitchen sink regularly for any signs of leaks, wear, or damage.
- Tighten Connections: Periodically check and tighten all connections under the sink to ensure they are secure.
- Use Quality Components: When replacing parts, opt for high-quality replacements from reputable manufacturers.
- Avoid Over-Tightening: Avoid over-tightening nuts and bolts, as this can damage the components.
- Protect from Freezing: Insulate the pipes during cold weather to prevent freezing and potential bursting.
 When to Call a Professional Plumber
While most kitchen sink leaks can be repaired by DIYers, some situations warrant calling a professional plumber:
- Major Pipe Damage: If the drain pipe or supply lines are severely damaged, it’s best to leave the repair to a professional.
- Complex Faucet Repairs: If you encounter issues with complex faucet mechanisms, such as cartridge replacement or seat replacement, it’s best to seek expert assistance.
- Recurring Leaks: If you continue to experience leaks after attempting repairs yourself, a plumber can diagnose and address the underlying problem.
- Lack of Confidence: If you are uncomfortable performing the repairs yourself, don’t hesitate to call a professional.
 Conclusion
how to fix kitchen sink leak
A leaky kitchen sink can be a headache, but with the right knowledge and tools, you can fix it efficiently and effectively. By following the steps outlined in this guide, you can identify the source of the leak, understand the repair process, and tackle the problem confidently. Remember, preventative measures like regular maintenance and using quality components can go a long way in preventing future leaks. When in doubt, always consult a professional plumber for assistance.