
Introduction
Removing a Moen kitchen faucet may seem daunting, but with the right tools and clear instructions, you can accomplish this task efficiently. Whether you’re replacing an old faucet, upgrading to a new model, or performing maintenance, this guide provides a thorough overview of the process.
Tools and Materials You’ll Need
Before starting, gather the following tools and materials:
- Adjustable Wrench or Basin Wrench: For loosening and tightening nuts.
- Sponge or Dishcloth: To soak up any remaining water.
- Bucket: To catch dripping water.
- Screwdriver: Usually a Phillips or flat-head, depending on your faucet model.
- Plumber’s Putty or Silicone Caulk: If you’re planning to replace the faucet.
- Flashlight: To see in tight spaces.
Prepare the Area
- Clear the Sink Space: Remove any items from your countertop and sink. This includes dish soaps, sponges, and other items that may obstruct your work.
- Turn Off the Water Supply: Locate the shut-off valves under the sink. Turn them clockwise to shut off the water supply. If you don’t have shut-off valves, turn off the main water supply for your home.
- Open the Faucet: After shutting off the water supply, turn on the faucet to relieve any remaining pressure and to drain any leftover water in the lines.
Disconnect the Water Lines
- Place a Bucket: Position a bucket under the sink to catch any water that may spill out when you disconnect the water lines.
- Disconnect the Hot and Cold Lines: Use an adjustable wrench to loosen the nuts connecting the hot and cold water lines to the faucet. Be cautious as some water may still be trapped in the lines. Remove both lines and set them aside.
Remove the Faucet
- Locate the Mounting Nuts: Underneath the sink, you’ll find mounting nuts securing the faucet to the sink. Depending on your faucet model, there may be one or more nuts.
- Use the Basin Wrench: If the nuts are hard to reach, a basin wrench will make it easier. Turn the nuts counterclockwise to loosen.
- Remove the Faucet: Once the mounting nuts are disconnected, you should be able to lift the faucet out of its mounting hole. If your faucet has a side sprayer, disconnect the hose as well before removing the unit completely.
Clean Up (Optional)
- Remove Old Sealant: If your old faucet was sealed with silicone or plumber’s putty, now is a good time to scrape that off the sink surface with a putty knife or similar tool. This step ensures a smooth surface for your new faucet installation.
- Inspect the Area: Check the sink and the surrounding plumbing for any signs of leaks or damage while you have the space clear.
Step 5: Prepare for New Faucet Installation (If Applicable)
- Install a New Faucet: If you’re replacing the old faucet, follow the manufacturer’s instructions for your new model. Typically, you’ll need to apply plumber’s putty around the base before inserting it into the sink and securing it with mounting nuts.
- Reconnect Water Lines: Attach the hot and cold water supply lines to the new faucet.
- Test for Leaks: After everything is connected, turn on the water supply and check for any leaks. Tighten connections as necessary.
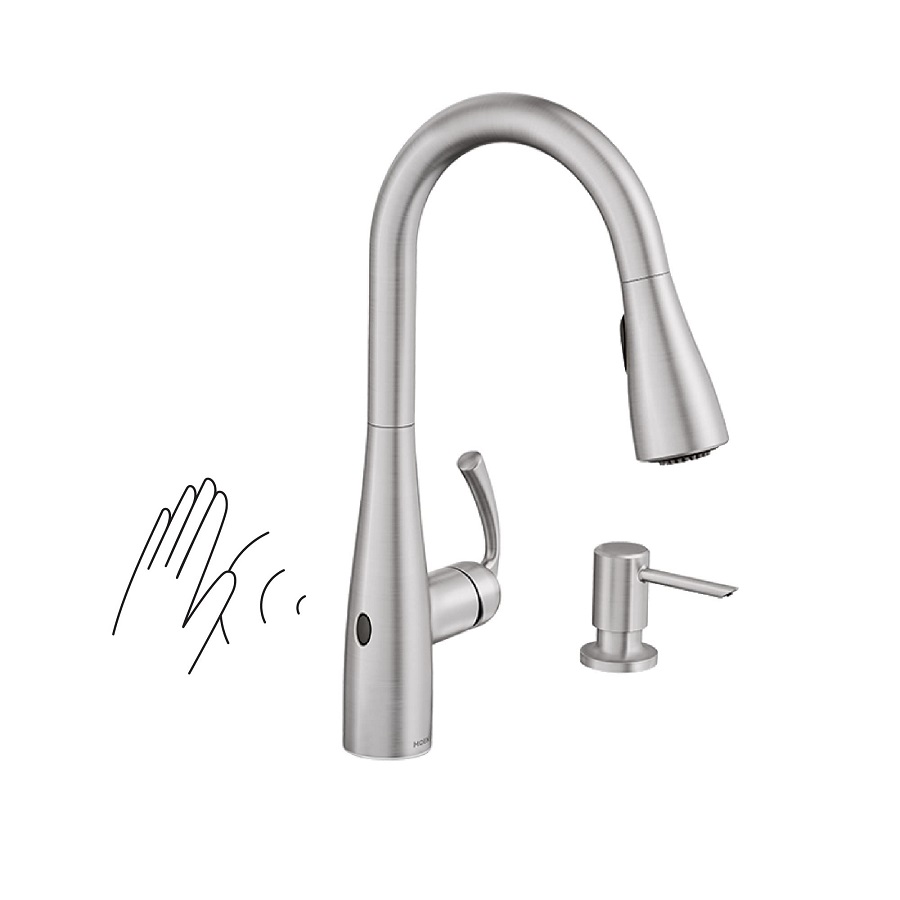
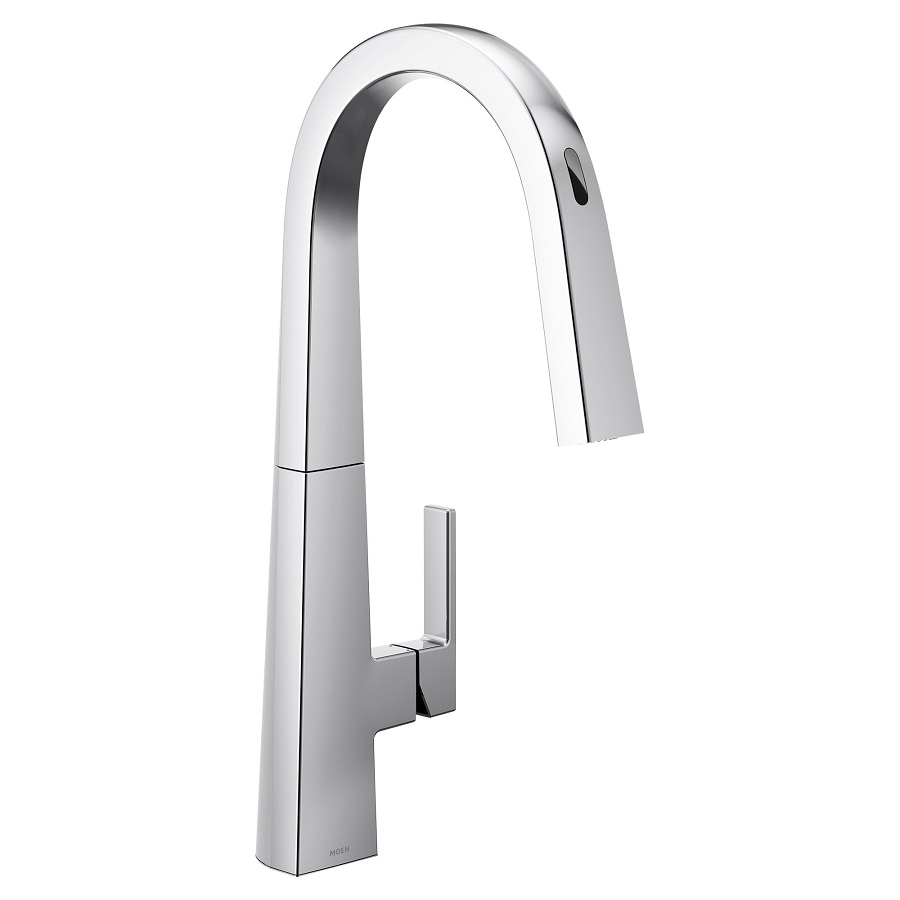
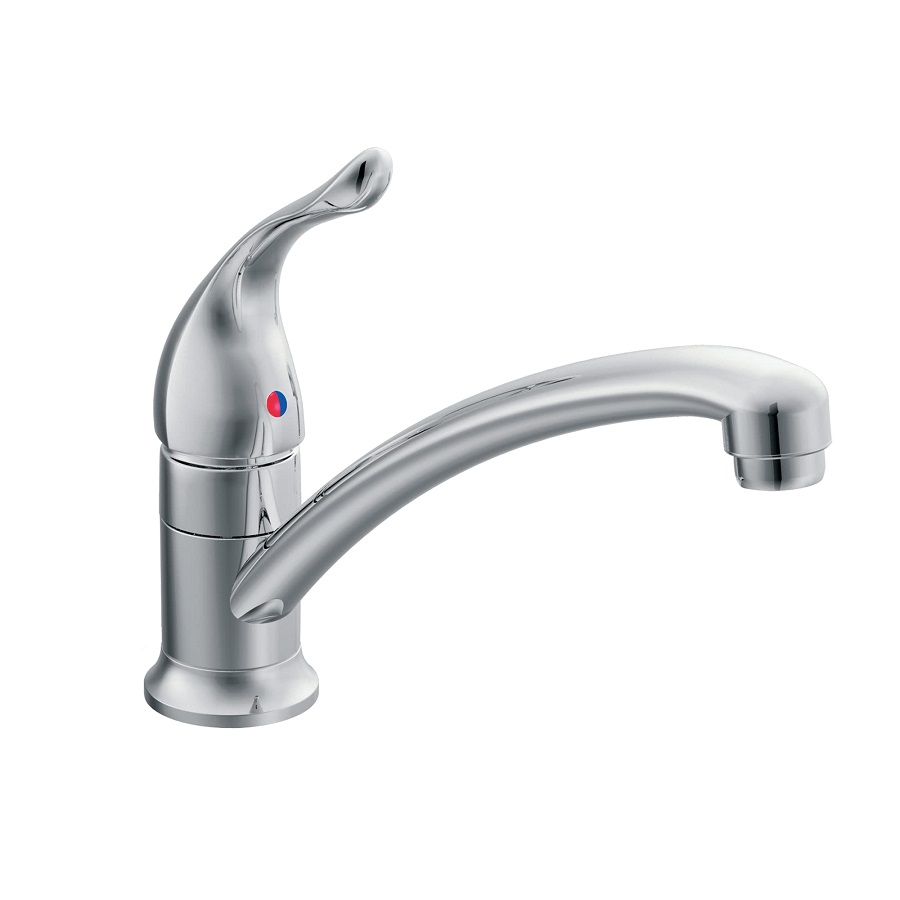
Understanding the Moen Kitchen Faucet
Before diving into the removal process, it’s important to understand the structure and components of your Moen kitchen faucet. Common types of Moen faucets include single-handle pull-down and pull-out designs. Knowing the model can help you identify specific parts you’ll need to deal with.
Common Components:
- Faucet Body: The main part that mounts to the sink or countertop.
- Spray Head: The detachable head used for spraying functions.
- Supply Lines: Hoses connecting the faucet to your water supply.
- Mounting Nuts/Washers: Used to secure the faucet to the sink.
- Cartridge: The internal mechanism that controls water flow and temperature.
Tools You May Need:
- Adjustable wrench
- Basin wrench
- Screwdrivers (flathead and Phillips)
- Plumber’s tape
- Pliers
- Towels or a bucket (for catching any water)
Step-by-Step Guide to Removing the Faucet
Turn Off the Water Supply
Before starting, ensure you turn off the water supply to the faucet. Typically, there will be two shut-off valves located under the sink. Turn these valves clockwise until tight to stop the flow of water.
Disconnect the Supply Lines
Using an adjustable wrench, carefully loosen the nuts connecting the supply lines to the faucet. Be cautious here, as some water may still be present in the lines. Have towels or a bucket ready to catch any spills.
Clear the Area
Remove any items from under the sink to give yourself enough room to maneuver. Clearing the area will not only make the job easier but also prevent any accidents.
Remove the Faucet Handle
Most Moen faucets have a handle that can be removed by loosening a set screw. This is usually located on the back or underside of the handle. Use a Phillips screwdriver or an Allen wrench, depending on the design. If the screw is stuck, apply a penetrating oil and let it sit for a while.
Detach the Mounting Nuts
Locate the mounting nuts securing the faucet body to the sink. In many models, these can be accessed using a basin wrench. If the nuts are corroded or particularly stubborn, apply some penetrating oil and let it sit for a few minutes. Afterward, try to loosen them slowly to avoid breaking anything.
Removing the Faucet Body
Once the mounting nuts are loose, grasp the faucet and gently wiggle it while lifting upwards to detach it from the sink. If it remains stuck, check for additional mounting brackets or screws that you may have missed.
Inspect for Additional Components
Sometimes manufacturers use additional fixtures, such as brackets or clips, to secure the faucet. If the faucet still won’t budge, examine the area for hidden screws that need to be removed.
Clean Up Residual Parts
Once the faucet is removed, clean up any residual materials left behind. This could include old plumber’s tape, debris, or remnants of the mounting nuts.
Troubleshooting Common Issues
Stuck Mounting Nuts
If the mounting nuts are resistant to the wrench, consider using:
- Heat: Apply a hairdryer or heat gun to the area. The expansion can break the bond of rust or corrosion.
- Pry Bar: In extreme cases, a prying tool can help dislodge a stuck nut.
Clogged Supply Lines
Sometimes the water supply lines can be clogged, leading to difficulty in removing the faucet. Use compressed air or a pipe cleaner to ensure they are clear before proceeding.
Broken Components
If you see that parts of your faucet or the mounting mechanism are broken, you might need to replace them instead of trying to salvage, which can save you a lot of trouble in the long run.
Persistent Dripping
If you’ve removed the faucet but still notice water dripping, ensure that the shut-off valves were correctly turned off. If there’s still water flow, you may have to turn off the main water supply.

Conclusion
Removing a Moen kitchen faucet involves a few straightforward steps that anyone can follow with a little determination. While this guide provides a general overview, always refer to the specific instruction manual for your faucet model, as variations may exist. Remember to take your time and ensure all connections are secure to prevent leaks after reinstallation.
Once you have successfully removed the old faucet, you can now proceed with installing a new one or conduct any necessary maintenance. Enjoy your newly renovated kitchen sink!
