Introduction
How to change out a kitchen faucet – Replacing your kitchen faucet can be a DIY project that saves you money and gives your space a fresh update. Whether your old faucet is leaking, outdated, or just not working like it used to, this guide will take you through the process step by step. To ensure clarity, we’ll break down each phase into easy-to-follow instructions.

Tools and Materials You’ll Need
Before diving into the project, gather the necessary tools and materials:
Tools:
- Adjustable wrench
- Basin wrench (optional but helpful for tight spaces)
- Screwdriver (flat and Phillips)
- Plumber’s putty or silicone sealant
- Bucket or bowl (to catch any water)
- Towels or rags
- Utility knife (for cutting any old putty)
Materials:
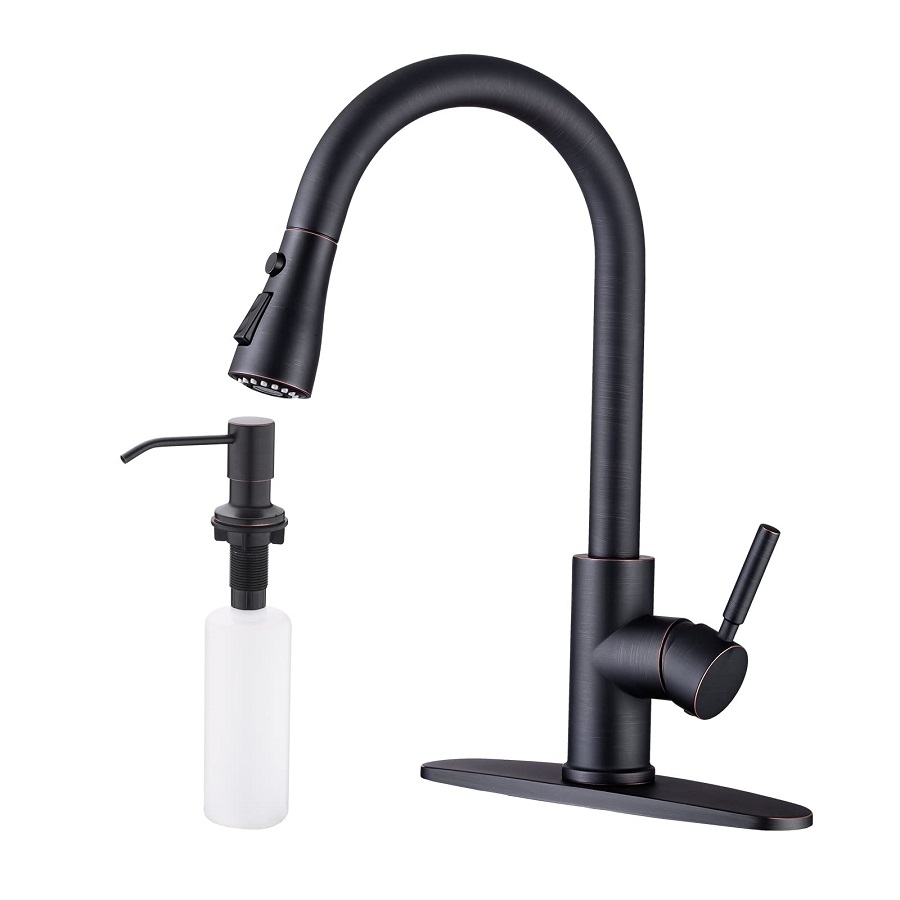
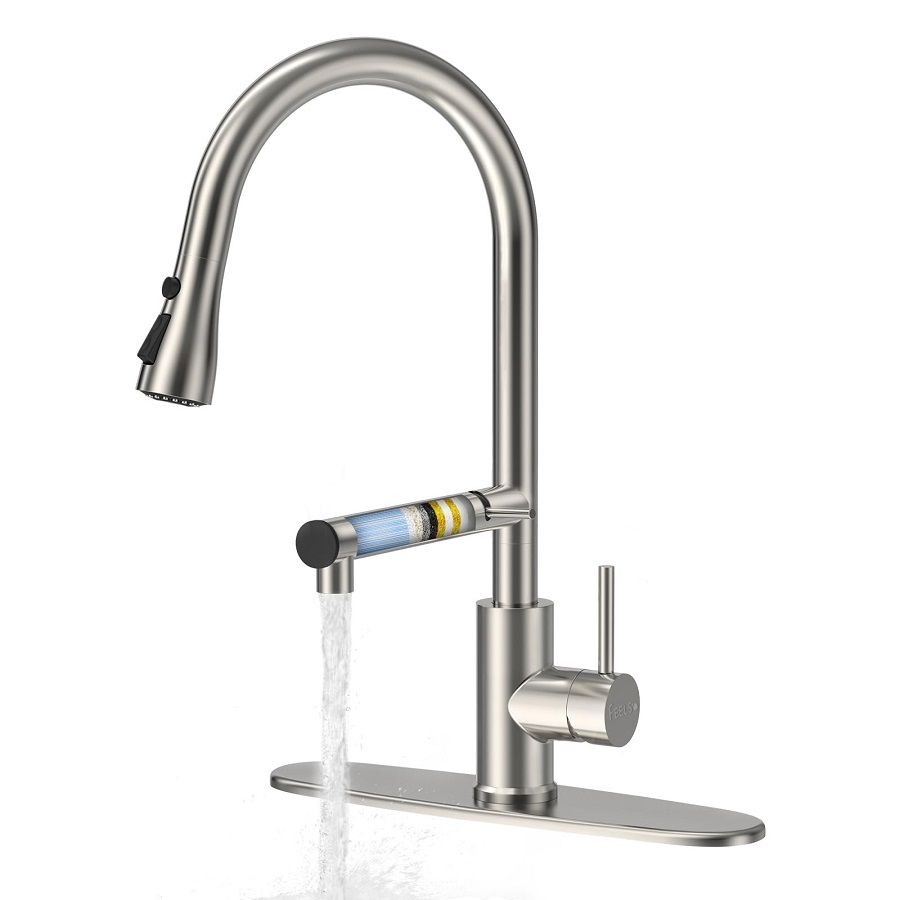
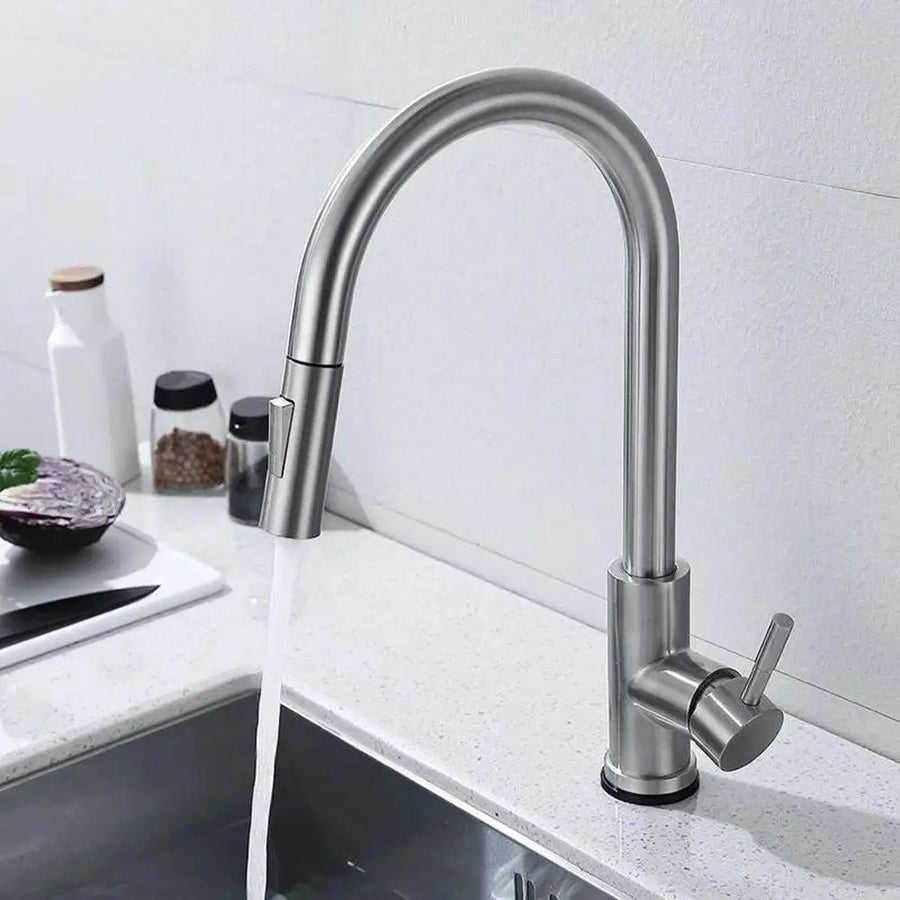
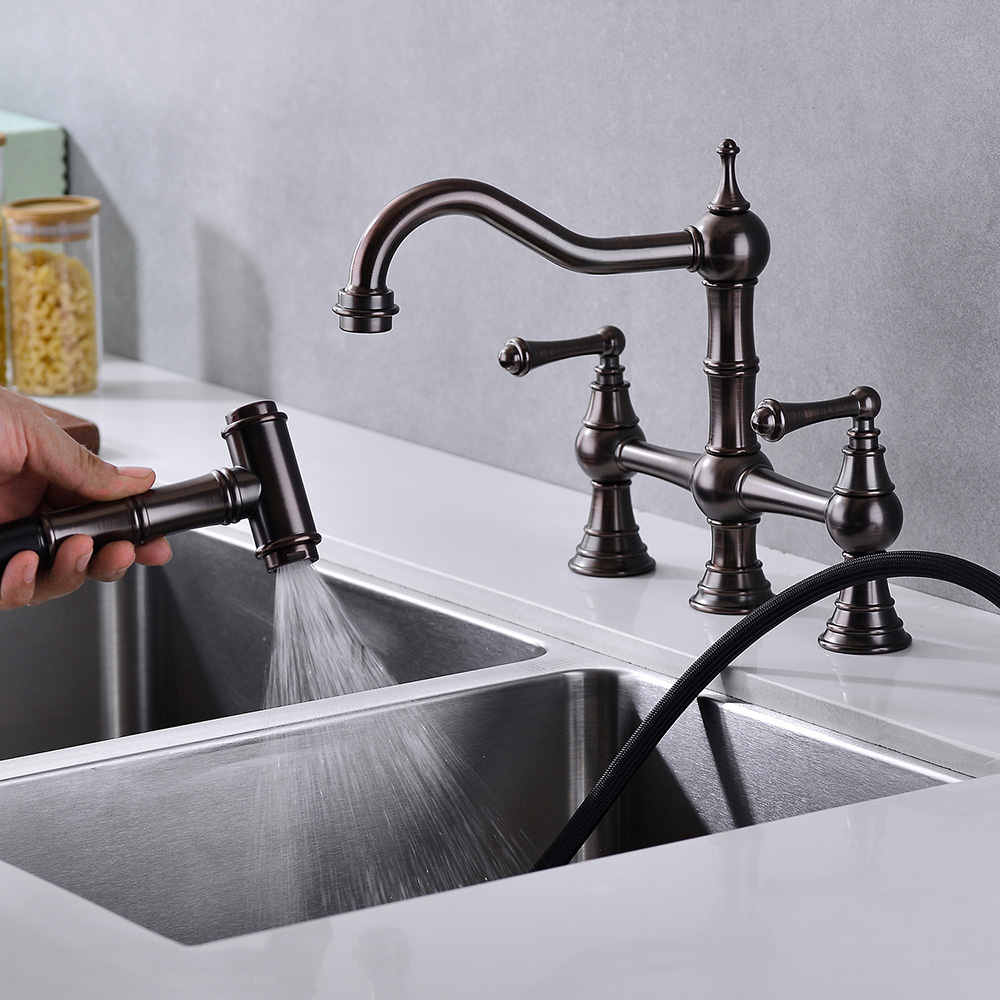
- New kitchen faucet
- New water supply lines (if necessary)
- Teflon tape (optional)
Preparation
Turn Off the Water Supply
- Locate the water shut-off valves under the sink. They are usually connected to the hot and cold water lines. Turn them clockwise to shut off the water supply.
Clear the Area
- Remove any items from under the sink. This will give you ample working space and make it easier to navigate.
Place a Bucket Under the Sink
- Set a bucket or bowl beneath the sink to catch any residual water that may drip when you disconnect the old faucet.
Remove the Old Faucet
Disconnect the Water Supply Lines
- Use an adjustable wrench to loosen the nuts connecting the water supply lines to the faucet.
- Be prepared for some water to spill out, so keep your bucket handy.
Remove the Faucet
- Depending on your faucet design, you may need to unscrew it from below the sink. Look for mounting nuts that hold the faucet in place. Use a basin wrench if space is tight.
- Once detached, pull the faucet out from the top.
Clean the Area
- Wipe down the sink surface where your old faucet was located. Remove any old plumber’s putty or debris to ensure that your new faucet sets properly.
Install the New Faucet
Position the New Faucet
- Set your new faucet into the hole. Most contemporary faucets come with a rubber or foam gasket. Ensure that it is seated properly.
Secure the Faucet
- From under the sink, install the mounting nuts (if your model uses them). Hand-tighten them first, then use a wrench to snug them up, but be careful not to overtighten.
Connect Water Supply Lines
- Connect the water supply lines to the corresponding hot and cold sides of the faucet. If your previous supply lines are old or damaged, replace them with new ones.
- Use Teflon tape on the threads, if desired, to prevent leaks.
Seal and Test
Apply Plumber’s Putty
- For a water-tight seal around the base of the faucet, apply a bead of plumber’s putty or silicone sealant around the bottom where it meets the sink.
Turn On the Water Supply
- Slowly turn the water supply valves back on. Check for any leaks where the supply lines connect to the faucet. If you detect any drips, tighten the connections slightly.
Test the Faucet
- Turn on the new faucet to check the hot and cold water flow. Observe for a few moments to ensure there are no leaks.
Final Touches
Clean Up
- Wipe down the area and ensure any tools and old materials are cleared away.
- Check all connections one last time for leaks or tightness.
Enjoy Your New Faucet
- Take a moment to admire your handiwork! A new kitchen faucet can significantly enhance the look and functionality of your kitchen.
Tips for Success
- Choose Quality: Invest in a good-quality faucet that fits your design and functionality needs.
- Follow Manufacturer Instructions: Always consult the installation manual provided with your new faucet for specific guidelines and recommendations.
- Stay Patient: If you encounter any difficulties, take a break, and revisit the task with a clear mind.

Remove the Old Faucet
Disconnect the Supply Lines
Using your adjustable wrench, carefully disconnect the water supply lines connected to the old faucet. Be prepared for some residual water; place your bucket or bowl underneath to catch any spills.
Loosen Faucet Mounting Nuts
Next, use a basin wrench or adjustable wrench to loosen the nuts securing the old faucet to the sink. Once they’re loose, you should be able to lift the faucet out of its mounting hole.
Clean the Area
With the old faucet removed, take a moment to clean the area around the sink and the mounting surface to check for any damaged parts or debris.
Install the New Faucet
Check Your New Faucet
Before installation, make sure your new faucet comes with all required parts and read through the manufacturer’s instructions.
Install the Mounting Hardware
If your new faucet requires mounting hardware, attach it according to the instructions provided. Most faucets have a base that sits flush against the sink’s mounting hole. Some may use threaded rods with nuts to secure them in place.
Place the Faucet
Position the new faucet over the pre-drilled holes at the back of your sink. Align it properly, ensuring that it fits securely into the sink.
Secure with Mounting Nuts
Under the sink, locate the mounting nuts that hold the faucet in place. Tighten these using your adjustable wrench. Be careful not to overtighten, as this can damage the sink or the faucet itself.
Connect the Supply Lines
Attach New Supply Lines
Using Teflon tape, wrap the threads of the faucet’s supply ports if required. Then connect the new supply lines to the faucet’s hot and cold inlets. Ensure you connect the hot supply to the hot inlet (usually marked in red) and the cold supply to the cold inlet (marked in blue).
Connect to Water Supply
Attach the other end of the supply lines to the shutoff valves under the sink. Tighten the connections securely but avoid overtightening to prevent any damage.
Test for Leaks
Turn On the Water Supply
Slowly turn the shutoff valves counterclockwise to turn the water supply back on. After opening the valves, check for any leaks around the newly connected supply lines.
Flush the Faucet
Turn on the faucet to flush out any air and prepare the system. Allow the water to run for a minute or two, checking continuously for leaks during this process.
Final Touches
Clean Up
Wipe down any excess water or debris around the sink area and under the sink. Replace any items you moved, and take a moment to admire your work.
Dispose of Old Faucet
Finally, responsibly dispose of your old faucet and any excess materials. You may consider recycling the parts if feasible.

Conclusion
Replacing your kitchen faucet is a manageable home improvement project that can be completed in a few hours with the right tools and guidance. By following this step-by-step guide, you’ll not only gain confidence in your DIY skills but also enjoy the satisfaction of updating a critical component in your kitchen. Happy plumbing!


