Introduction to DIY Countertop Installation
How to install kitchen countertops – Embarking on a DIY kitchen countertop installation can revitalize your space without the heft of a full renovation. This blog post provides a step-by-step guide on how to install kitchen countertops yourself. By following this tutorial, you’ll learn how to prepare, measure, cut, and attach a new countertop. We’ll also give tips on selecting materials and tools, prepping the existing surface, and the finishing touches to ensure a successful installation.
Whether you’re dealing with cracked, outdated countertops or just craving a fresh look, this guide is here to help. It simplifies the installation process and provides practical advice to make your DIY project as smooth as possible. Let’s get started on transforming your kitchen with a new countertop that you can be proud of.
Preparing for Your Countertop Installation
Before you dive into how to install kitchen countertops, preparation is key. It will ensure a smooth process from start to finish.
Assessing Your Current Countertop
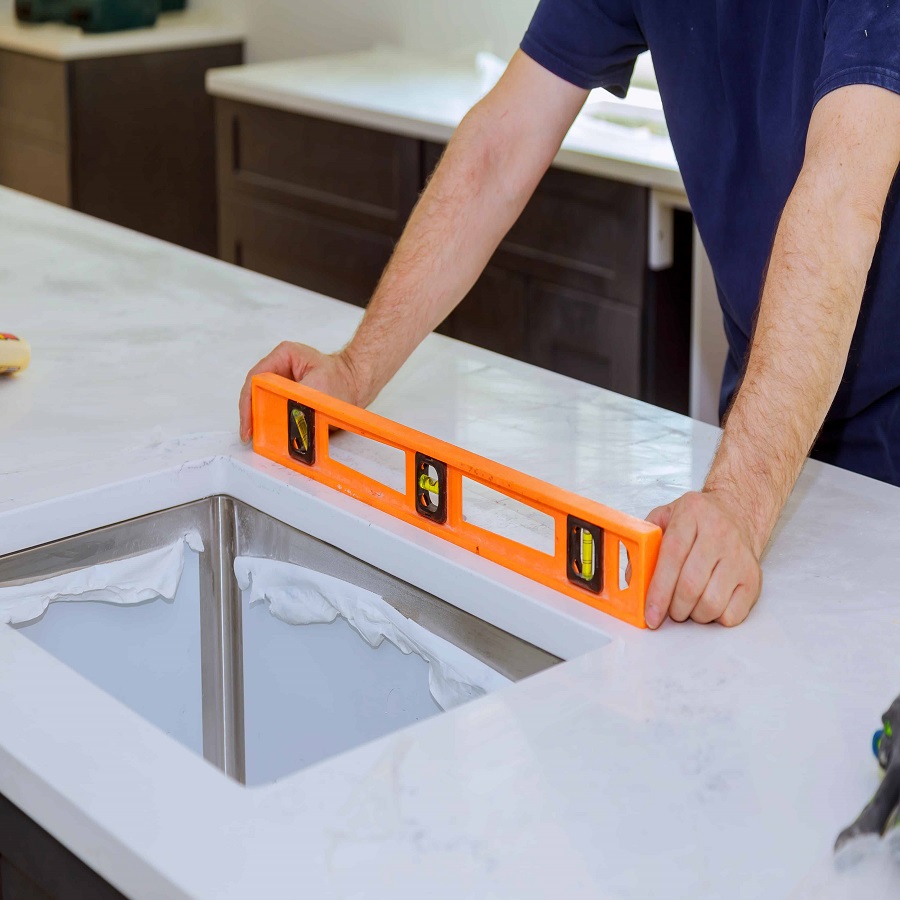
First, evaluate your current countertop. Look for damage like cracks or chips. These may affect how you install the new countertop. Think about the height and depth too. Will the new countertop sit on top or replace the old one? Check how level the surface is. A level surface is vital for a successful installation. Identify the type of material you have. This can influence the tools and methods you’ll use.
Tools and Materials Needed
Next, gather your tools and materials. You will need:
- A tape measure for accurate sizing.
- A circular saw or another appropriate cutting tool.
- Sandpaper or a keying knife for surface prep.
- Construction adhesive for securing the countertop.
- Screws and a drill to fasten the countertop.
- Clamps or a helper for applying pressure.
- A finish for the wood, if it’s not pre-finished.
Ensure you have all these items before starting. It saves time and helps avoid project interruptions.
Measuring and Planning
Before cutting your new countertop, precise measurements are crucial. This step sets the groundwork for ensuring a perfect fit.
Taking Accurate Measurements
Start by measuring the length and depth of your current countertop. Include every corner and curve. It’s better to measure twice to avoid mistakes. Don’t forget to leave some space for the countertop’s overhang. This extra length covers the old top and adds a fine finish. Record all your measurements carefully.
Deciding on Countertop Overhang
The overhang gives a polished look and protects cabinets underneath. Standard overhang is about 1 inch, but you may adjust according to your preference. Think about the kitchen layout. Make sure doors and drawers open without hitting the overhang. Also, consider the overall balance. An overhang that’s too big can look out of place.
Cutting and Shaping the New Countertop
Cutting and shaping your new kitchen countertop is an exciting phase. It transforms raw wood into a functional part of your kitchen. Here’s how to proceed effectively.
Selecting the Right Wood Countertop
Choosing the right wood for your countertop involves several considerations:
- Durability: Opt for hardwoods like oak, maple, or walnut for long-lasting use.
- Appearance: Pick a wood grain and color that complement your kitchen’s aesthetic.
- Cost: Balance your budget with the quality of wood. Remember, investing a bit more can offer better durability and appearance.
- Size and shape requirements: Ensure the wood size fits your kitchen layout, accommodating corners and overhangs.
Cutting Techniques and Tips
Once you’ve chosen your wood, it’s time to cut it to size. Here’s how to do it safely and accurately:
- Measure Twice, Cut Once: Double-check your measurements to reduce errors.
- Use the Right Tools: A circular saw or a table saw is ideal for cutting straight lines. For precision, use a miter saw.
- Secure Your Wood: Prior to cutting, secure the wood to prevent shifting.
- Cutting: Follow the marked lines carefully, and always wear safety goggles.
- Finishing the Edges: Sand the edges to remove splinters and sharp corners.
By carefully selecting the right wood and using proper cutting techniques, your DIY kitchen countertop installation will not only look professional but will also be durable.
 Prepping the Existing Countertop Surface
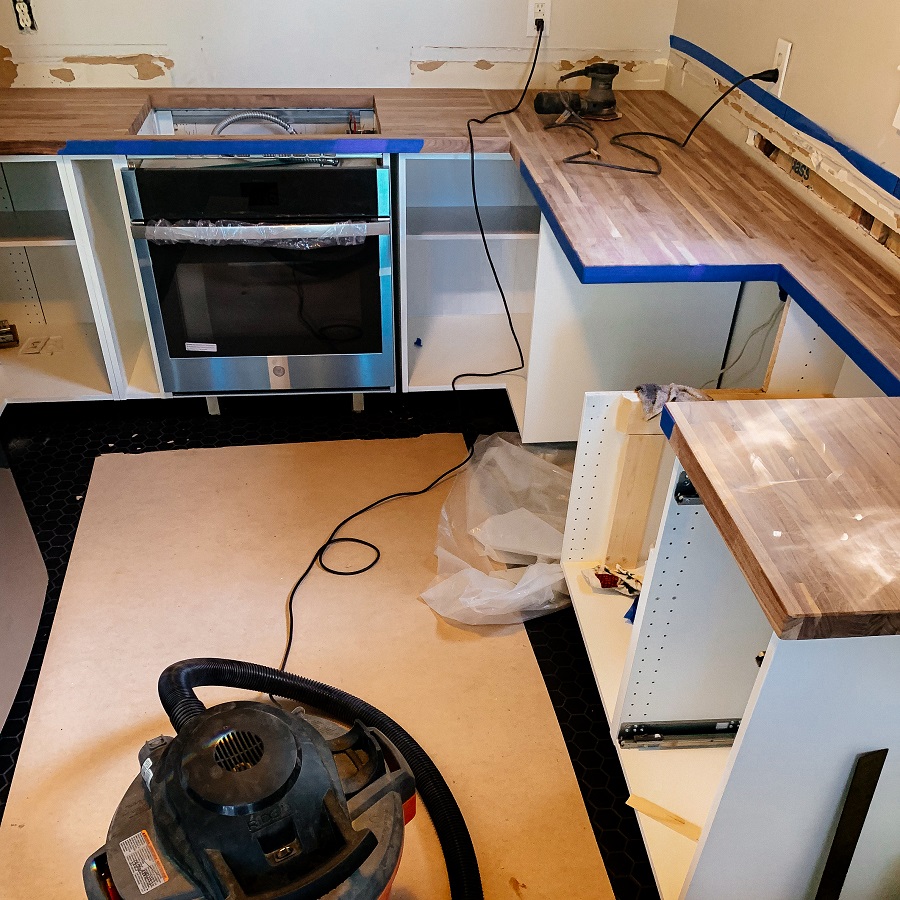
Proper preparation of the existing countertop is essential for successful adhesion of the new surface. Whether it’s made of melamine, granite, or another material, preparing it correctly will create a strong foundation for the new countertop. Here’s how to prep the surface accurately and effectively.
Keying the Countertop for Adhesion
Keying creates a surface that adhesives can bond to more effectively. Here’s a step-by-step guide:
- Clean the Surface: Remove all debris and grease from the countertop. A clean surface ensures better adhesion.
- Keying: Use sandpaper or a knife to make light scratches on the surface. This provides a better grip for the glue.
- Check for Smoothness: Feel with your hands to ensure the surface is evenly keyed without large gouges.
- Wipe Down: After keying, wipe the surface again to clean any dust created by sanding.
These steps are crucial for the glue to hold the new countertop firmly. Without proper keying, the countertop may not secure properly, risking future issues.
Attaching the New Countertop
Once you have your new countertop cut and shaped, it’s time to affix it to the existing surface.
Using the Right Adhesives
Choosing a strong adhesive is vital for a lasting installation. For wood countertops, construction adhesive is the best choice. It’s thick, fills gaps, and resists water.
Here’s what to do:
- Apply Adhesive: Run a bead of construction adhesive along the top of the old countertop. Ensure even coverage for a strong bond.
- Spread Evenly: Use a putty knife to spread the adhesive. Cover the whole surface without leaving excess.
- Act Quickly: Construction adhesive dries fast. Once applied, you must place the new countertop on promptly.
Securing the Countertop with Fasteners
Screws provide additional hold, making the countertop stable over time.
- Choose Suitable Screws: Pick screws that are the right length to avoid piercing the top of your new countertop.
- Pre-drill Holes: This prevents the old countertop from splitting when you screw into it.
- Screw from Below: Place the screws upward from the underside of the old countertop. Ask a friend to press down from above as you do it. This helps the adhesive bond and ensures a flush fit.
By carefully adhering and securing your new countertop, you guarantee a stable and durable kitchen workspace.
Finishing Touches
Proper finishing is essential for durability and aesthetics.
Sanding and Applying Finish
After attaching the new countertop, sanding smooths the surface. Start with coarse sandpaper and move to finer grits. Once smooth, wipe away dust with a damp cloth.
Choose a finish that suits the wood and your use. For kitchen surfaces, select a food-safe, water-resistant option. Apply the finish with a brush or cloth, following the grain. Let it dry as per the instructions, then add a second coat if needed.
Final Inspection and Cleanup
Inspect the countertop for any uneven areas or missed spots. Address these before proceeding.
Clean the workspace thoroughly. Remove all tools and materials. Check that all screws are tight and adhesives have set. Use a gentle cleaner to wipe the new countertop.
Now, your DIY kitchen countertop installation is complete. Enjoy your kitchen’s refreshed look!
 Conclusion and Additional Tips – how to install kitchen countertops
As we wrap up our guide on how to install kitchen countertops, let’s summarize a few key points and handy tips:
- Measure Carefully: Accuracy is critical; precise measurements avoid costly mistakes and ensure a perfect fit.
- Select Quality Materials: Durable wood and strong adhesives pay off for longevity and aesthetics.
- Prepare Surfaces Thoroughly: Key the old countertop well to ensure the new one adheres securely.
- Secure With Confidence: Use the right screws and adhesive, and don’t rush the process. This creates a firm, lasting hold.
- Finishing Matters: Sanding and finishing not only protect your countertop but also enhance its beauty.
- Regular Maintenance: Keep your new countertop in top shape with regular cleaning and touch-ups as needed.
Finally, take your time. Rushing through any step can lead to errors and extra work. Patience and attention to detail will result in a kitchen countertop that looks professionally installed and serves you well for years to come. Enjoy the process, and relish the transformation of your kitchen space!


