Choosing the Right Materials
Selecting the right materials is critical when learning how to build kitchen cabinet doors.
Wood Selection for Paint Projects
For paint projects, go for wood that paints well. Poplar and birch plywood are popular choices. They’re easy to work, look good, and take paint evenly.
Identifying Matching Wood Species
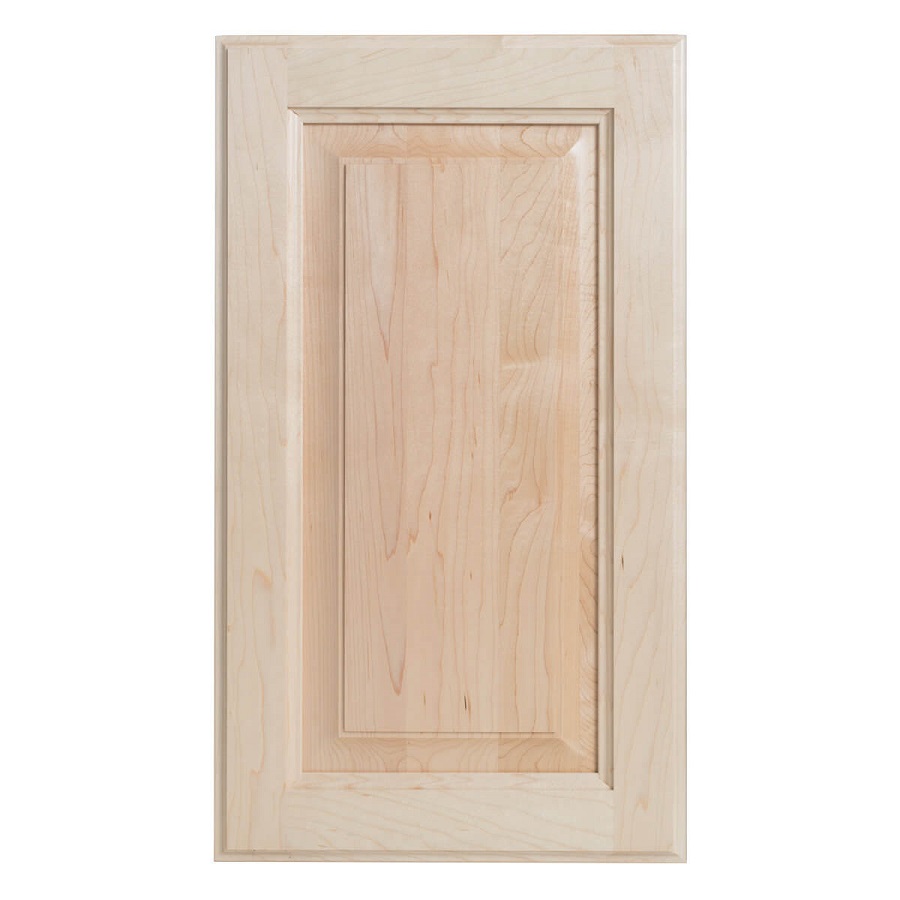
If you’re not painting, match the wood to your current cabinets. Look for the same wood species. This ensures consistency with your existing cabinet aesthetics. Whether it’s oak, maple, or cherry, using the same species will blend the new with the old seamlessly.
 Cutting and Assembling the Frame
To create a cabinet door, you’ll start by shaping the frame. This involves precise cutting and assembling techniques.
Cutting Dadoes for the Panel
First, you need to cut dadoes, which are grooves to hold the plywood panel. A dado, cut into the edge of 1×3 boards, ensures the panel sits securely in the frame. It’s crucial that these grooves are accurate to create a snug fit for the panel.
Routing Decorative Edges
After cutting dadoes, consider adding decorative edges. Using a router and appropriate bits, you can give your cabinet doors a customized look. This touch transforms a basic shaker style into something more unique and visually interesting.
Mitering Frame Corners
Finally, for a clean and professional finish, miter the corners of the door frame. This simply means cutting the ends at a 45-degree angle so they fit together nicely. Accurate miter cuts are key to ensure a square and true door frame.
Determining Door Dimensions
When learning how to build kitchen cabinet doors, accurately determining door dimensions is crucial. In this section, we’ll cover how to calculate door sizes based on whether they are inset or overlay, key to ensuring they fit perfectly within the cabinet frame.
Calculating Sizes for Inset Doors
For inset cabinet doors, which sit inside the frame, here’s a straightforward approach:
- Measure the height and width of the inner frame opening.
- Subtract 1/4 inch from both the height and width to grant a subtle gap. This ensures that the door can open and close freely without scraping.
This method leaves enough space to prevent the door from sticking, which is especially important in humid climates where wood might expand.
Adjusting for Overlay Door Measurements
Overlay doors cover the cabinet frame partially or completely, creating a different measurement requirement:
- Determine the desired overlay size. Standard overlays are 1/2 inch, 1 inch, etc.
- For partial overlay, add twice the overlay size to the height and width of the inner frame opening.
- For full overlay, measure the outer dimensions of the cabinet.
- Subtract 1/4 inch from your total measurements to ensure smooth operation and a professional appearance.
Finding the exact size for the overlay helps achieve a seamless look when the doors are closed, aligning perfectly with the cabinet’s edges.
These are key steps to measure and confirm before moving on to cutting and assembling your cabinet doors. Proper measurements ensure a functional and aesthetically pleasing cabinet door.
Creating the Panel
Creating the right panel is a crucial step in how to build kitchen cabinet doors. The panel is the flat piece that sits within the frame, providing the basic surface of the door.
Sizing the Plywood Panel
Begin by choosing quality plywood, like birch, for paint jobs or the matching wood species for unstained projects. Measure the space within your frame precisely. Then cut the plywood so it’s slightly smaller, allowing it to fit snugly into the frame. For an exact fit, subtract about 4 1/2 inches from the height and width of the door frame dimensions.
Fitting the Panel into the Frame
Position the cut panel into the dadoes (grooves) of the frame. Make sure it’s centered and flush. No need for glue here; plywood panels should ‘float’ to allow for wood expansion. During assembly, the frame will lock the panel in place, yet still permit slight movements.
Assembling the Cabinet Door
Drilling for Dowels
To assemble the door frame, start by drilling. Use a dowel jig to make precise holes. Align the jig with diagonal lines drawn on each corner. Drill two holes per end for the dowels. This ensures a strong joint.
Gluing and Clamping the Frame
After drilling, apply wood glue in the dowel holes. Insert dowels into one side of the frame. Fit frame pieces together one by one. Use large clamps to hold the frame tight. Check with a square that corners are right-angled.
Installing the Panel
Next, slide the plywood panel into the frame’s dadoes. The panel should ‘float’, moving slightly within the grooves. No glue is needed for this part. Secure the panel by attaching the remaining side of the frame.
Finishing Touches
Once you’ve assembled your cabinet door, it’s time for the finishing touches.
Sanding and Smoothing Edges
Begin by sanding the edges of your door. Use a fine-grit sandpaper. Smooth out any rough spots. It ensures a neat appearance.
Priming and Painting
Next, apply a coat of primer. Let it dry completely. Then, paint your door with a foam roller for even coverage. Choose a paint that complements your kitchen’s style.
Caulking for a Clean Finish
Finally, apply caulk around the edges where the frame meets the panel. This step prevents gaps and gives a seamless look. Make sure the caulk is smooth and even. Let it dry before hanging the door.
Installing Hinges and Doors
Choosing the right hinges and correctly installing your kitchen cabinet doors are vital steps in door assembly.
Selecting Concealed Hinges
Concealed hinges are a modern and clean-looking option for kitchen cabinets. For a seamless look, choose hinges that match your door type. Check hinge compatibility with the door size and cabinet style. Inset, partial overlay, and full overlay options are available.
Drilling Hinge Holes with a Jig
A hinge jig helps drill accurate hinge holes. It ensures that all doors have hinges at the same height. For drilling, follow the jig’s instructions closely. Make a test hole on a scrap piece first. This ensures your settings are correct before moving onto the actual doors.
Attaching Doors to the Cabinet
Align the door with the cabinet frame. Make sure it is level and even. Then, mark where the hinges will go on the cabinet. Pre-drill holes to prevent wood splitting. Screw the hinges into place. Check the door’s operation and make adjustments as needed.
Adding Hardware
Adding the right hardware is the last step in how to build kitchen cabinet doors.
Choosing Handles or Knobs
Pick handles or knobs that complement your kitchen’s style. Consider the finish and shape. Make sure they feel good in your hand.
Making a Drilling Template
Create a template from cardboard or wood. This helps drill holes in the same spot on each door. It ensures consistency across all hardware placements.
Final Hardware Installation
Using your template, mark drill points on the doors. Drill holes carefully. Attach the hardware with screws. Check alignment and adjust if needed.
Having the correct tools and following these steps can lead to a successful installation of your new kitchen cabinet doors. Remember to measure twice and drill once, ensuring a smooth and professional finish.

