The Basics of Whetstone Cutlery Sharpening
To sharpen cutlery skillfully, understanding the essentials of whetstone use is crucial. Let’s delve into two fundamental aspects: grit grades and preparation.
Understanding Grit Grades
Whetstone cutlery sharpening relies heavily on grit grades. These grades indicate the abrasiveness of the stone. Lower numbers signal a coarser grit, ideal for repairing or shaping a dull blade. Higher numbers correspond to finer grits, used for refining and polishing the edge. For most sharpening tasks, a medium-grit whetstone, ranging from 1000 to 3000, proves effective. Moving above 4000 grit is often reserved for professional-grade polishing.
Remember, a balanced use of grit grades will ensure your blade’s longevity. Start with the right coarseness to shape the blade. Then, smoothly transition to higher grits for a keen, polished edge.
Preparing Your Whetstone for Sharpening
Before sharpening, whetstone preparation is essential. Soak the stone in water until bubbles cease to rise. This usually takes about 5 to 10 minutes for most stones. It ensures the stone’s surface is ready to grind metal effectively. However, some whetstone cutlery sharpeners might use oil instead of water, depending on the type of stone. Oil can protect the stone and carry away metal shavings just as well as water.
Once soaked or oiled, place the stone on a stable, non-slip surface. Making sure your stone won’t move during sharpening is key to avoiding accidents and achieving a consistent edge.
In the next sections, we’ll explore more detailed techniques, so keep your whetstone ready.
 Selecting the Right Whetstone
Selecting the right whetstone is vital for optimal sharpening. You must choose based on your needs and the current state of your cutlery.
Natural vs. Synthetic Whetstones
Natural whetstones, often made from quarried stone, are traditional tools with unique sharpening properties. Each stone is distinct, offering variable grits and sharpening experiences. Conversely, synthetic whetstones are more consistent in grit and quality, made from bonded abrasives. They are widely available and offer a range of options for different sharpening stages.
For beginners, synthetic stones tend to be more user-friendly. Professionals, on the other hand, may prefer the finesse offered by natural stones. Consider your experience level and the precision required when choosing between natural and synthetic whetstones.
Choosing the Correct Whetstone Grit for Your Cutlery
The grit of a whetstone is crucial for achieving the desired sharpness. Coarse stones (below 1000 grit) are best for dull blades needing shape or repair. Medium grit stones (1000-3000) are ideal for general sharpening. Fine grit stones (above 4000) provide a polished, razor-sharp edge.
Take stock of your cutlery’s current sharpness. If it’s relatively sharp, a medium or fine grit will maintain the edge. For very dull knives, begin with a coarse stone, then progress to finer grits. Ensuring you select the right whetstone grit will help maintain your cutlery’s edge without causing damage.
Proper Techniques for Sharpening Knives
Learning the correct techniques is essential for sharpening knives with a whetstone. Key elements include the angle at which you hold the knife and the motion you use as you glide it across the stone. Master these, and you’ll maintain a sharp edge on your cutlery consistently.
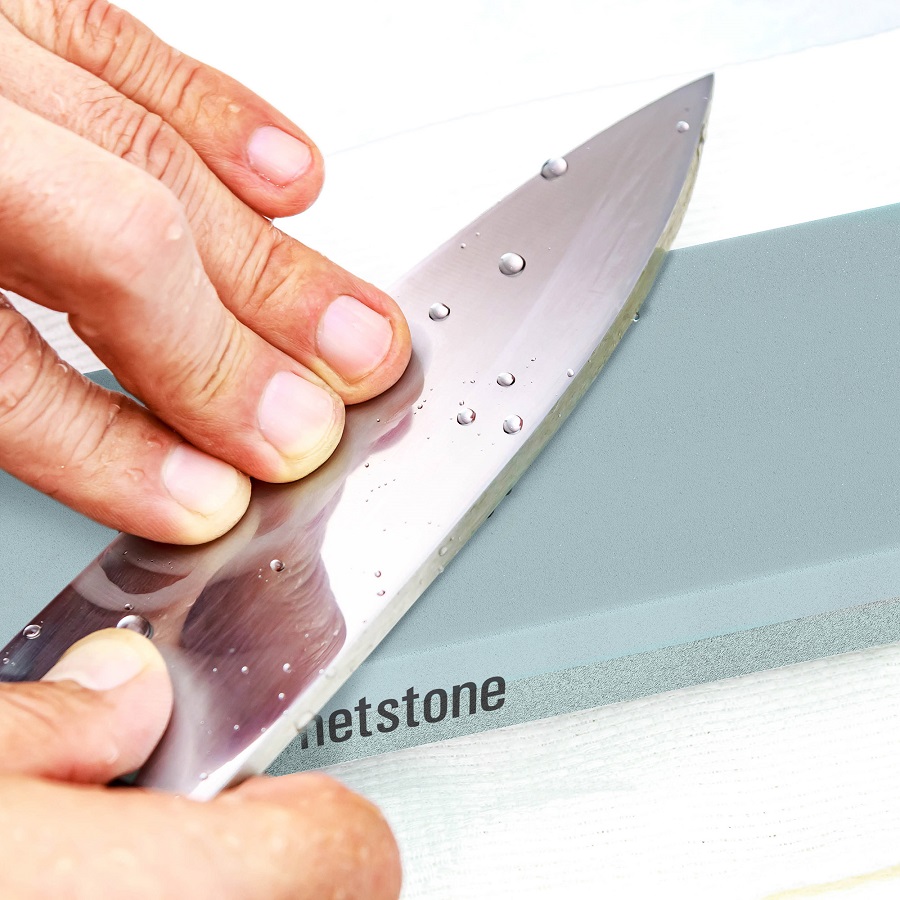
The Angle and Motion for Effective Sharpening
Keep the blade at a steady angle between 15 to 20 degrees for most knives. Maintain this angle for the whole sharpening process. Use a smooth, gliding motion, pulling the knife across the whetstone from heel to tip. Repeat this motion, applying light, consistent pressure. Check your progress as you go, ensuring the entire edge has contact with the stone.
Common Mistakes to Avoid During Sharpening
Avoid these errors for a better sharpening outcome:
- Applying Too Much Pressure: This can damage the blade and the stone. Use a light touch.
- Inconsistent Angle: Changing the angle while sharpening leads to an uneven edge. Keep the angle steady.
- Rushing the Process: Take your time to get a sharp edge. Speed can result in mistakes.
- Skipping Grit Grades: Don’t jump from a coarse to a very fine grit without intermediate steps. Use a medium grit in between.
- Ignoring the Blade’s Heel: This part often gets less attention. Sharpen it as thoroughly as the rest of the blade.
- Not Testing Sharpness Properly: Test the edge on a piece of paper or similar material to ensure effectiveness.
By avoiding these mistakes and following the right angle and motion, you’ll sharpen your cutlery with skill and precision using your whetstone.
Caring for Your Whetstone
To keep your whetstone in top condition, you need to clean and maintain it properly. Proper care will extend its life and ensure it remains effective for sharpening your cutlery.
Cleaning and Maintaining Your Whetstone
After each use, you should clean your whetstone to remove metal filings and residue. Here’s how:
- Rinse the stone under running water while gently scrubbing with a soft brush.
- For stubborn debris, use a mild dish soap with the brush.
- Rinse thoroughly to ensure no soap or metal particles are left behind.
- Dry the stone with a clean cloth and let it air dry completely before storing.
It’s also important to periodically check your stone for flatness. A whetstone can become uneven with use. Flatter the stone by rubbing it against a flattening stone or sandpaper laid on a flat surface.
Storing Your Whetstone Safely
Proper storage is vital for maintaining the whetstone’s integrity:
- Ensure the stone is dry before storage to prevent mold and mildew.
- Store it in a cool, dry place away from extreme temperatures.
- If it comes with a box or a case, use it to protect the stone from chipping or cracking.
- Keep it out of reach of children to avoid accidents.
By following these guidelines, you’ll safeguard the quality of your whetstone cutlery sharpener. This care will also help you achieve consistently sharp blades on your cutlery set.
Advancing Your Sharpening Skills
Sharpening with a whetstone requires skill that improves over time. As you practice, you will learn to move confidently between different grits. Advanced techniques also involve understanding the difference between honing and sharpening.
Moving from Coarse to Fine Grits
Mastering the transition from coarse to fine grits is key to a sharp blade. Start with a coarse grit to fix any nicks or reshape the blade. Then, go to a medium grit for general sharpening. End with a fine grit for a polished finish. Ensure smooth transitions between the grits for the best results. Always test the blade’s sharpness before switching stones.
Honing vs. Sharpening: What’s the Difference?
Sharpening removes metal from the blade, creating a new edge. You typically need sharpening if the knife is very dull or damaged. Honing, on the other hand, straightens the existing edge without removing much metal. Use a honing rod regularly to maintain an edge. This keeps knives sharp longer and reduces the need for frequent sharpening. Remember, honing complements sharpening but does not replace it.
Whetstone Sharpening for Different Types of Cutlery
Whetstone cutlery sharpening is not one-size-fits-all. Different tools need specific approaches for the best edge.
Sharpening Kitchen Knives: Chef’s Knives, Paring Knives, and Serrated Blades
Kitchen knives come in many shapes and sizes, each requiring a unique sharpening method. For chef’s knives and paring knives, a medium grit whetstone usually does the trick. Start with these steps:
- Soak your medium grit stone.
- Hold the knife at a 15 to 20-degree angle.
- Glide the knife edge from heel to tip across the whetstone.
- Repeat until you achieve a sharp edge.
Serrated blades, like bread knives, need a different tactic. Use a fine grit stone and sharpen each serration separately. Carefully file into the serrations to sharpen the grooved edges without damaging them.
Specialty Sharpening: Scissors, Chisels, and Other Tools
Scissors and chisels also benefit from the precision of whetstone sharpening. For scissors:
- Separate the blades.
- Sharpen each blade along the inside edge.
- Use a fine stone to avoid removing too much metal.
Chisels require a flat edge. A medium or fine grit stone, depending on the chisel’s condition, works best:
- Hold the chisel at a consistent angle, typically 25 to 30 degrees.
- Push the blade flat against the stone, working from one end to the other.
- Progress through to a fine grit for a polished finish.
Regardless of the tool, always finish with a honing rod for the finest edge. Keep these tips in mind, and match your whetstone’s grit to the cutlery’s need. With practice, sharpening with versatility becomes second nature.