Preparing for Installation
Before diving into how to install kitchen sink, gathering the right tools and materials is crucial. Ensure you have everything you need on hand to streamline the process and avoid unnecessary interruptions.
Tools and Materials Needed
You will need several tools and materials for a successful installation:
- Measuring tape to determine the sink size.
- Safety goggles and gloves for protection.
- Silicone sealant to secure and seal the sink.
- Plumber’s putty for a waterproof seal around fixtures.
- A wrench and pliers for plumbing connections.
- Screwdriver or drill for attaching hardware.
- Sealant gun to apply the silicone neatly.
- A hacksaw may be needed for cutting pipes.
These items are crucial for installing a kitchen sink efficiently and safely. Check them off your list before you begin.
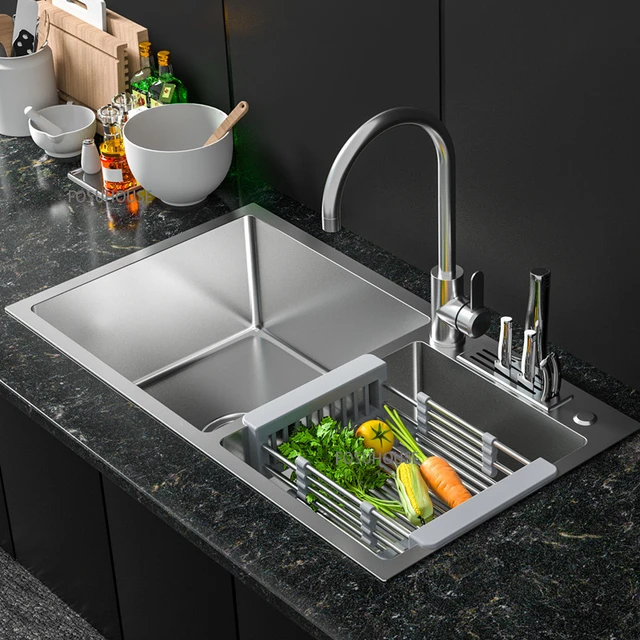
Measuring and Choosing the Right Sink
Picking the right sink is as important as the installation itself. To ensure a good fit:
- Measure the countertop’s width and depth.
- Check the cabinet size below to confirm the sink will fit.
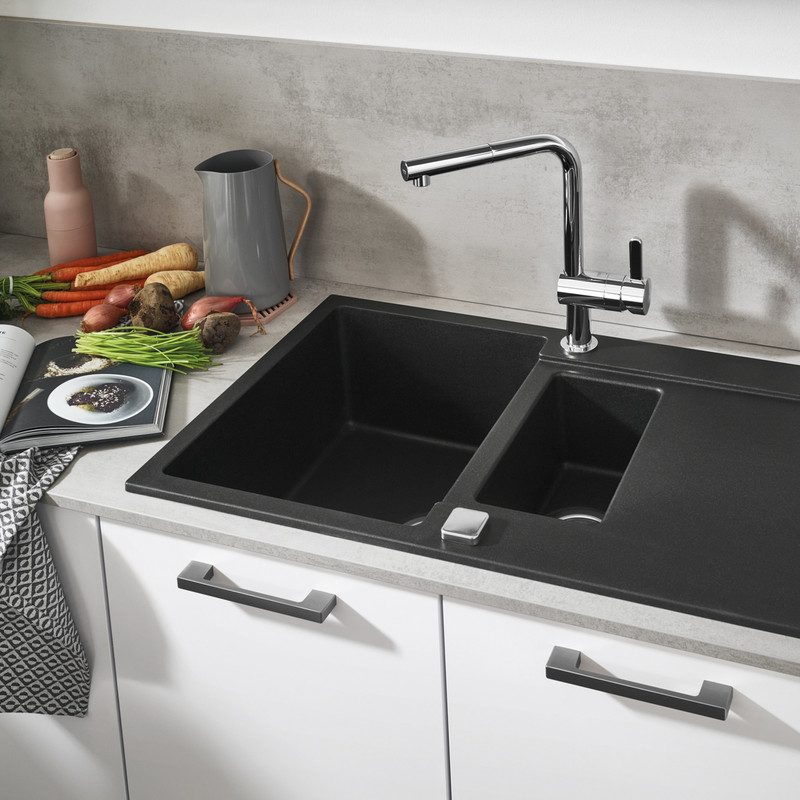
- Consider the sink material and how it complements your kitchen.
- Think about the sink’s design and the number of basins.
- Make sure the sink’s mounting type matches your countertop.
Accurate measurements and thoughtful selection are key steps in how to install kitchen sink. They guarantee the new sink will integrate well with your existing kitchen layout.
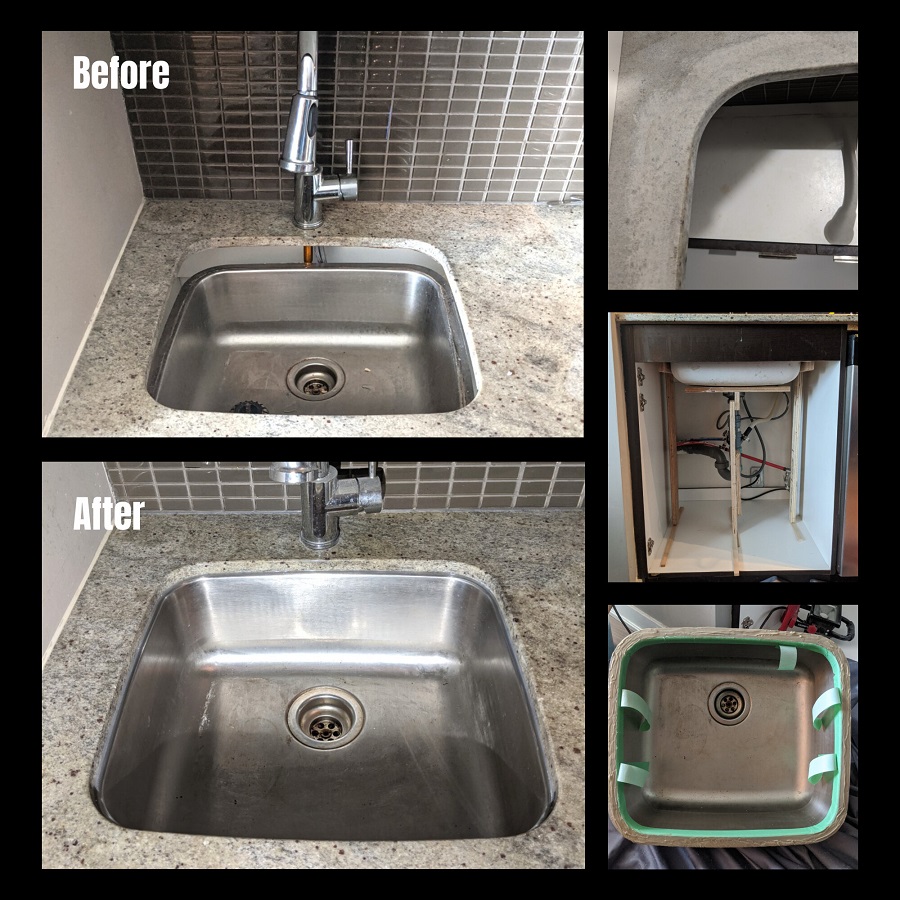
 Removing the Old Sink
Before you can master how to install kitchen sink, removing the old sink is necessary. This step involves two key actions: disconnecting the plumbing and taking out the sink itself.
Disconnecting Plumbing and Sink Fixtures
Start by turning off the water supply to your sink to prevent any accidental leaks during the process. Use a wrench to loosen and disconnect the water supply lines from the faucets. Make sure you have a bucket ready to catch any water that may spill out. Next, disconnect the drain pipe using pliers; again, keep your bucket handy for water that might still be in the P-trap or drain line. If your sink has any additional fixtures, like a garbage disposal or water filter system, make sure to disconnect these as well.
Taking Out the Old Sink
Once all plumbing is disconnected, you can focus on removing the sink from the countertop. Start by cutting through any caulk that seals the sink to the countertop with a putty knife. Gently lift the sink edges and push upward to break the seal completely. You may need to use a screwdriver or drill to remove any mounting clips from underneath the sink. With care, lift the old sink out of the countertop and move it away from your work area. Ensure the surface is clean and clear of debris before proceeding with the new sink installation.
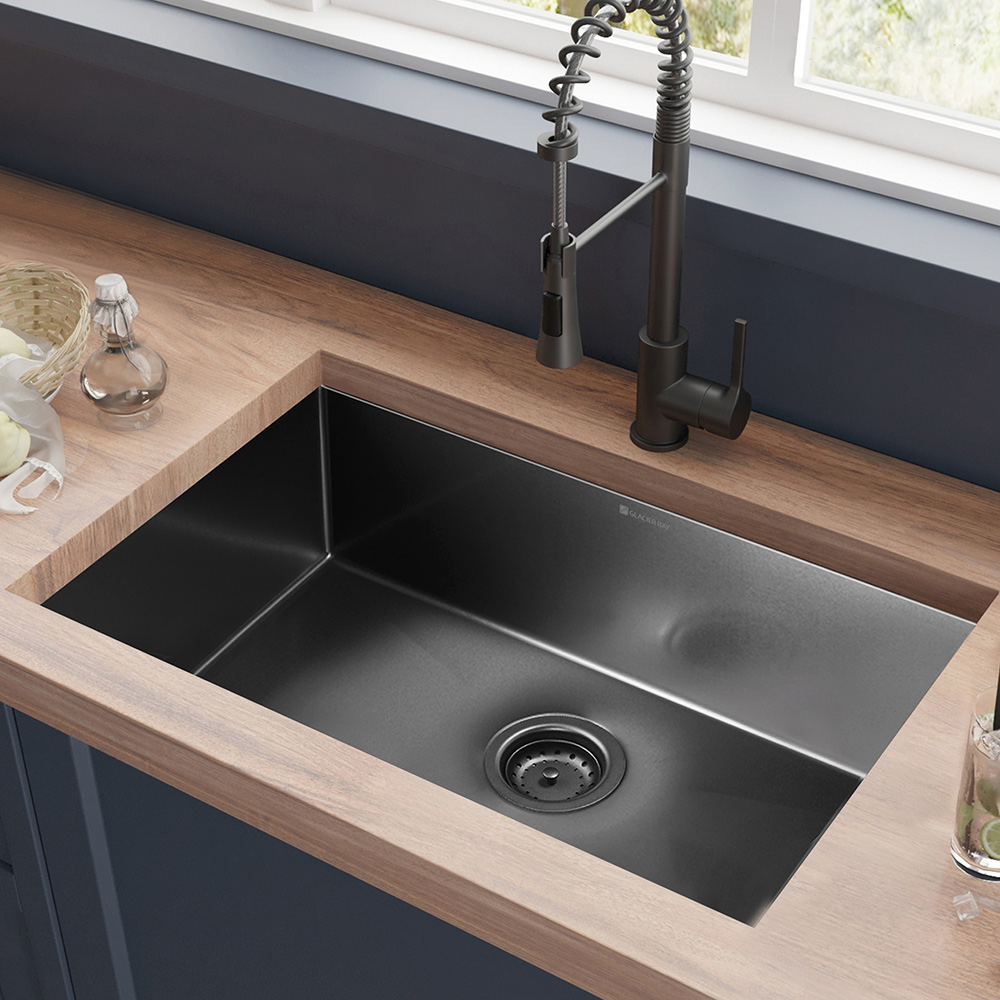
Preparing the New Sink
Now that you have removed the old sink, it’s time to focus on preparing the new sink for installation. Pay close attention to details for a flawless fit and seal.
Setting the Sink and Sealing Edge
Place the new sink into the opening to check for a proper fit. Make sure it sits evenly on all sides. Once you confirm the fit, remove the sink to apply the sealant. Run a bead of silicone sealant around the edge of the opening. This will create a watertight seal and prevent water damage.
Attaching Hardware and Fittings Before Installation
Before setting the sink back into place, attach any hardware or fittings. This includes the faucet, sprayer, soap dispenser, and drainage components. Secure these elements now for easier access. You won’t have much room to tighten them once the sink is installed. Ensure all parts are snug and properly aligned to avoid issues later on.
 Installation of the New Sink
After preparing the new sink, the next step in how to install kitchen sink is the actual installation. This stage requires precision to ensure a stable and leak-free setup.
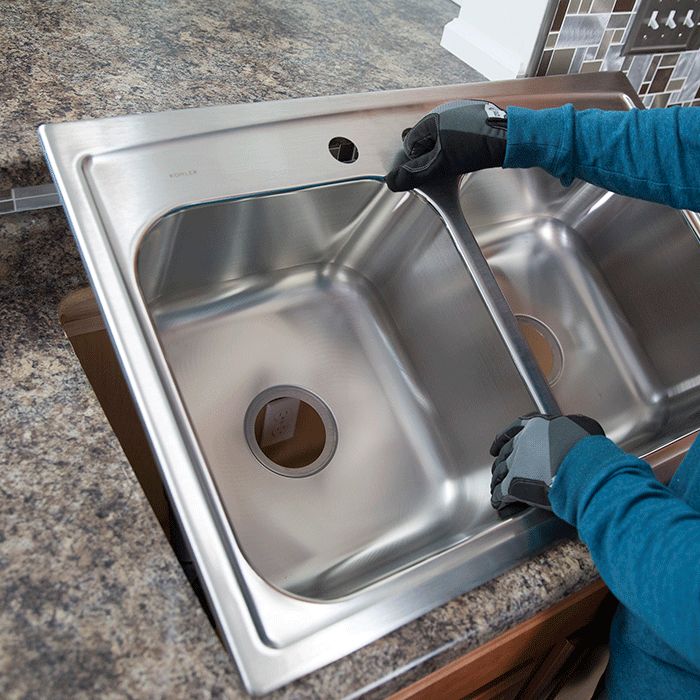
Securing the Sink to the Countertop
First, place the new sink into the countertop opening you’ve prepared. Check again to make sure it fits flush and level. Once in position, press down firmly around the edges to bond the sealant to the sink and countertop. This also removes any air bubbles that could weaken the seal. Next, secure the sink in place using the clips or hardware provided by the manufacturer. From beneath the countertop, tighten these fasteners, so the sink is held firmly in place against the counter.
Reconnecting Water Supply and Drainage
With the sink secured, turn your focus to the plumbing. Reconnect the water supply lines to the faucet. Use a wrench to ensure the connections are tight and secure. There should be no give when you gently tug on the hoses. Next, reattach the drain assembly. Apply plumber’s putty around the drain opening before installing the drain fitting. This ensures the connection is watertight. Tighten all parts again, check for alignment, and ensure everything is positioned correctly. Once all connections are made, turn on the water supply valves and watch for any signs of leaks.
By following these steps carefully when you install kitchen sink, you can ensure a stable and functional sink setup. In the next sections, we’ll go over how to validate your work with final checks and testing, and offer advice for maintaining your kitchen sink to prolong its efficiency.
Final Checks and Testing
Once the new kitchen sink installation is complete, final checks and testing are critical. These steps will ensure your sink is ready for use.
Checking for Leaks and Seal Integrity
After you install the kitchen sink, checking for leaks is paramount. Start by visually inspecting the seal around the sink. Look for gaps or areas where the silicone sealant might be missing. Next, wipe the areas around the pipes and the sink’s base with a dry towel. Turn on the water and let it run for a few minutes. Check the towel for any signs of dampness that indicate a leak. Pay close attention to the joints where the sink meets the countertop.
Testing Water Flow and Drainage
The final step is to test water flow and drainage. Turn on the taps to ensure the water flows smoothly without any interruptions. Watch how quickly the water drains. A slow drain could mean there’s an issue with the installation. Make sure the water pressure is consistent and the drain pipe is clear. If everything looks good, congrats! You’ve successfully learned how to install kitchen sink.
 Maintaining Your Kitchen Sink
Proper maintenance can extend the life of your kitchen sink and keep it looking new.
Regular Cleaning and Upkeep
Regular cleaning is essential to maintain your kitchen sink. Here are some simple steps to follow:
- Wipe down the sink daily to prevent water spots and buildup.
- Use gentle cleaners and avoid abrasive materials that can scratch the surface.
- Clean the drain weekly with baking soda and vinegar to clear potential clogs.
- Check the faucet and handles for drips, which might indicate a need for repair.
These habits will help keep your sink in top condition.
Tips for Prolonged Sink Efficiency
To ensure prolonged efficiency of your kitchen sink, consider these tips:
- Avoid dumping grease or oil down the drain; it can lead to blockages.
- Use a sink protector or mat to guard against scratches and dents.
- Tighten connections if you notice any minor leaks to prevent bigger problems.
- Replace worn-out sealant around the sink to avoid water damage.
By following these recommendations, you can enjoy a functional and aesthetic kitchen sink for years.
 Troubleshooting Common Sink Installation Issues
Even after careful installation, you may face common issues like leaks or clogs. Knowing how to address these will save you time and stress.
Addressing Leaks and Clogs
If you notice a leak, act fast to prevent water damage. Check connections and tighten any loose fittings. For clogs, a plunger or a plumber’s snake can often resolve the problem. Avoid chemical drain cleaners, as they can damage your pipes. If issues persist, the P-trap under the sink might need cleaning or the sealant may require reapplication.
Adjusting Fittings and Sealant
Sometimes, you might need to adjust the sink fittings. Make sure all connections, including the faucet and drain assembly, are secure but not over-tightened, as this can cause damage. If the sealant around the sink appears to be failing or deteriorating, clean the area and apply a new layer of silicone. This will help to maintain the integrity of the seal and prevent future leaks.