Introduction to Knife Sharpening
Knife sharpening is a vital skill for culinary success. A sharp knife makes cooking easier and safer. Yet, many chefs overlook this crucial maintenance task. This guide teaches you how to sharpen a kitchen knife efficiently. We focus on using a whetstone for its precision and control over the sharpening process. Whether you’re a cooking enthusiast or a professional chef, mastering the art of knife sharpening can transform your food preparation experience.
With the correct tools and techniques, even a beginner can learn how to sharpen a kitchen knife effectively. This introduction sets the stage for honing your knife-sharpening skills. We cover everything from picking the right whetstone to maintaining the keen edge of your freshly sharpened kitchen knife. Let’s sharpen those blades and enhance your culinary craftsmanship!
Essential Tools for Sharpening Your Knife
Before you begin the process of sharpening your kitchen knife, gathering the right tools is essential. A proper toolkit not only makes the task easier but also ensures a more effective and safe sharpening experience. The key to a sharp knife is consistency and the mastery of technique, both of which are supported by using the correct sharpening tools.
Choosing the Right Whetstone
When it comes to whetstones, selection is vital. The whetstone, also known as a sharpening stone, provides the abrasive surface needed to sharpen the blade’s edge. Whetstones come in different grits, typically indicating the coarseness level. Coarser stones (with lower grit numbers) shape and repair the edge, whereas finer stones (with higher grit numbers) polish and refine the edge to sharpness.
Here’s how to choose the right whetstone for your needs:
- Determine the current state of your knife’s sharpness to decide on the grit required.
- For beginners, a double-sided whetstone with a 1000 grit on one side and a 6000 grit on the other is a versatile option.
- Ensure you purchase a whetstone that is easy to handle and fits the size of the knives you intend to sharpen.
- Consider a whetstone with a non-slip base for added stability during the sharpening process.
Whetstones are more reliable for sharpening than quick-fix knife sharpeners because they offer greater control. Using a whetstone also prevents excessive removal of metal from your knife, helping to extend the blade’s lifetime. Aim for a balance between quality and affordability; investing in a good whetstone will save you money in the long run by preserving the quality of your kitchen knives.
 Preparing Your Whetstone for Sharpening
To begin sharpening your kitchen knife with a whetstone, correct preparation of the stone is critical. This step sets the foundation for a successful sharpening session, ensuring the knife’s edge will be honed effectively. Follow these simple instructions to prepare your whetstone:
- Submerge the Stone: If your whetstone requires wetting, submerge it in water until no more air bubbles surface. The duration of soaking varies, but a soaked stone usually results in a better sharpen.
- Keep Water Handy: Throughout your sharpening, keep some water near. Periodically sprinkle water on the stone to maintain the necessary lubrication.
- Create a Stable Base: Place a damp towel underneath your whetstone to prevent slipping. A stable stone is safer and allows for more precise sharpening.
- Prepare Your Workspace: Ensure your workspace is comfortable and well-lit. Having everything within easy reach can provide a seamless sharpening experience.
Once your whetstone is ready, you can move on to the actual sharpening process. Remember, a well-prepared whetstone is the key to achieving that perfect edge on your kitchen knife.
Step-by-Step Guide to Sharpening Your Knife
Sharpening your kitchen knife with a whetstone involves a few detailed steps. With the right approach, you can get your knives razor-sharp and ready for any culinary challenge. Remember to work slowly and maintain a consistent angle throughout the process for the best results.
Wetting the Stone
Before using your whetstone, it’s important to wet it. Submerge it in water until no more air bubbles appear. This step is crucial as a wet stone sharpens better, and it reduces friction, which can cause the blade to overheat. Occasional watering throughout the process keeps the stone effective.
Finding the Correct Angle
The angle you sharpen at affects the knife’s sharpness and durability. A general starting angle is about 20-22 degrees for most kitchen knives. Use your thumb to measure; the knife should be at half your thumb’s width away from the stone when tilted.
Defining the Edge
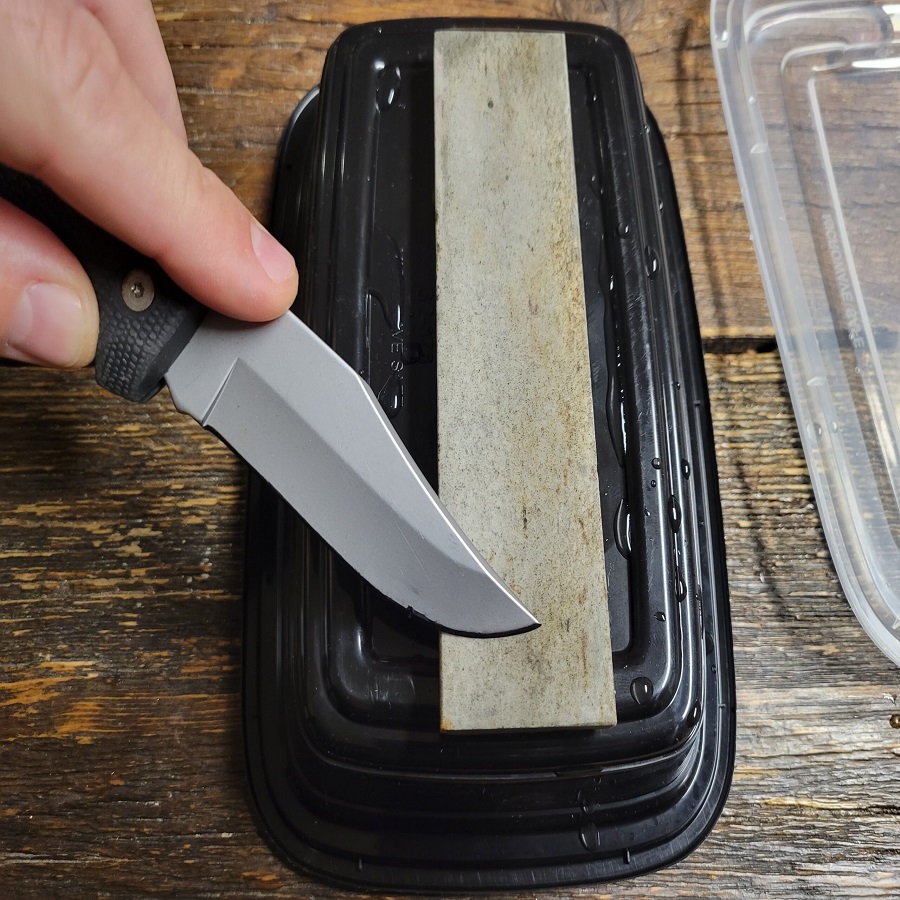
Start with the coarser side of your stone, usually around 1000 grit. Slide the knife across the stone, applying pressure only on the pull stroke. Do each section of the blade around 10-15 times before moving on to ensure you’re shaping the edge uniformly.
Polishing the Edge
Switch to the finer grit side of the stone, about 6000, to polish the edge. Repeat the sharpening motion, being careful to maintain the same angle. This will refine the blade’s edge, making it sharper and giving it a smoother finish.
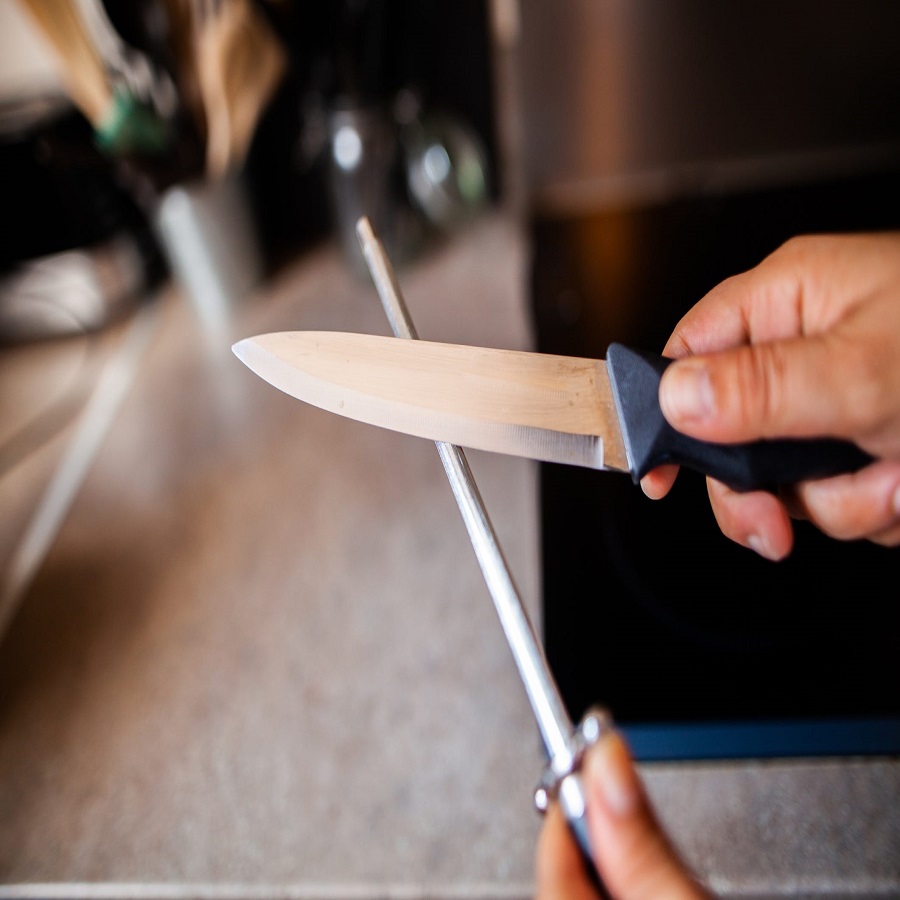
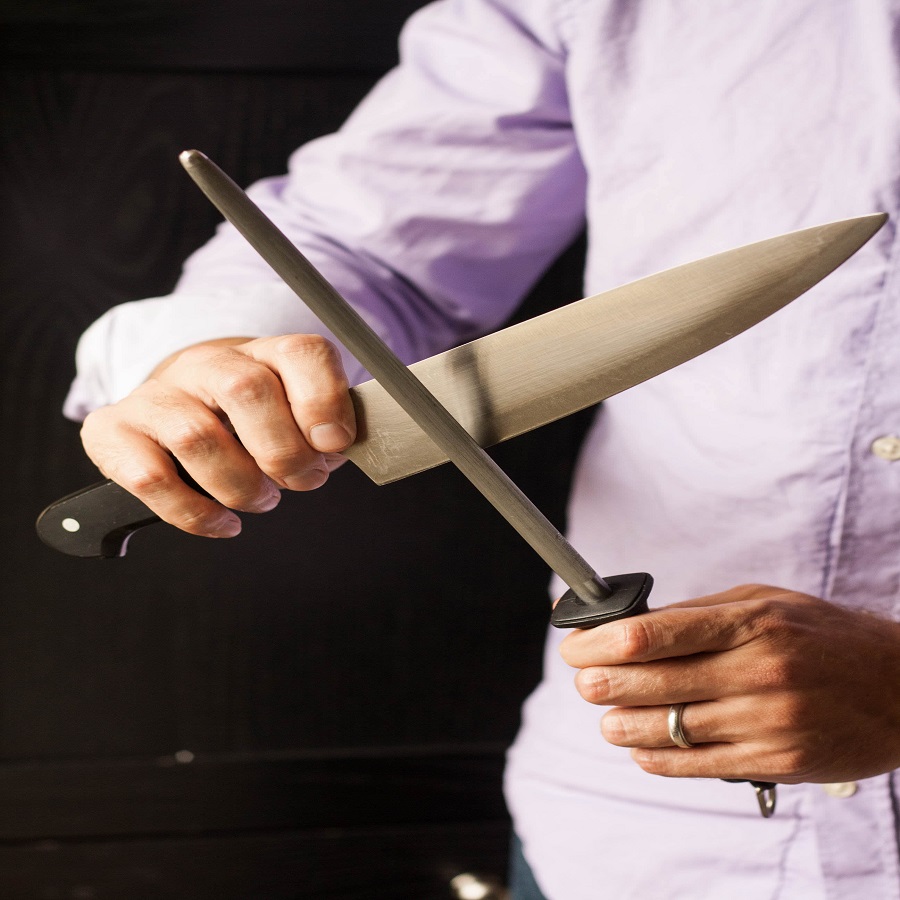
Honing the Final Edge
Finish by honing the knife with a honing steel. Run the blade gently against the steel a few times to align the edge and remove any burr. This will enhance the knife’s sharpness and make it ready for precise cutting.
 Maintaining Your Newly Sharpened Knife
After the effort of sharpening your kitchen knife, it’s vital to maintain its sharpness. Proper cleaning and storage will prolong the knife’s edge and ensure safety. Here’s how to keep your knife in top condition.
Cleaning and Storing Your Knife
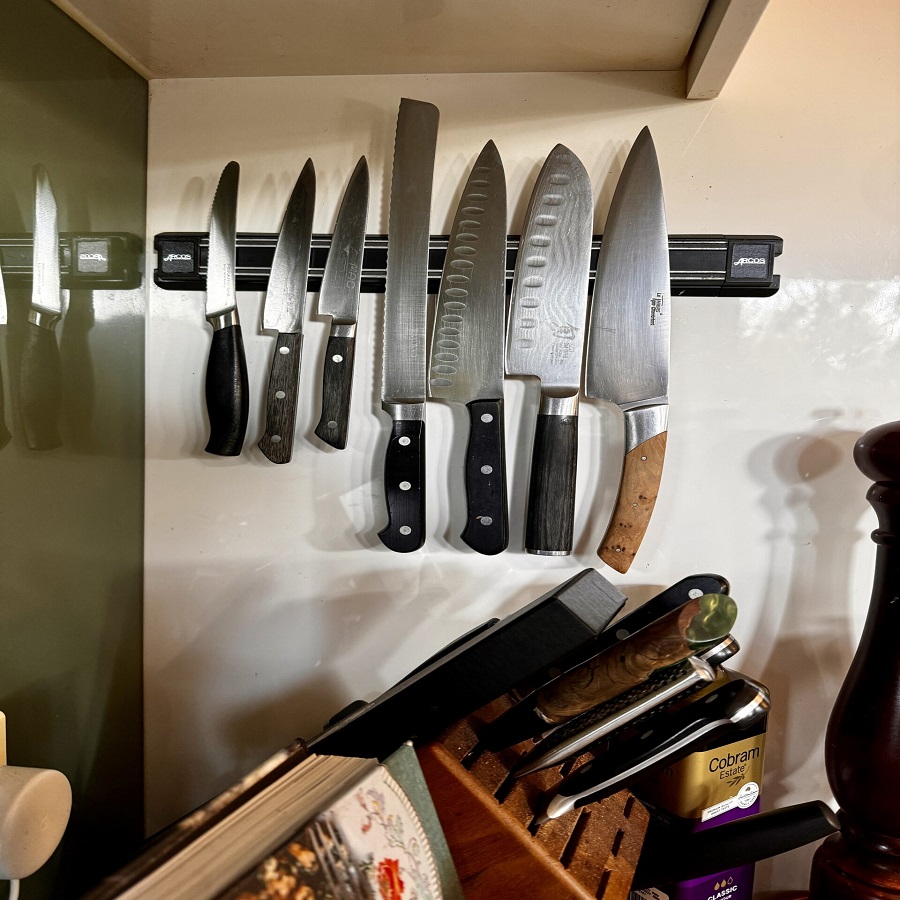
Right after use, clean your knife with warm, soapy water. Dry it immediately to prevent rusting. To store, choose options that avoid blade damage. Knife blocks, magnetic strips, or individual knife sleeves work best. Avoid cluttered drawers where knives can get dull or damaged.
Remember, a clean and well-stored knife stays sharp longer. It will serve you well in meal preparations and help keep a keen edge.
Hand-Wash vs. Dishwasher
Always hand-wash your knives. Dishwashers can cause knives to bump against other items, dulling the edge and leading to potential damage. The high water pressure and temperature in dishwashers may harm knife handles, especially if they’re made of wood or other delicate materials.
Hand-washing is simple and protects your knife. Use a mild dish soap and avoid harsh scrubbing that can scratch. Dry your knife by hand instead of air drying to avoid water spots and possible rust. A little care in cleaning goes a long way in maintaining your kitchen knife’s sharpness.
Advanced Knife Sharpening Techniques
Mastering the art of knife sharpening doesn’t end with the basics. As your skills grow, you’ll find that advanced techniques can further enhance the sharpness and longevity of your blades. These methods include using different grit stones and incorporating a leather strop into your routine.
Using Different Grit Stones
To really refine your knife’s edge, it’s beneficial to use a range of grit stones. Stones with lower grit numbers, like 400 to 800, are perfect for repairing and reshaping damaged edges. Medium grit stones, around 1000 to 3000, offer a good balance for sharpening and maintenance. High grit stones, such as 4000 to 8000, polish and perfect the edge, providing that razor-sharp finish.
- Start with repairing: Use coarse stones for fixing chips and dents.
- Move to sharpening: Continue with medium grits to sharpen the blade.
- Finish with polishing: Use fine stones to achieve a mirror-like edge.
The key is to progress gradually from coarse to fine stones. This ensures that each stage in the sharpening process contributes to a keen and durable edge. Gradual progression also reduces the risk of causing damage to your knife’s edge.
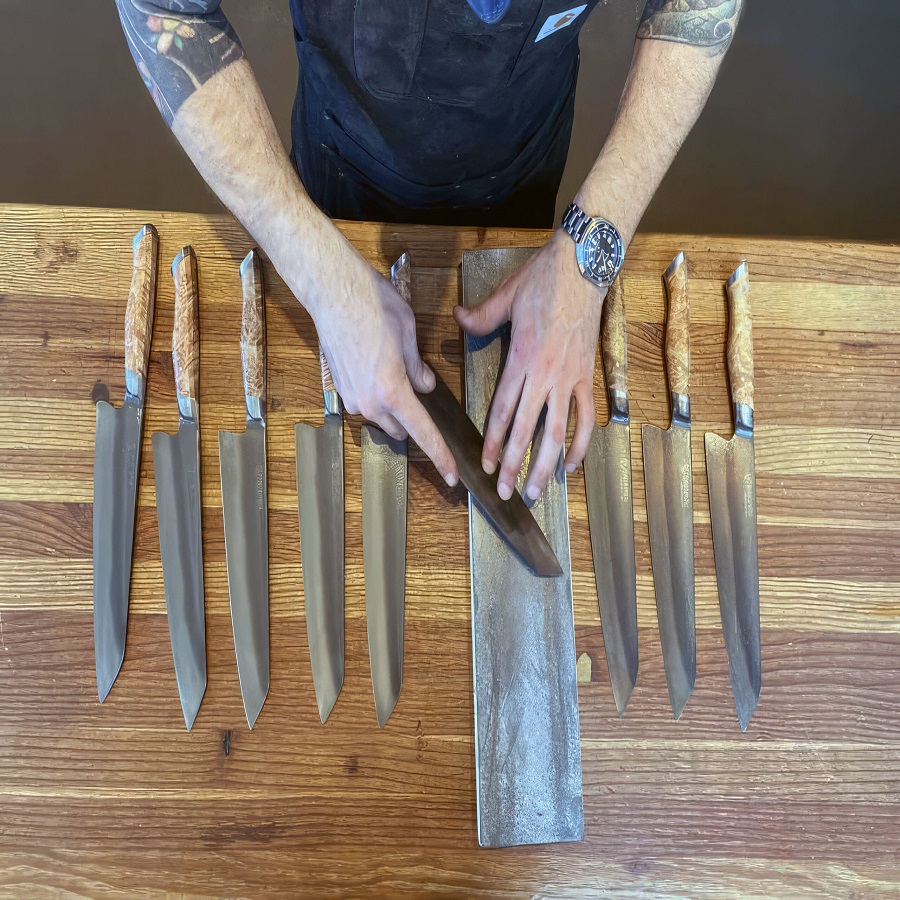
The Role of a Leather Strop
After you’ve sharpened your knife on stones, stropping is the final step. This involves running the blade’s edge along a piece of leather to align micro-grooves and remove any remaining burr.
- Hold the strop taut: Secure the leather strop on a flat surface.
- Use light pressure: Gently pull the blade across the strop.
- Repeat as needed: Few strokes are usually enough to finish.
Stropping not only ensures a sharper edge but also extends the time between sharpening sessions. By frequently using a strop, you can maintain the peak performance of your knives with minimal effort.
By employing advanced sharpening techniques, you’ll take your knife maintenance to the next level. Always remember, practice makes perfect, and your patience will yield finely honed blades that every chef would be proud to possess.
 Concluding Tips for Knife Care and Sharpening Maintenance
Keeping your kitchen knives sharp is not just a one-time job; it’s an ongoing process. Consistent care and proper maintenance after sharpening will ensure your knives stay in top condition for a long time. Here are some concluding tips to keep in mind:
- Store knives with care. Use a block, magnetic strip, or sheaths to prevent edges from dulling.
- Clean knives immediately after use. Hand-wash them with mild soap and dry at once.
- Avoid dishwashers for knives. They can damage knives by causing them to bump against other items.
- Use honing steels regularly. They align the edge and maintain sharpness in between full sharpening sessions.
- Inspect knives frequently. Look for signs of dullness or damage that might need attention.
- Sharpen periodically. Even with good care, knives will need sharpening every so often. The exact timing depends on use.
By following these simple yet effective tips for knife care and sharpening maintenance, you’ll ensure that your kitchen knives are always ready for action, making meal prep safer and more enjoyable. Remember that a sharp knife is a chef’s best friend, so give your blades the attention they deserve!