Identifying the Cause of Low Water Pressure
Low water pressure in your kitchen sink can be quite a nuisance. It slows down cleaning and filling pots. But before you can fix it, you need to identify the cause. Often, the issue might not be just with the sink, but could be affecting your entire home. Checking other faucets is a good first step. If they also have low pressure, it’s likely a broader issue. It may be time to speak with neighbors or check the municipal supply.

Sometimes, changes in your home can affect water pressure. Adding more water fixtures during renovations, for example, can spread your water thin. This may require adjustments to your water main. Regulators, like a pressure relief valve, are another common culprit. These valves control water pressure and can wear out or be improperly set. Leaks in pipes are also a factor to consider. A leak can reduce pressure and waste water.
In the kitchen, the problem could be isolated to the faucet. Make sure the valves under your sink are fully open. Check the supply hoses for kinks or blockages. The issue might be with the faucet’s aerator or cartridge too. These can become clogged with debris. Cleaning or replacing them can often restore pressure.
To pinpoint the cause, start with the simplest checks and move to more complex ones. Identify if it’s a local or widespread problem first. This approach will save you time and help avoid unnecessary repairs.
Inspecting the Municipal Water Supply
When facing low water pressure in your kitchen sink, it’s vital to inspect the municipal water supply. This source impacts water pressure in your entire home, including the kitchen sink. Begin by checking if other houses in your neighborhood experience the same pressure drop. If they do, the issue may stem from the municipal side.
Next, reach out to the local water authority. Ask about any work or issues affecting water pressure. Sometimes, maintenance or repairs can temporarily reduce water pressure. If this is the case, you’ll need to wait for the authority to resolve it.
In situations where neighbors have normal pressure and no municipal work is ongoing, focus on your home’s plumbing. The problem may lie in-house. Checking the municipal supply is a crucial step for how to increase water pressure in kitchen sink. It helps determine if the source is external or if you’ll need to troubleshoot further within your own plumbing system.
Checking for Leaks in Your Home’s Plumbing
When diagnosing low water pressure in your kitchen sink, checking for leaks is crucial. A leak can cause a significant drop in water pressure and be the root of the problem. To start, inspect all visible pipes and joints for signs of water. Look for damp spots, especially under the sink, around the valves, and at pipe bends.
Next, conduct a meter test. Turn off all water-using appliances, including the main water valve. Record the current reading on your water meter. Wait for a couple of hours without using any water. Check the meter again. If the reading has changed, you may have a hidden leak.
Also, listen for any hissing or dripping sounds in quiet moments, especially at night. These can be tell-tale signs of leaks. Pay close attention to areas where pipes run through walls or floors, as leaks here can go undetected for a long time.
It is important to remember that even small leaks can affect water pressure. They can also lead to water waste and higher utility bills. If you find a leak, it’s advisable to fix it immediately or consult a plumber. Taking care of leaks not only helps increase water pressure in the kitchen sink but also protects your home from potential water damage.
By methodically checking for leaks, you ensure that the low water pressure is not due to problems with your home’s plumbing. If leaks aren’t the issue, you can move on to other potential causes outlined in our comprehensive approach on how to increase water pressure in the kitchen sink.
Evaluating if Kitchen Renovations Affect Water Pressure
If you’ve noticed a decrease in water pressure following a kitchen renovation, it’s essential to consider how these changes may have impacted your system. Here are steps to evaluate if and how kitchen renovations affect water pressure:
- Review Added Fixtures: Adding new fixtures like a second sink or a dishwasher can strain your existing plumbing. More outlets require more water, which can reduce pressure.
- Examine Pipe Sizing: During renovations, if the size of your pipes was not increased to accommodate additional fixtures, they might be too small to handle the increased demand, leading to lower pressure.
- Check Valves and Connections: New installations come with new valves and connections. Make sure they are fully open and properly installed, as any restrictions here can affect water flow.
- Consult Renovation Plans: Review the renovation plans to understand if the layout or pathway of the plumbing was altered. Changes in the routing of pipes can sometimes cause pressure drops if not properly executed.
By closely examining each of these aspects, you can determine whether the renovations are at the root of your water pressure woes. If you find that renovations are the cause, consulting with a plumbing expert may be necessary to explore options for readjusting or upgrading your system to improve pressure. This check is a critical part of knowing how to increase water pressure in kitchen sink after changes to its structure or use.
Understanding Pressure Regulating Valves
Pressure regulating valves, or PRVs, are critical in maintaining consistent water pressure in your home’s plumbing. These bell-shaped devices are typically located on the main water line that enters your home. Misadjusted or malfunctioning PRVs can lead to low water pressure issues. To ensure proper function, follow these steps:
- Locate Your PRV: Find the pressure relief valve, usually near where the main water line comes into the house.
- Check the Setting: Ensure the PRV is set to the right level. The standard pressure setting is usually between 45 and 60 psi.
- Make Adjustments: If the setting is too low, you can adjust the PRV. Turn the screw on the top of the valve counterclockwise to increase pressure.
- Test the Pressure: After adjusting, run the water to check if the pressure has improved.
- Inspect for Wear and Tear: Sometimes, PRVs wear out over time. If adjustments don’t work, the valve may need replacing.
Proper understanding and maintenance of your PRV can significantly impact how to increase water pressure in your kitchen sink. If you suspect the PRV is the cause of your pressure woes, it may be time for an inspection or replacement.
 Diagnosing Faucet Specific Problems
When low water pressure is limited to your kitchen sink, the fault may lie within the faucet itself. To diagnose faucet specific problems, begin with the simplest solutions:
- Inspect the Valves: Ensure that the valves under your sink, which control the flow of both hot and cold water, are fully open.
- Examine the Supply Hoses: Check for any kinks or blockages in the water supply hoses located under the sink, which can impede water flow.
- Look at the Aerator: The aerator is found at the faucet’s tip. It can become clogged with mineral deposits and debris, causing low water pressure. Clean or replace it as needed.
- Assess the Cartridge: For faucets with cartridges, debris can accumulate in the cartridge’s small openings, reducing water flow. Investigate and clean or replace if necessary.
Addressing these points may resolve the low water pressure issue. If pressure remains low after these checks, the problem could be more complex, potentially needing professional assistance.
Addressing Clogged Aerators and Cartridges
If your kitchen faucet’s water pressure is low, the aerator or cartridge might be clogged. A clogged aerator, which is at the faucet’s tip, restricts water because of mineral buildup. Here’s how to fix it:
- Remove the Aerator: Unscrew it from the faucet. You might need pliers for this.
- Clean the Aerator: Soak it in vinegar to dissolve the buildup. Then, scrub off any residue.
- Replace if Necessary: If it’s too worn out, install a new aerator.
Faucet cartridges regulate water flow and can also be clogged. Address this issue as follows:
- Access the Cartridge: Take apart the faucet handle. The cartridge is usually beneath.
- Examine and Clean: Look for debris. Rinse it under water and clean openings with a pin.
- Replace the Cartridge: If it remains blocked or is damaged, install a new one.
Improving water pressure can be as simple as clearing these components. If tackled early, you can prevent more complex issues.
Troubleshooting Low Hot Water Pressure Issues
When facing low hot water pressure at your kitchen sink, the problem might be specific to the hot water line. Here are steps to troubleshoot this issue:
- Check the Hot Water Valve: Ensure the valve for hot water under your sink is fully open. A partially closed valve can significantly reduce water pressure.
- Inspect the Water Heater: Problems with your water heater could lead to low water pressure. Look for any signs of malfunction or settings that could restrict flow.
- Flush the Heater: Mineral deposits can accumulate in the water heater and affect pressure. Draining and flushing it may help improve the situation.
- Evaluate the Hot Water Pipes: Deposits can also build up in hot water pipes, narrowing the passage and reducing pressure. These may need professional cleaning or replacement.
By systematically checking each potential cause of low hot water pressure, you can identify and remedy the issue. Don’t hesitate to seek a plumber’s help if the problem persists, as the cause may be more complex. Addressing hot water pressure problems promptly will help ensure your kitchen sink functions effectively.
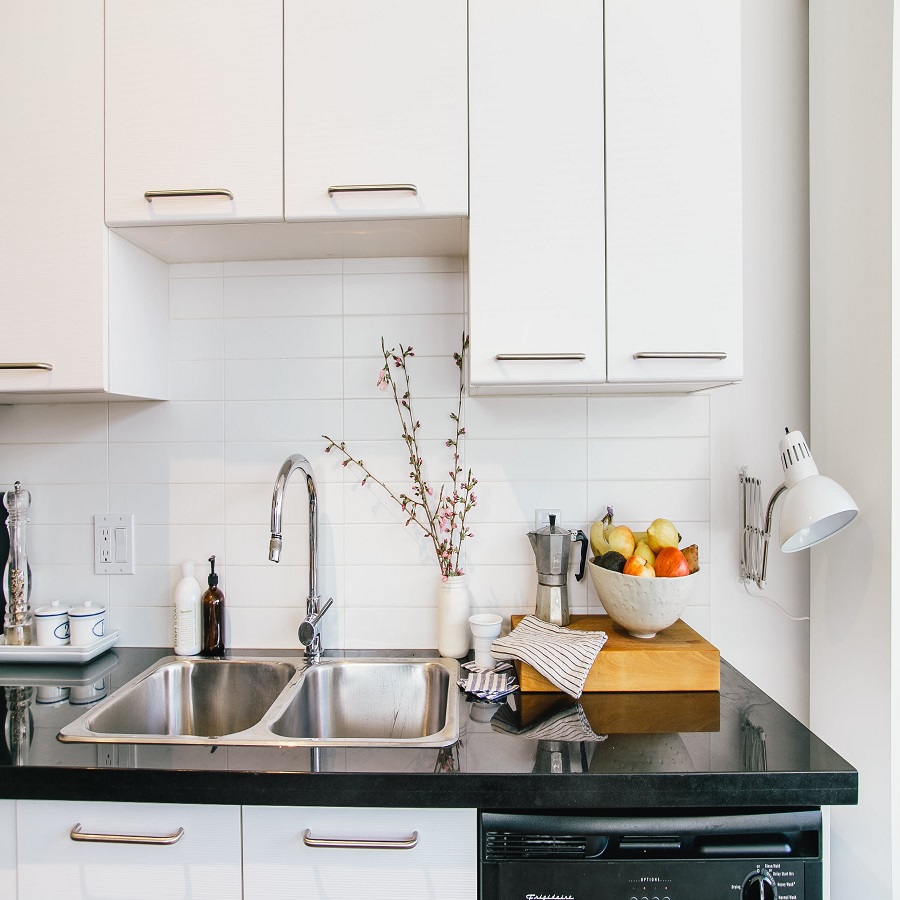 Exploring Solutions: Replacing Faucet Components or Entire Unit
When you’ve ruled out the common causes of low water pressure and the issue still persists, it may be due to worn-out components or an outdated faucet. Here are some solutions to explore:
- Replace Clogged Aerators: If cleaning doesn’t improve pressure, opt for a new aerator. This can instantly boost water flow.
- Install New Cartridges: For dull water flow due to a clogged cartridge, fitting a replacement can restore pressure.
- Upgrade the Faucet: Sometimes, the entire faucet unit is to blame. Upgrading to a newer model can improve pressure and update your kitchen’s look.
- Examine Supply Lines: Old or damaged supply lines restrict flow. Replacing them may increase water pressure.
Ensure valves under the sink are open during this process. Also, turn off the water when replacing parts. If you’re not handy, call a plumber. Remember, replacing faulty parts or the whole unit can greatly increase water pressure in your kitchen sink.

