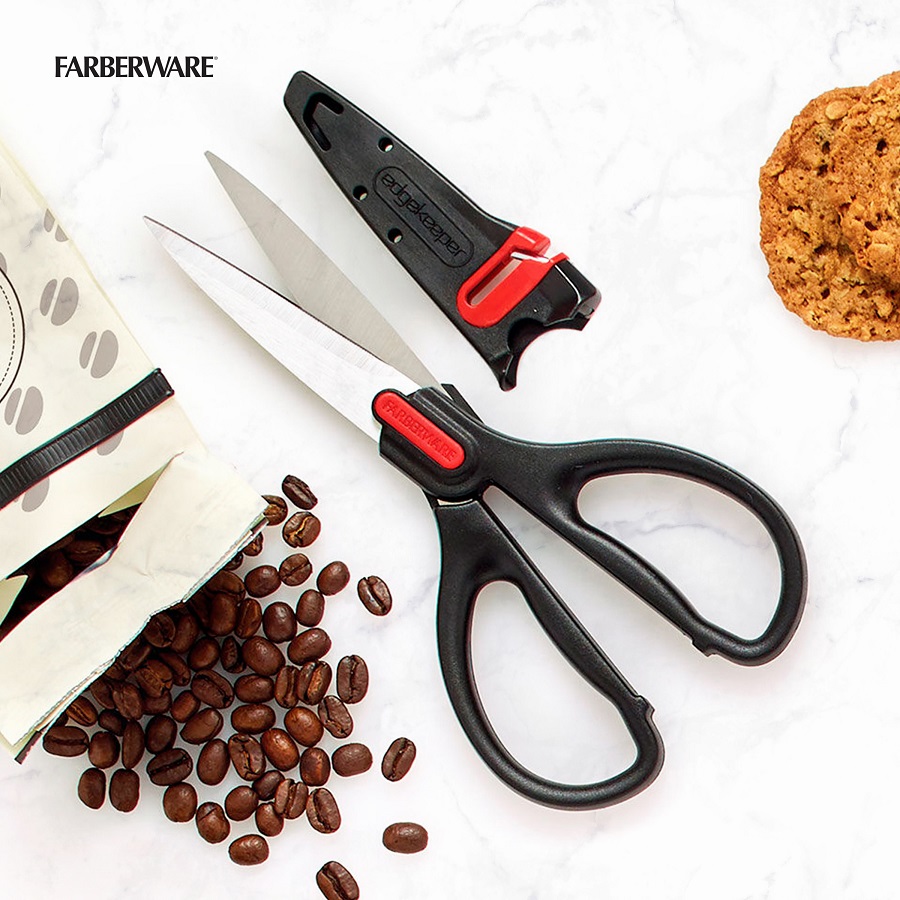
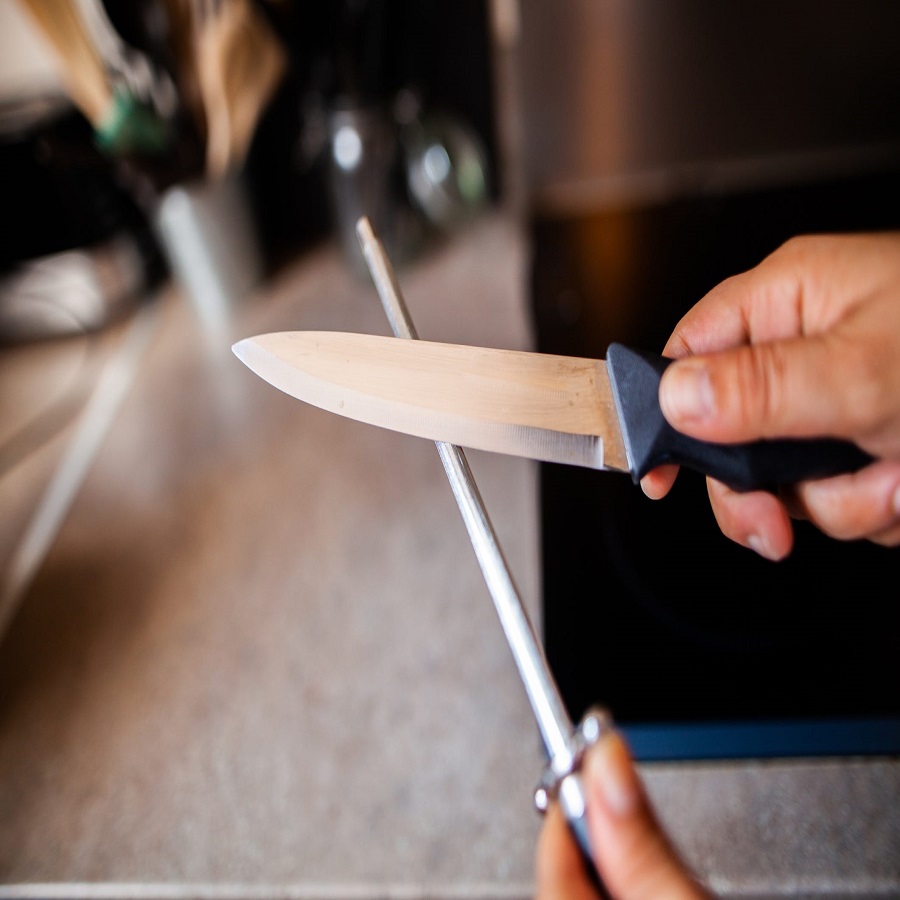
Introduction to Sharpening Kitchen Shears
Dull kitchen shears can make cooking prep a challenge. Knowing how to sharpen kitchen shears is a must for any home cook. In this blog, we’ll cover effective techniques to keep your shears in top shape. We use tools like sanding paper, aluminum foil, glass bottles, whetstones, and rotary tools. By the end of this blog, you’ll have the knowledge to sharpen shears easily and safely. So, you’ll cut with precision every time you cook. Ready to get those blades slicing smoothly again? Let’s dive into the techniques!
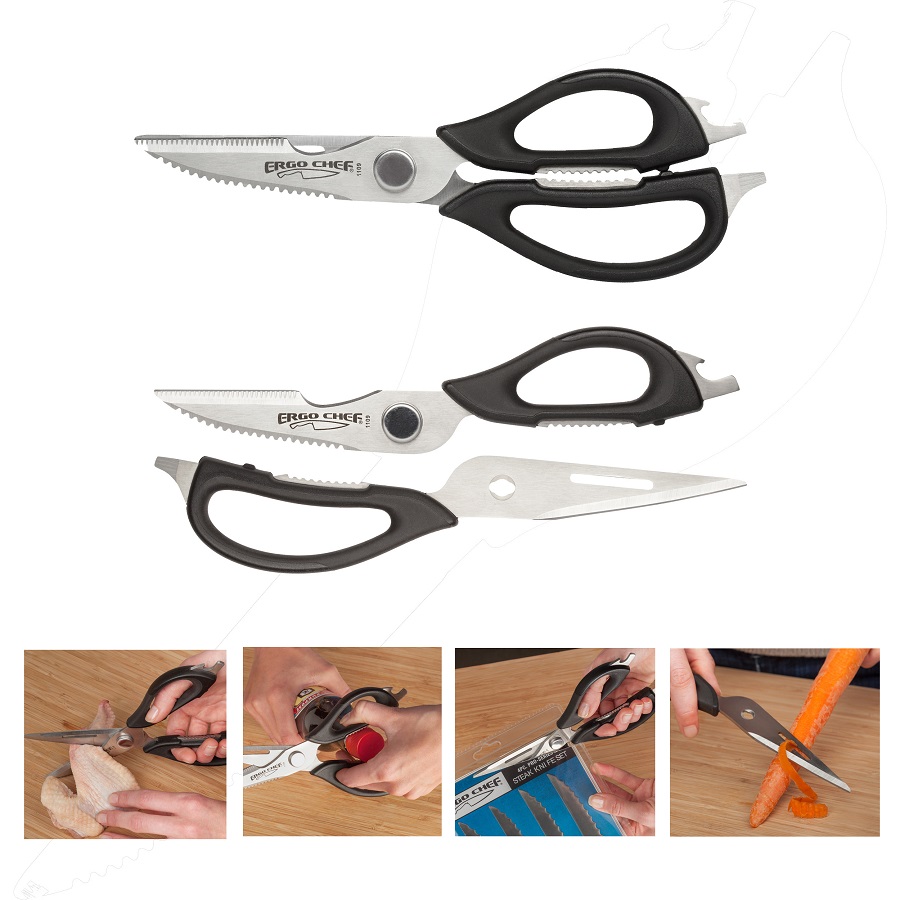
Using Sanding Paper for Sharpening
Sharpening your kitchen shears with sanding paper is a simple and effective method. This approach requires minimal equipment and can be done right at home. Here’s a detailed step-by-step process to get your shears cutting crisply again.
Step-by-step Process
- Gather Your Materials: You’ll need a sheet of sanding paper, preferably between 150 to 200 grit, and a paper towel.
- Prepare the Sandpaper: Fold the sandpaper sheet in half so the smooth sides are touching. This should leave both coarse sides exposed.
- Start Sharpening: Hold the kitchen shears and cut through the coarse side of the sandpaper. Repeat this motion ten to fifteen times. Ensure the entire cutting edge of the blades runs through the sandpaper each time.
- Check Sharpness: If the blades are not as sharp as desired, repeat the cutting more times.
- Clean the Blades: Use the paper towel to wipe down the blades of the shears. This removes any residue and ensures your shears are ready for use.
By following these simple steps, you’ll be able to maintain the sharpness of your kitchen shears at home without needing professional tools or services.
Utilizing Aluminum Foil as a Sharpening Tool
Aluminum foil is not just for wrapping leftovers. It’s also a handy tool to sharpen kitchen shears. This method is great if you don’t have specialized equipment. Let’s walk through the steps to use aluminum foil for getting those blades sharp again.
Detailed Instructions
- Cut a Piece of Foil: You need a long sheet of aluminum foil, about 10 inches.
- Fold the Foil: Fold the aluminum foil lengthwise multiple times. Aim for a thick strip.
- Sharpen the Shears: Take your kitchen shears and cut through the thick strip. Do this ten to twenty times.
- Full Blade Contact: Ensure the entire blade cuts through the foil for even sharpening.
- Check the Sharpness: Repeat if needed until you’re satisfied with the sharpness.
- Clean Up: Wipe your shears with a towel to remove any foil bits.
By using these straightforward steps, you can restore your kitchen shears‘ cutting edge without much hassle. The process is quick, convenient, and requires something you probably already have in your kitchen drawer. Remember to handle the shears carefully and to protect your hands during the process.
Sharpening with a Glass Bottle or Mason Jar
Believe it or not, a common glass bottle or mason jar can sharpen kitchen shears. This method is quite effective and uses items you likely have at home. Let’s look at a simple technique to give your shears a new edge.
How to Execute the Technique
- Hold the Bottle or Jar: Securely grasp a glass bottle or mason jar with your non-dominant hand.
- Position the Shears: Place the open scissors at the top part of the glass object.
- Cutting Motion: Gently glide the shears along the glass edge. Use the full blade for each cut.
- Repeat: Perform this motion fifteen to twenty times. If needed, do it more for extra sharpness.
- Inspect Sharpness: Test the blades and repeat if they’re not sharp enough.
- Final Cleaning: Wipe the blades with a paper towel to remove any glass residue.
This glass sharpening method is cost-effective and doesn’t require fancy tools. It’s an ingenious way to keep your kitchen shears sharp and ready for action. Just approach the process with care to maintain safety.
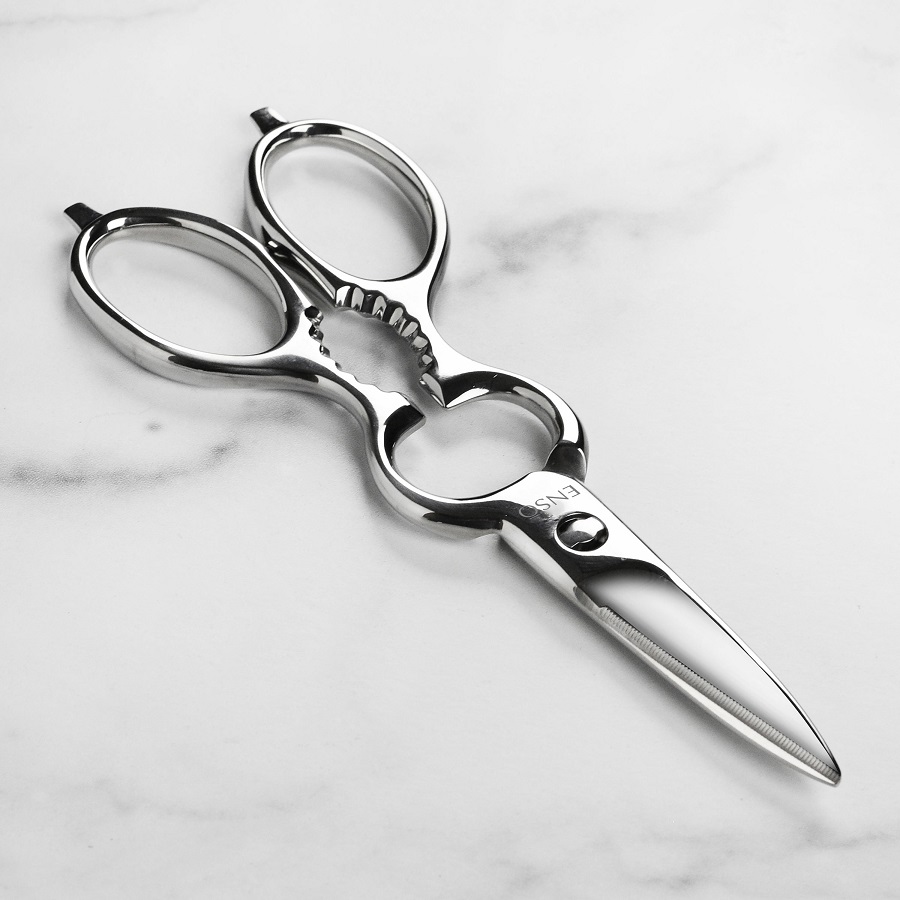 Employing a Whetstone for Sharpening
Whetstones are great for giving kitchen shears a sharp edge. This method is a bit more involved but offers excellent results. Let’s go through the steps to sharpen kitchen shears with a whetstone.
Preparation and Sharpening Process
- Lay Out Your Materials: Place a whetstone on a damp kitchen towel to prevent slipping.
- Coarse Side Up: Start with the coarse side of the whetstone facing upwards.
- Optional Blade Separation: For better control, you can take apart the shears.
- Sharpen Beveled Edge: Run each blade along the stone, keeping the angle consistent.
- Repeat Strokes: Do this up to twenty times per blade. Check the sharpness after.
- Sharpen Flat Edge: Turn the blade flat and gently slide it across the stone.
- Fine Side Finishing: Flip the stone to its fine side. Finish with light strokes.
- Clean Blades: Remove any debris by wiping the blades with a paper towel.
This technique requires attention to detail. The angle and pressure must be steady for best results. Once mastered, this method ensures your shears remain sharp for much longer.
Advantages of Using a Rotary Tool
Rotary tools offer precision and speed when sharpening kitchen shears. Unlike manual methods, a rotary tool can quickly smooth and shape the blade edges. The result is a consistently sharp edge across the entire length of the blade. Additionally, rotary tools can remove burrs effectively, which is vital for a clean cut. This method is ideal for those looking for a quick, effective way to maintain their shears with professional results.
Equipment Needed and Procedure
- Secure the Shears: Clamp your kitchen shears upright in a vise or have someone hold them steady.
- Setup the Rotary Tool: Attach the appropriate grinding attachment to the rotary tool.
- Inspect the Blades: Notice the beveled and flat sides of the shear blades.
- Start Sharpening: Use the rotary tool on the beveled edge at the correct angle.
- Equal Strokes: Sharpen both blades with an equal number of strokes.
- Test and Refine: Check the sharpness and go over any dull spots again if needed.
- Remove Burrs: Cut through cardboard to clean off any remaining burrs.
- Final Clean: Wipe the blades with a towel to remove any metal filings.
With this procedure, your kitchen shears will be ready to tackle tough cuts in no time. Remember to wear safety glasses to protect your eyes from metal filings.
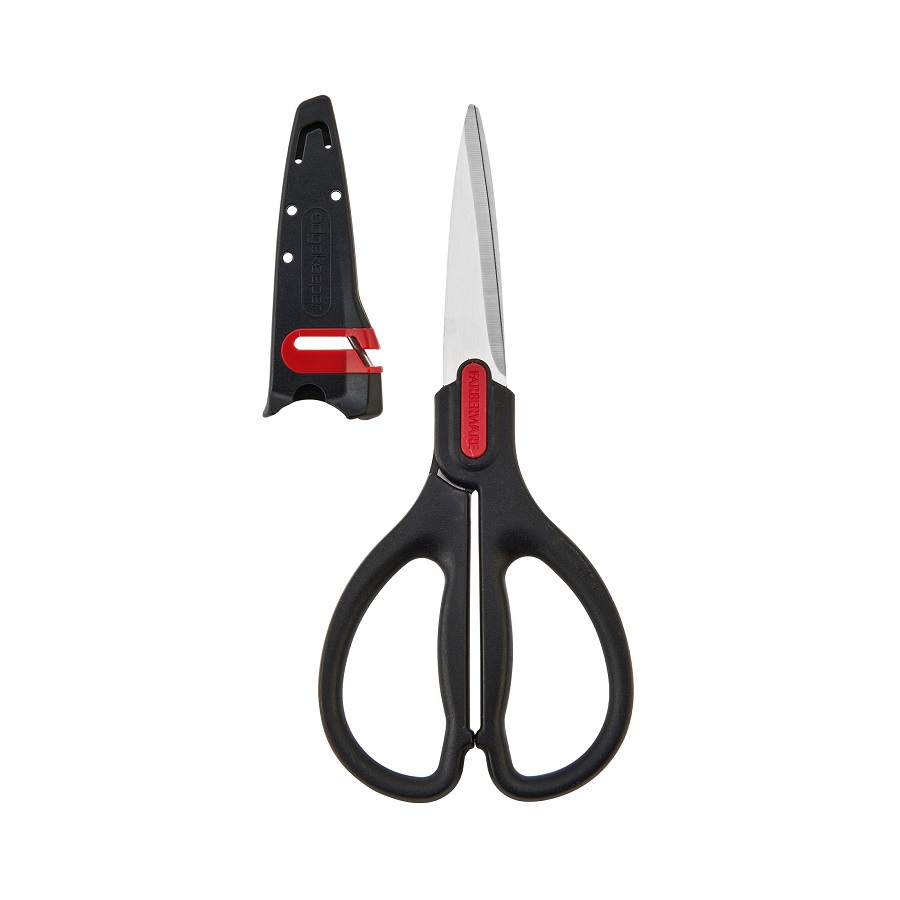 Conclusion: Maintaining Sharp Kitchen Shears
To keep your kitchen shears sharp, you need to maintain them. Sharp shears are key for hassle-free cooking. We’ve covered five ways to sharpen them, each with simple steps. Sanding paper and aluminum foil are quick, at-home methods. Glass bottles and masonry jars offer an unconventional approach. Whetstones give a precise edge, and rotary tools provide speed and consistency. Choose the best method that suits you and stick to it. Sharpen both sides evenly, get the angle right, and always clean the blades after. Regular upkeep ensures long-lasting sharpness. So, say goodbye to dull blades and enjoy the ease of cutting with well-maintained shears.

