Introduction to Cabinet Hardware Installation
How to install kitchen cabinet handles – Refreshing your kitchen does not always require a complete remodel. Installing new cabinet handles can provide an instant lift. This task, surprisingly straightforward, can create a noticeable impact. It’s a great way to add a touch of style and personalization to your space. But before diving into the installation process, it’s crucial to familiarize yourself with it.
The process of how to install kitchen cabinet handles involves a series of steps. You’ll need to gather the right tools, take precise measurements, and handle tools with care. With some patience and attention to detail, you can achieve a professional look without the professional cost.
Whether you’re updating old cabinets or adding the finishing touches to new ones, handle installation is a manageable DIY project. By following a simplified guide, you ensure the handles are not only aesthetically pleasing but also functional and well-placed. We’ll cover everything from the tools you’ll need to the finishing touches. Get ready to transform your kitchen with this simple hardware installation guide.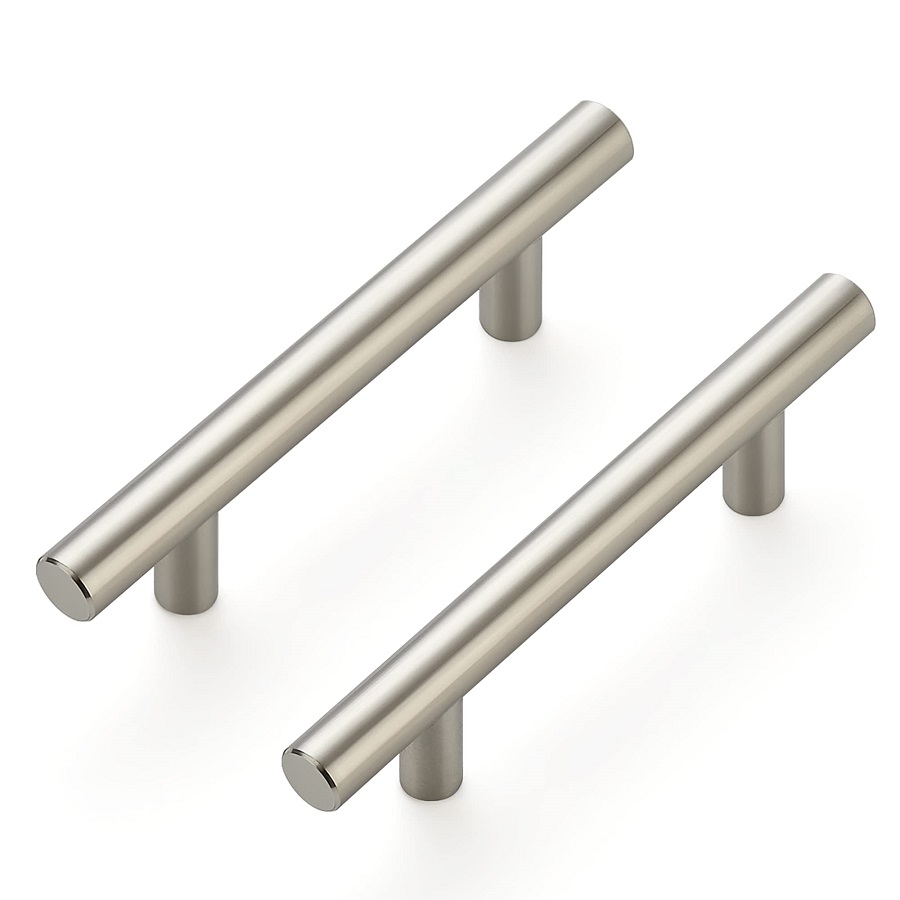
Essential Tools for Installing Cabinet Handles
Having the right tools is crucial for a successful installation of kitchen cabinet handles. This section will guide you through identifying the tools necessary for the task.
Identifying the Correct Tools
To install kitchen cabinet handles efficiently and safely, you’ll need several specific tools:
- Cordless Drill: Essential for drilling holes in your cabinet doors. Ensure it comes with a wood drill bit suitable for the fixings supplied with your handles.
- Combination Square: Helps ensure that your handle alignment is straight and even.
- Tape Measure: Necessary for accurate placement of the handles.
- Pencil: Used to mark the spot where you’ll drill.
- Screwdriver: Needed for securing the handles once the holes are drilled.
- Spirit Level: Assists in checking that your handles are perfectly horizontal.
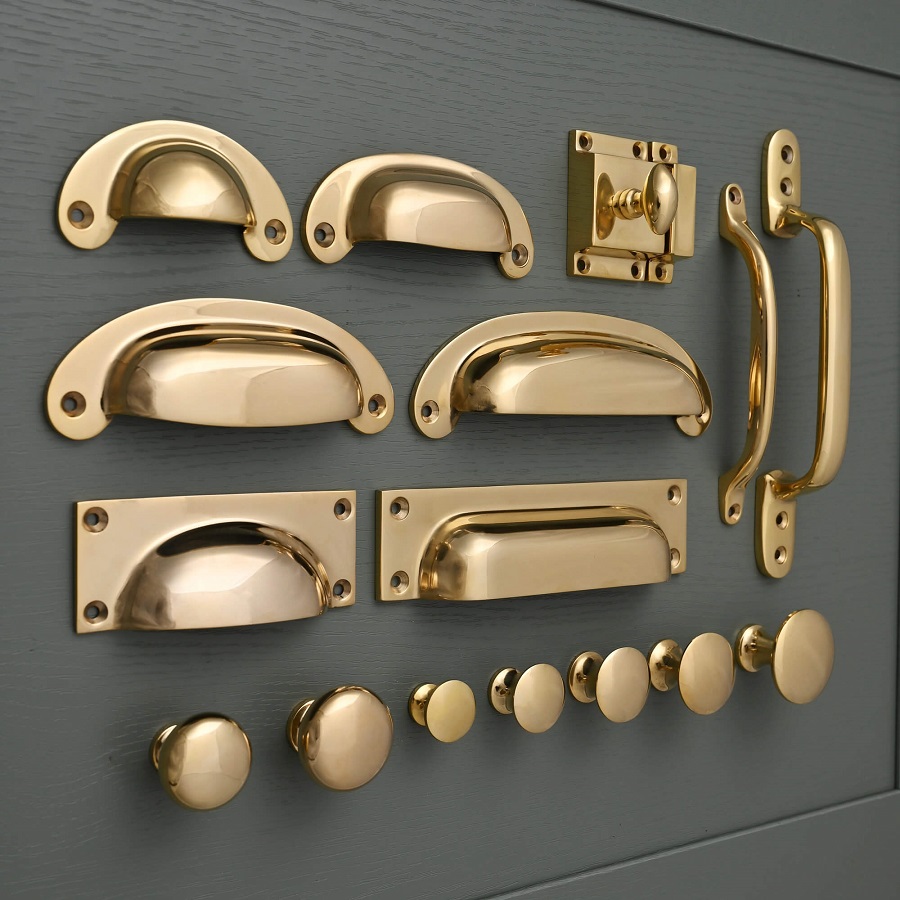
- New Handles: Choose handles that complement your kitchen’s style.
Each tool plays a pivotal role in the installation process. With these at your disposal, you’re ready to move on to positioning your new kitchen cabinet handles.
Preparing to Install New Handles
Before you start drilling into your cabinet doors, the correct positioning of the handles is key to achieving a sophisticated look. By following a systematic approach, you can ensure that your cabinet handles are not only stylish but also ergonomically placed for daily use. Here’s how to begin this phase of the installation process.
Positioning the Handles on Your Cabinets
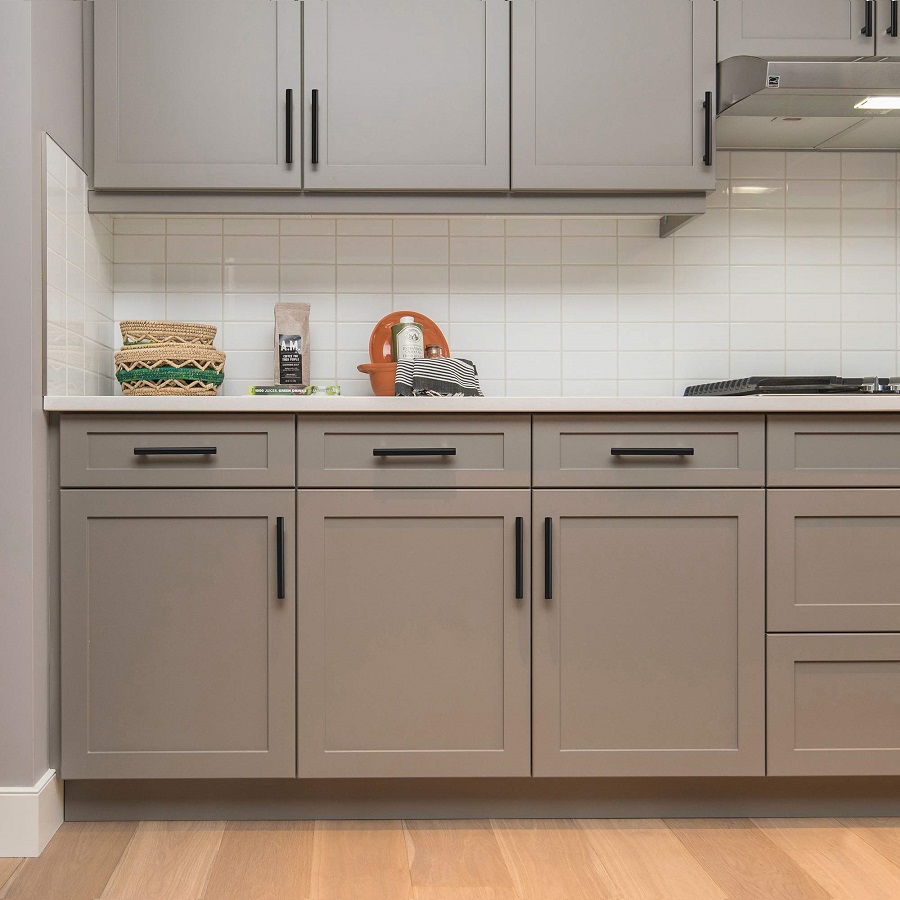
Deciding where to place your kitchen cabinet handles may seem overwhelming, but there are some simple guidelines to follow. Usually, for base cabinets, you’ll want to attach the handles towards the top of the doors. This positioning makes it easier to reach without bending over too far. For wall cabinets, attach the handles closer to the bottom of the doors to avoid having to stretch or use a stool.
It’s also a common practice to center handles horizontally on drawers for a balanced look. The exact position can vary based on your preference, cabinet style, and handle design. Remember, consistency is crucial for a polished appearance, so take your time in planning the placement.
Measuring and Marking for Precision
Accurate measurements are vital to ensure that the handles are correctly centered and aligned. To start, use a tape measure to find the appropriate placement from the edges of the doors or drawers. Then, mark these spots lightly with a pencil, being careful not to damage the surface.
Using a combination square and a spirit level, draw lines to connect your marks, ensuring they are level. Next, measure the door height and divide it into thirds to determine the area where the handle will sit. Mark lightly with your pencil where your handle’s screw holes will go, based on the handle’s dimensions.
Having your measurements marked precisely ensures that once you drill, the handles will be perfectly aligned and symmetric on each cabinet or drawer. This attention to detail will give your kitchen a professional, thoughtfully designed look.
Drilling and Creating Fixing Points
Now that you have positioned and marked where your kitchen cabinet handles will go, it’s time for drilling.
Techniques for Accurate Drilling
For precise drilling, consider these techniques:
- Start with a smaller drill bit, sometimes called a ‘starter hole’.
- Drill at 90 degrees to the surface to avoid angling.
- Go slowly to maintain control and precision.
- Use an awl, a sharp tool, to make a small indent as a guide.
- Double-check your measurements before drilling.
By following these steps, your handles will align perfectly across all cabinets.
Avoiding Common Drilling Mistakes
Avoid common drilling errors with these tips:
- Don’t rush the drilling process.
- Verify your drill bit is the correct size.
- Make sure the drill is fully charged.
- Always drill from the outside to prevent chipping.
- Hold the drill steady to keep the hole level.
Taking care with these aspects will help you avoid mistakes and achieve professional-looking results. With careful drilling, the installation of your new cabinet handles will be smooth and successful.
 Attaching the Handles to the Cabinets
Now that you have drilled the holes, the next step is to attach the handles to your kitchen cabinets. This crucial phase will determine the stability and functionality of your handles. Ensuring they’re secured properly will make all the difference in how they perform in daily kitchen activities.
Securing the Handles Properly
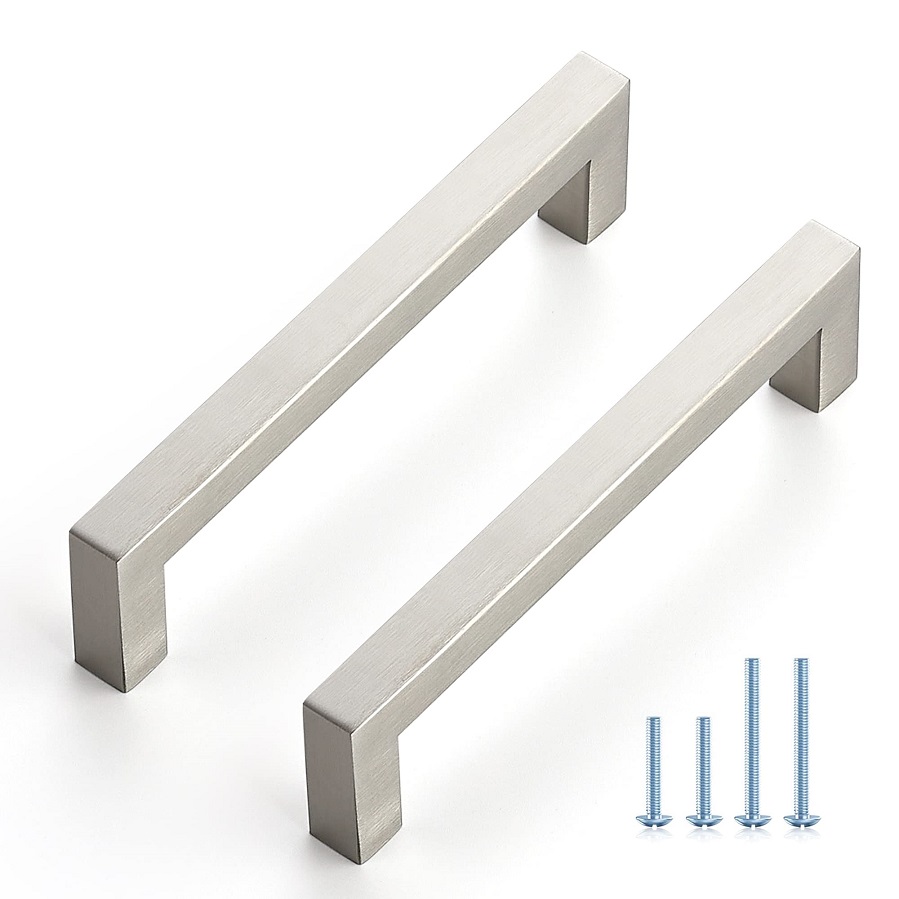
- Start by inserting the screws: Place the screws through the holes from the inside of the cabinet door or drawer front. Make sure the screws poke out slightly on the outside surface.
- Align the handle with the screws: Position the handle over the screws. This is critical to ensure that your handles are aligned perfectly with the holes you drilled.
- Begin tightening the screws: Use your screwdriver to tighten the screws into the handle. Tighten them enough to hold the handle in place but not fully yet – this allows for minor adjustments if needed.
- Adjust the handle if necessary: Before fully tightening, ensure the handle is positioned exactly how you want it. This might involve slightly shifting it so it aligns perfectly with your cabinet’s design.
- Fully secure the screws: Once you are satisfied with the positioning of the handle, tighten the screws completely. Ensure each one is snug, so the handle feels firm and doesn’t wobble.
- Repeat for all handles: Follow the same steps for each handle. Consistency is key to ensure all handles are equally secure and aligned.
Attaching your kitchen cabinet handles securely not only enhances the comfort but also ensures longevity. With robust fixing, the handles can withstand routine use, remaining both functional and aesthetically pleasing.
Finishing Touches and Quality Check
After installing your kitchen cabinet handles, it’s important to invoke a sense of completeness. Ensuring each detail is perfect is the final, yet critical, step in this DIY project. When examining your handiwork, consider the following:
Inspecting the Installation
- Review Each Handle: Examine every installed handle for firmness and alignment. Handles should not wobble or appear out of line.
- Adjust If Necessary: If a handle isn’t quite right, now is the time to make those minute tweaks. Loosening then retightening screws might just do the trick.
- Check for Hardware Interference: Ensure that no handles interfere with another cabinet’s operation or the kitchen’s workflow.
Cleaning and Maintenance
- Clean Off Any Debris: Wipe away any dust or wood shavings that resulted from drilling. A clean workspace reflects a careful job.
- Polish the Handles: Using a soft cloth, give the handles a shine. This not only cleans them but also adds a gleaming finish to your cabinetry.
- Regular Checks: Periodically, after use, check to confirm screws haven’t loosened. Tighten them as needed to keep handles secure.
Final Aesthetic Check
- Visual Harmony: Step back and survey the overall look. Ensure that the handles contribute to a cohesive kitchen aesthetic.
- Uniformity: Verify that the handles are equidistant from cabinet edges and consistently placed on each door and drawer.
- Satisfaction Assured: Feel proud of your work and the personal touch you’ve added to your kitchen.
Performing a thorough quality check and adding these final touches will ensure your kitchen looks its best. Now you can enjoy your refreshed space with the confidence of a job well done.
Additional Tips for a Cohesive Kitchen Look
To cement that professional vibe in your kitchen, think harmony. Here are a few extra tips to ensure a cohesive look after installing your kitchen cabinet handles:
Choose the Right Style and Finish
Pick handles that match your kitchen’s overall theme. If it’s modern, go for sleek, stainless steel. For a classic look, try more ornate handles. The finish should also complement your faucets and appliances.
Keep the Hardware Consistent
Use the same style and finish for all handles and pulls. This consistency brings together the look of your kitchen. It makes the design feel intentional and well-thought-out.
Align Handles with Other Features
Make sure handle placement lines up with features like the bottom of your cabinet trim or the top of the drawers. This alignment makes for a neat look.
Consider the Proportions
The size of your handles should match the size of your cabinet doors and drawers. Not too big or small. A balanced proportion is pleasing to the eye.
Step Back and Evaluate
After installation, take a step back. Look at the kitchen from different angles. Check that everything looks right together and make minor adjustments if needed.
By keeping these pointers in mind, your kitchen will not only be practical but also visually stunning. The right cabinet handles are like the cherry on top of your kitchen design. They can tie the whole room together and reflect your personal style.