Introduction
Hw to install kitchen sink drain – Installing a kitchen sink drain may seem like a straightforward job, but it involves several critical steps that can determine whether your plumbing setup will function smoothly or suffer from leaks and clogs. This guide aims to provide you with essential tips and common pitfalls to help you achieve a leak-free solution.
 Understanding the Components of a Kitchen Sink Drain System
Before delving into the installation process, it’s essential to familiarize yourself with the main components of a kitchen sink drain system:
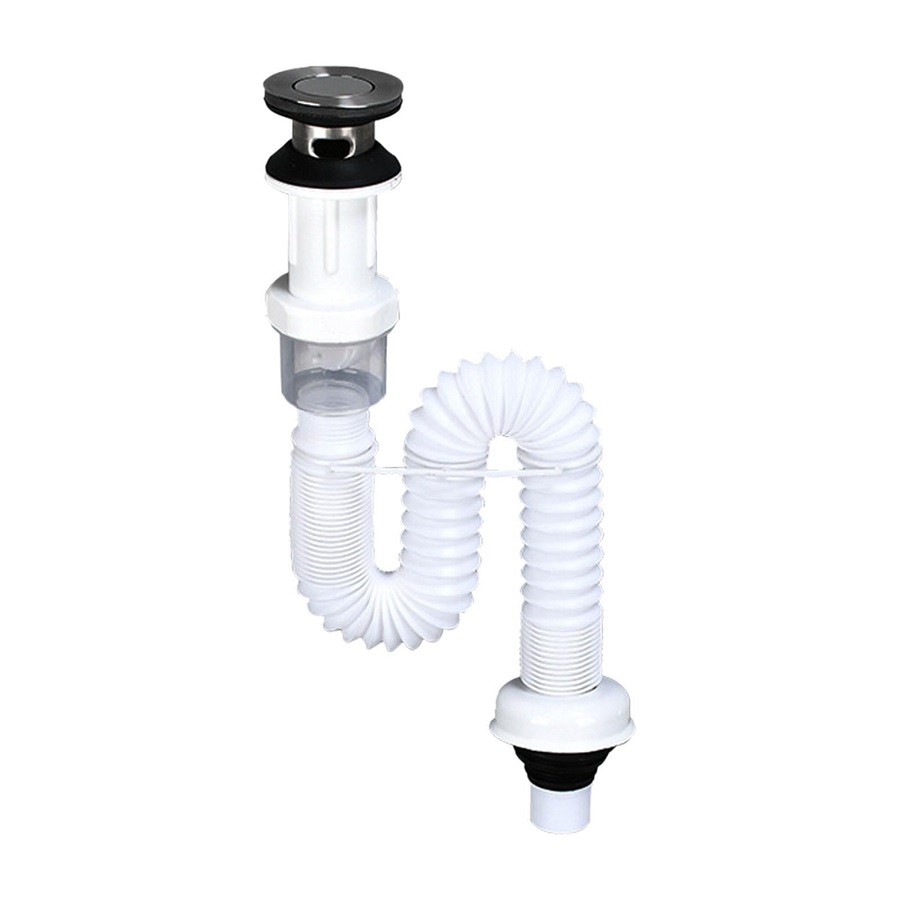
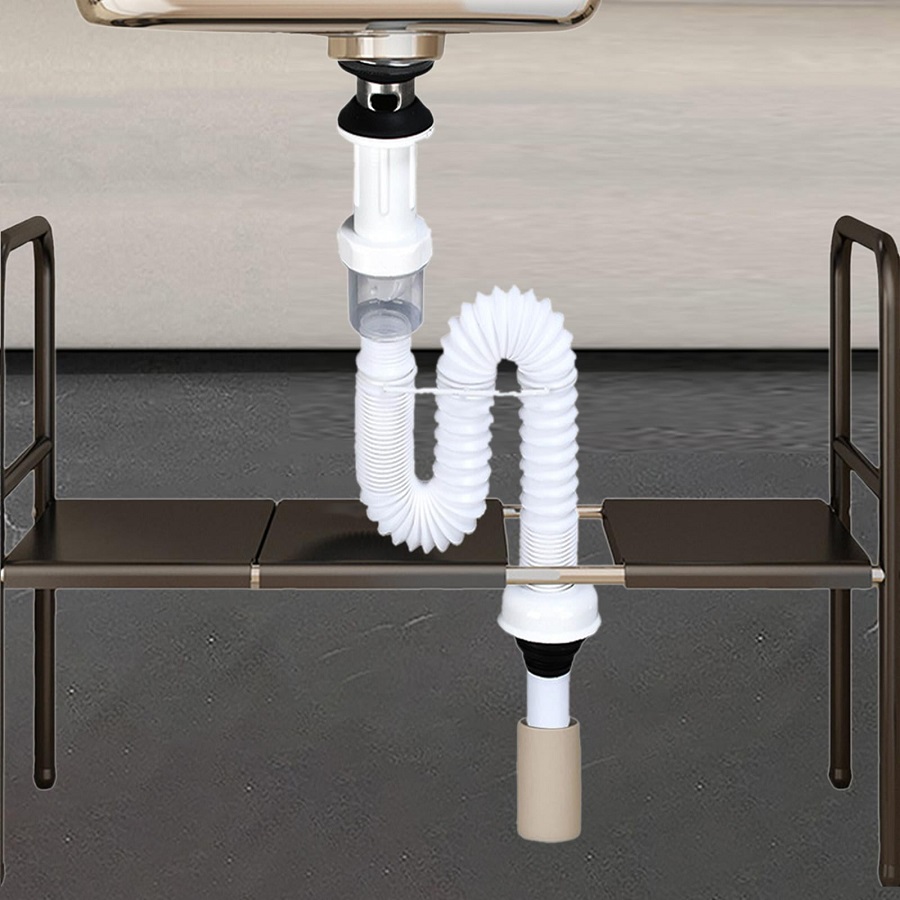
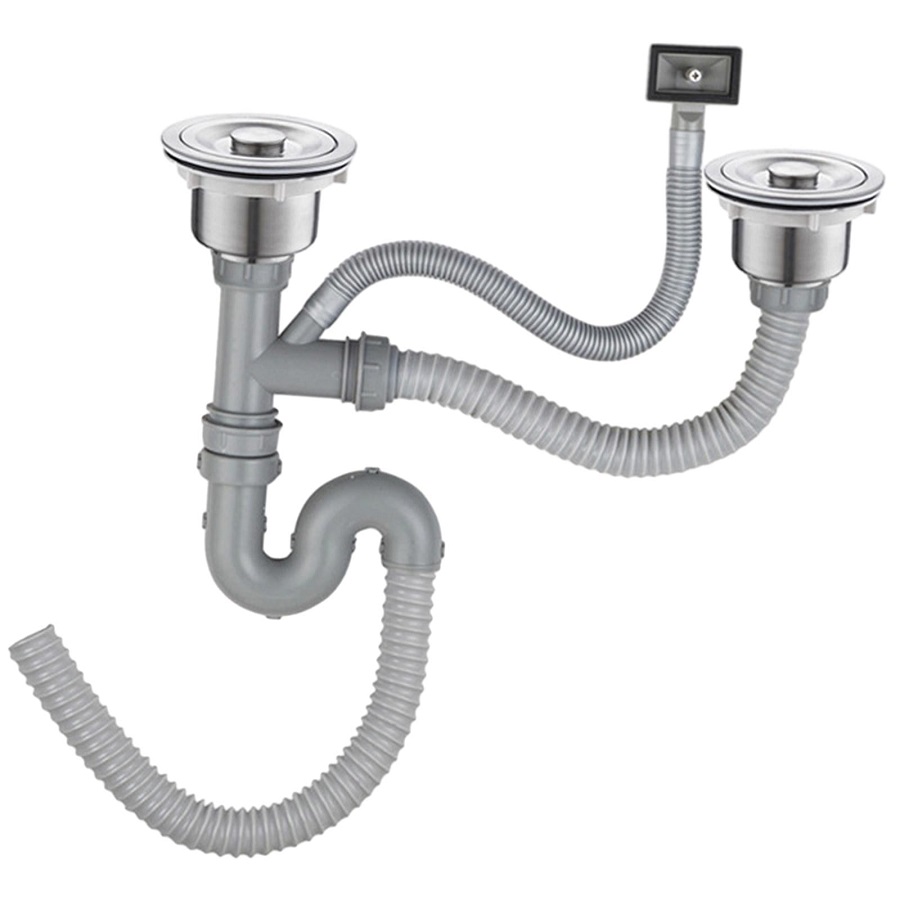
- Sink Drain Assembly: This includes the strainer, tailpiece, and sometimes a removable stopper.
- P-Trap: This curved section of pipe prevents sewer gas from entering your home and catches debris.
- Waste Arm: Connects the P-trap to the larger drain line.
- Building Drain: The main drain line that carries wastewater away from your home.
Preparation: Tools and Materials
Before you begin, gather the following tools and materials:
- Tools: Adjustable wrench, pliers, plumber’s tape, bucket, and a basin wrench (for tight spots).
- Materials: Sink drain assembly, P-trap, waste arm, and any necessary fittings.
Essential Tips for a Successful Installation
- Read the Instructions: Always start by reading the manufacturer’s instructions. Different sink drain assemblies can have unique requirements or features.
- Inspect the Old Setup: If you’re replacing a drain, take time to examine the existing setup. This will give you insights into how to remove it and what to expect during installation.
- Use Plumber’s Putty: When installing the strainer, use plumber’s putty around the flange before tightening to create a watertight seal. This putty should be pressed firmly into place.
- Tighten Connections Securely but Not Overly Tight: Ensure that all connections are secure. However, overtightening can crack fittings or break seals. A firm hand is essential here.
- Check for Proper Alignment: Ensure that the pipes are aligned correctly. Misalignment can cause stress at the joints, leading to leaks.
- Install the P-Trap with an Upward Angle: This helps maintain drainage flow and prevents siphoning, which can lead to odors or backflow due to air pressure imbalances.
- Ensure Accessibility: When installing your P-trap and waste arm, ensure that you can access them easily in case of future maintenance needs.
- Consider a Cleanout: If you’re in an older home or the plumbing is particularly complex, consider installing a cleanout. This fitting allows for easier access to the plumbing system for unclogging.
- Perform a Water Pressure Test: Before sealing everything up, run water through the system while checking for leaks. This lets you catch any problems before they become larger issues.
Common Mistakes to Avoid
- Neglecting to Use Gaskets or Washers: Many drain systems require washers or gaskets to ensure a proper seal. Skipping this step may lead to leaks.
- Ignoring Air Exposure: Do not seal every joint tightly. Ventilation is essential for preventing pressure builds and potential backflow.
- Failing to Level the Sink: If your sink isn’t level, water may not drain effectively, leading to clogs and potential overflow.
- Not Using the Right Tools: Using inappropriate tools can lead to damaged fittings. Ensure that your tools fit the fittings properly to avoid stripping or breaking them.
- Rushing the Installation: Take your time. A hasty job is often a sloppy one, leading to more significant problems later on.
- Overlooking Local Plumbing Codes: Familiarize yourself with local plumbing codes. Some areas have specific requirements that, if ignored, could lead to fines or increased repair costs.
- Skipping Initial Cleans: Always clean the surfaces where the fittings will attach. Dust, debris, and older sealant can hinder the effectiveness of your new fittings, creating potential leaks down the line.
- Ignoring Regular Maintenance: Even a well-installed drain can accumulate debris over time. Regularly check your drain and P-trap for clogs or build-up.
Final Checks and Maintenance
Once installed, regularly inspect the drain fittings and pipes, especially after the first few uses of your kitchen sink. Tighten any loose connections and be on the lookout for signs of leakage or drainage issues. Keeping a maintenance schedule helps prevent catastrophic failures that can lead to repairs.
Tools You Will Need
- Pliers: Adjustable or channel-lock pliers will help you tighten or loosen fittings.
- Pipe Wrench: Useful for gripping and turning pipes or fittings that are difficult to remove by hand.
- Screwdrivers: Both flat-head and Phillips screwdrivers for removing screws from drain assemblies and securing components.
- Utility Knife: For cutting any necessary materials, such as plumber’s putty or sealing tape.
- Basin Wrench: Particularly useful for tightening nuts in hard-to-reach areas underneath the sink.
- Hacksaw or Pipe Cutter: If you need to cut the plumbing pipes to size.
- Measuring Tape: Essential for measuring connections and ensuring proper fit.
- Bucket: To catch any water that may spill during the installation process.
- Rags: For cleaning up water and debris.
- Level: To confirm that the sink is installed at the right angle, ensuring proper drainage.
Materials You Will Need
- Sink Drain Assembly: This typically comes with a strainer, tailpiece, and nut for securing the drain in place.
- PVC Pipes: If you’re replacing existing drain lines, you may need various lengths of PVC pipe, typically 1.5 inches in diameter for kitchen sink drains.
- PVC Fittings: Elbows, tees, and couplings to connect the different pieces of drain pipe.
- Plumber’s Putty or Silicone Sealant: Used to create a watertight seal between the sink drain and the sink bowl.
- Teflon Tape: For wrapping threaded connections to ensure a tight seal.
- Clamps or Support Brackets: If your installation requires additional support for the drain assembly.
Preparation Steps
- Turn Off Water Supply: Before starting, shut off the water supply to the kitchen.
- Remove the Old Drain: If you’re replacing an existing drain, disconnect any plumbing connected to the old tailpiece and remove it. Use your bucket to catch any water that spills out.
- Clean the Area: Thoroughly clean the sink and the area around the drain hole to prepare for the new installation.
- Gather Your Materials: Have all your tools and materials ready and organized to facilitate a smooth installation process.
Installation Steps
- Install the Sink Drain Flange:
- Apply a generous amount of plumber’s putty around the underside of the sink drain flange.
- Insert the flange into the sink drain hole and press down firmly. Wipe away any excess putty that seeps out.
- From below, secure the flange using the locknut, tightening it evenly to ensure the flange sits flush against the sink.
- Connect the Tailpiece:
- Attach the tailpiece to the sink drain flange. You may need to adjust or cut the new tailpiece to fit correctly.
- Use pliers to tighten the connection. Be cautious not to overtighten, as this could crack the sink.
- Install the P-Trap:
- Measure and cut the PVC pipes to connect the tailpiece to the P-trap. The P-trap creates a water seal to prevent sewer gases from entering your home.
- Connect the P-trap to the tailpiece and the existing drain line. Use Teflon tape on threaded connections for a tight seal.
- Secure the connections using the provided nuts.
- Check the Alignment:
- Use a level to ensure that the entire drain assembly is aligned properly. This promotes effective drainage and prevents leaks.
- Connect the Drain Line:
- If necessary, fit new sections of pipe to connect the P-trap to your home’s existing drain plumbing. Make sure all joints are secure and watertight.
- Test for Leaks:
- Once everything is connected, turn on the water supply. Run water through the sink and check for leaks at all connection points.
- If you see any drips, tighten the connections as needed until they stop leaking.
- Final Adjustments:
- Make any final adjustments to the alignment or the tightness of connections.
- Clean Up:
- Clean the workspace, ensuring the area around the sink is free from debris and excess putty or sealant.
Tips for Success
- Timing: Plan the installation for a time when you can afford to be without your kitchen sink for a few hours.
- Follow Local Codes: Check local plumbing codes for any regulations relevant to drain installation.
- Common Problems: Be aware that common issues during installation include cross-threading connections or not securing them tightly enough, resulting in leaks.
- Seek Help: If you encounter significant challenges during installation or if plumbing codes are not clear, don’t hesitate to consult with a professional plumber.
Conclusion
Installing a kitchen sink drain may require time, patience, and attention to detail, but by following these essential tips and avoiding common mistakes, you can ensure a leak-free and efficient drainage system. Understanding the components involved and taking the time to do the job right can save you time, money, and hassle in the long run. Whether you’re a novice DIYer or an experienced plumber, mastery of kitchen sink drain installation is a skill that pays dividends. Happy plumbing!


