 Introduction:
Installing a new kitchen faucet is a practical and rewarding home improvement project. Whether you’re replacing an old faucet or upgrading for aesthetic purposes, this step-by-step guide will walk you through the process. By following these simple instructions, you can successfully install a kitchen faucet and enjoy the benefits of a functional and stylish upgrade in your kitchen.
Some common types of kitchen faucets:
When it comes to kitchen faucets, there are several types available to suit different needs and preferences. Here are some common types of kitchen faucets:
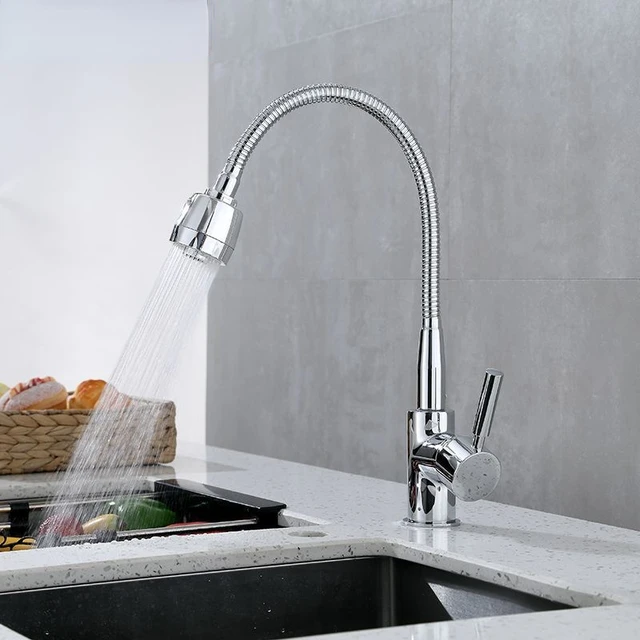
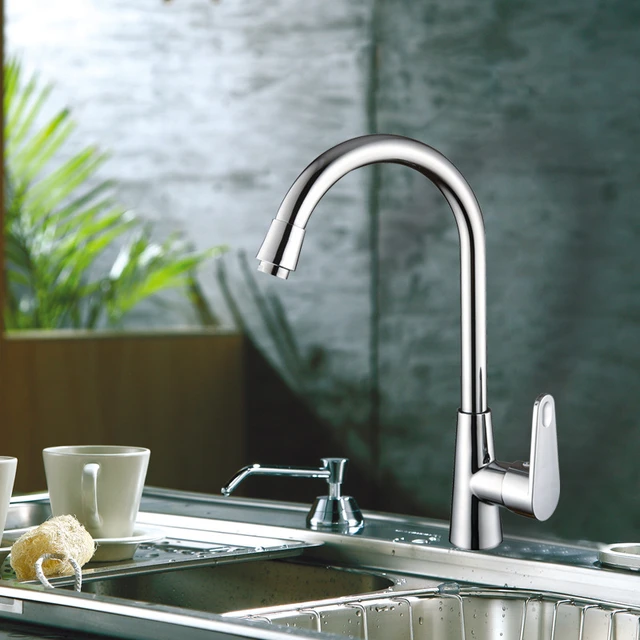
Single-handle Faucet:
Also known as a one-handle or single-lever faucet, this type features a lever handle that controls both the temperature and flow of water. It provides easy and convenient one-handed operation.
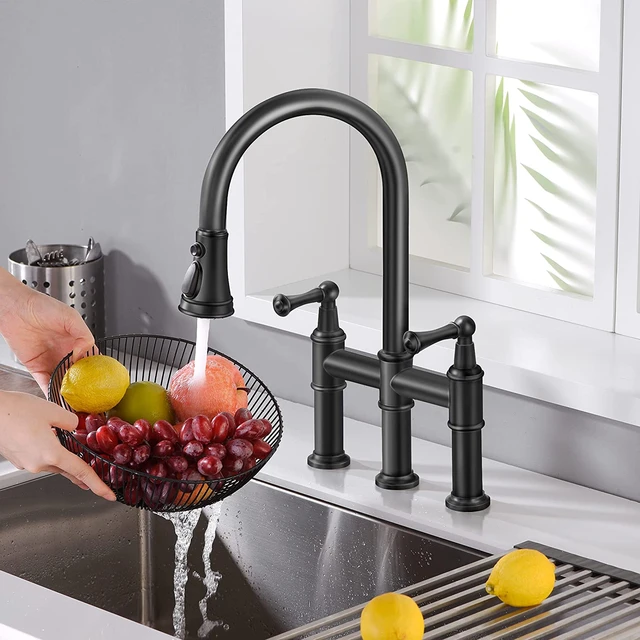
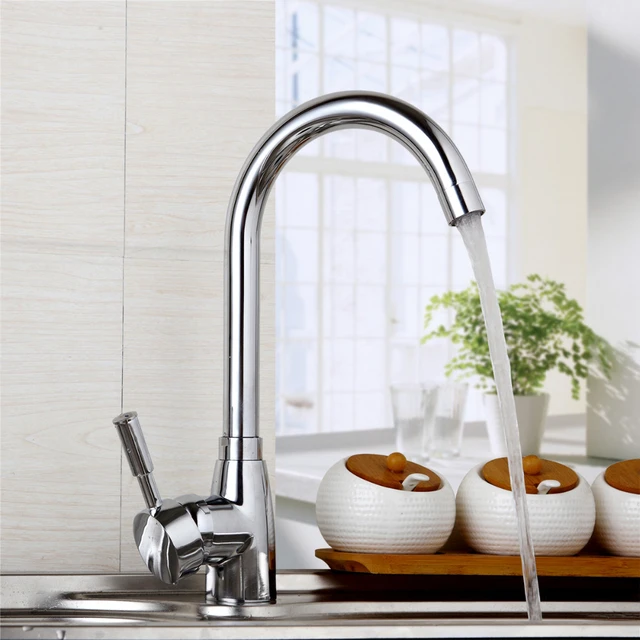
Double-handle Faucet:
Double-handle faucets, also called two-handle faucets, have separate handles for hot and cold water. Each handle controls the respective water supply, allowing for precise temperature adjustment. They often have a classic and traditional design.
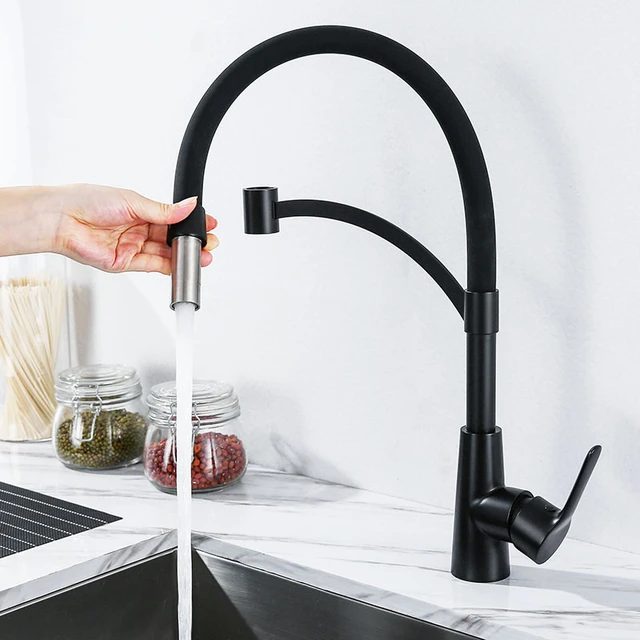
Pull-down Faucet:
Pull-down faucets have a detachable spray head that can be pulled downward. They offer more flexibility in terms of water flow and allow for easy rinsing of dishes and cleaning the sink. Pull-down faucets are popular for their modern and sleek appearance.
Pull-out Faucet:
Similar to pull-down faucets, pull-out faucets also have a detachable spray head. However, the spray head pulls straight out instead of downward. This type of faucet is useful when filling larger pots or containers outside the sink area.
Wall-mounted Faucet:
Wall-mounted faucets are installed on the wall above the sink instead of on the countertop or sink deck. They provide a clean and minimalist look, especially in contemporary kitchen designs. Wall-mounted faucets often require a separate wall-mounted valve for installation.
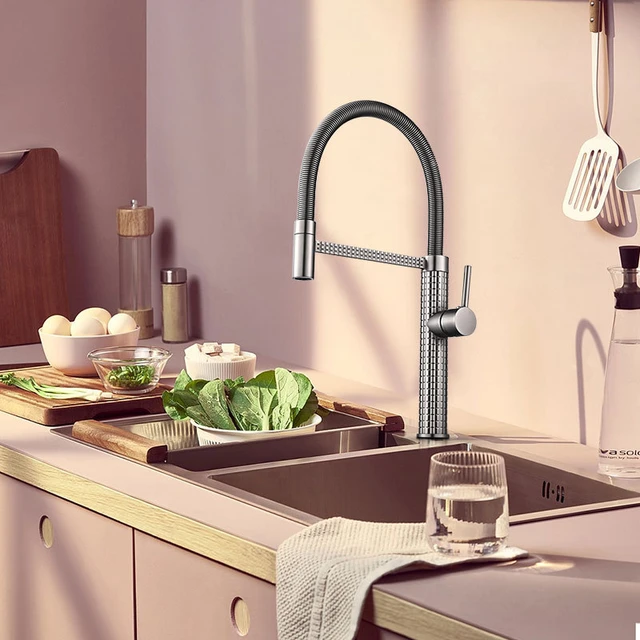
Commercial-style Faucet:
Often seen in professional kitchens, commercial-style faucets have a high-arc spout and a flexible spray head that can be pulled down or out. They offer an industrial and utilitarian look, with features like a powerful spray stream and a pre-rinse option.
Touchless Faucet:
Touchless or hands-free faucets use motion sensors to activate the water flow, allowing the user to turn the faucet on and off without physically touching it. These faucets promote hygiene and convenience, particularly when hands are messy or occupied.
Each type of kitchen faucet has its own set of features, styles, and benefits. Considering factors such as functionality, design, and personal preferences can help in choosing the right faucet for your kitchen.
 Preparing for Installation
Gather Tools and Materials:
Before beginning the installation, gather the necessary tools: adjustable wrench, basin wrench, screwdriver, plumber’s tape, and a cloth or towel.
Ensure you have the new faucet, including the mounting hardware and supply lines.
Shut Off the Water Supply:
Locate the shut-off valves under the sink and turn them clockwise to shut off the water supply.
Test the faucets to ensure the water flow has stopped completely.
Removing the Old Faucet
Disconnect Supply Lines:
Using an adjustable wrench, disconnect the supply lines from the hot and cold water valves.
Place a towel or cloth under the connections to catch any water drips.
Remove the Mounting Nuts:
Under the sink, locate the mounting nuts securing the faucet to the sink or countertop.
Use a basin wrench to loosen and remove the nuts, turning them counterclockwise.
Detach the Faucet:
Carefully lift the old faucet from the sink or countertop, ensuring all connections and supply lines are completely disconnected.
Installing the New Faucet
Position the New Faucet:
Place the rubber or foam gasket provided with the new faucet onto the sink or countertop.
Insert the faucet’s tailpieces through the corresponding holes.
Secure the Faucet:
From under the sink, secure the mounting nuts onto the faucet tailpieces.
Use a basin wrench to tighten the nuts, ensuring the faucet is stable and secure.
Connect the Supply Lines:
Attach the hot and cold water supply lines to the appropriate valves under the sink.
Use an adjustable wrench to tighten the connections, ensuring they are snug but not over-tightened.
 Testing and Finishing
Turn On the Water Supply:
Carefully return the shut-off valves under the sink to the open position, turning them counterclockwise.
Slowly turn on the faucets to allow water to flow through the new faucet.
Check for Leaks:
Inspect all connections, valves, and supply lines for any signs of leaks.
If leaks are detected, tighten the connections or consider using plumber’s tape for a more secure seal.
Clean and Enjoy:
Use a cloth or towel to wipe down the faucet and remove any dust or residue.
Admire your newly installed faucet and enjoy the enhanced functionality and style it brings to your kitchen.
 Maintenance precautions:
To ensure a kitchen faucet functions properly and remains in good condition, it is important to follow certain maintenance precautions. Here are some key considerations:
Regular Cleaning: Clean the faucet regularly using mild soap and water to remove dirt, grime, and mineral deposits. Avoid using abrasive cleaners or harsh chemicals that may damage the faucet’s finish.
Avoid Chemical Damage: Be cautious when using harsh chemicals or cleaners near the faucet as they can corrode or discolor the finish. If using chemicals, ensure they are safe for use on the specific faucet material and follow the manufacturer’s instructions.
Check for Leaks: Periodically inspect the faucet for any signs of leakage. Even small drips can waste water and potentially lead to more significant issues. If you notice a leak, address it promptly by replacing any worn-out washers, gaskets, or seals.
Maintain the Sprayer: If your faucet has a pull-down or pull-out sprayer, ensure it retracts smoothly and securely back into the spout. If the sprayer becomes loose or starts to leak, check for any worn-out O-rings or seals and replace them if necessary.
Clean or Replace Aerator: The aerator is a small device attached to the end of the faucet spout that helps control water flow and prevent splashing. Over time, mineral deposits may clog the aerator, reducing water flow. Clean the aerator regularly or replace it if necessary.
Prevent Mineral Build-up: If your home has hard water, mineral deposits can accumulate around the faucet spout and handles. To prevent build-up, wipe the faucet clean regularly and consider using a water softener or installing a water filter system.
Handle with Care: Avoid excessive force or rough handling of the faucet handles to prevent damage. Operate the handles gently and avoid using them as leverage for other tasks. Additionally, avoid hanging heavy objects on the faucet, as it can cause stress or damage to the internal components.
Follow Manufacturer’s Instructions: Always refer to the manufacturer’s instructions for specific care and maintenance guidelines. They may provide additional recommendations or precautions based on the faucet’s design and materials.
Regular maintenance and proper care will help prolong the lifespan of your kitchen faucet, ensuring it remains in good working condition for years to come.
 Conclusion:
Installing a kitchen faucet is a manageable and rewarding project that can transform the look and functionality of your kitchen. By following this step-by-step guide, you can confidently install a new faucet and enjoy the benefits of an upgraded space. Remember to gather the necessary tools and materials, turn off the water supply, remove the old faucet, and carefully install the new one. Take your time, ensure all connections are secure, and test for leaks before enjoying your newly installed kitchen faucet. With this knowledge, you can successfully complete this project and add a functional and stylish element to your kitchen.