 Introduction:
Removing a kitchen sink may seem like a complex task, but with the right tools and step-by-step instructions, it can be a straightforward process. Whether you’re replacing a worn-out sink or renovating your kitchen, this comprehensive guide will walk you through the necessary steps to remove a kitchen sink. By following these simple instructions, you can successfully remove the sink and prepare the area for your desired changes.
 Introduction to Removing a Kitchen Sink
Removing a kitchen sink involves disconnecting the plumbing connections and freeing the sink from its mounting points.
A. Tools Required: Gather the necessary tools, including an adjustable wrench, pliers, screwdriver, bucket, and a utility knife.
B. Safety Precautions: Before starting, turn off the water supply to avoid any leaks or accidents during the removal process.
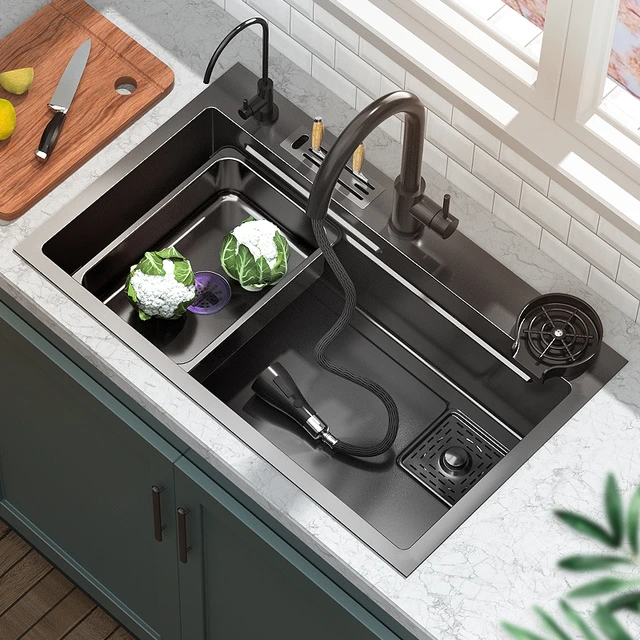
Some common types of kitchen sinks:
There are several types of kitchen sinks available for various functional and design preferences. Here are some common types of kitchen sinks:
Drop-in Sink:
Also known as top-mount or self-rimming sinks, drop-in sinks are installed by dropping them into a pre-cut hole in the countertop. The sink’s rim sits on top of the countertop, providing a secure fit. These sinks are relatively easy to install and are available in various materials and configurations.
Undermount Sink:
Undermount sinks are installed underneath the countertop, creating a seamless and clean look. The edge of the sink is mounted to the underside of the countertop, allowing for easy countertop cleaning and maximizing counter space. Undermount sinks are commonly made of stainless steel, granite, or composite materials.
Farmhouse Sink:
Also known as apron-front sinks, farmhouse sinks have a distinctive exposed front panel that extends beyond the edge of the countertop. This design allows the user to stand closer to the sink without a countertop obstruction. Farmhouse sinks are typically deep and spacious, often made of fireclay or porcelain.
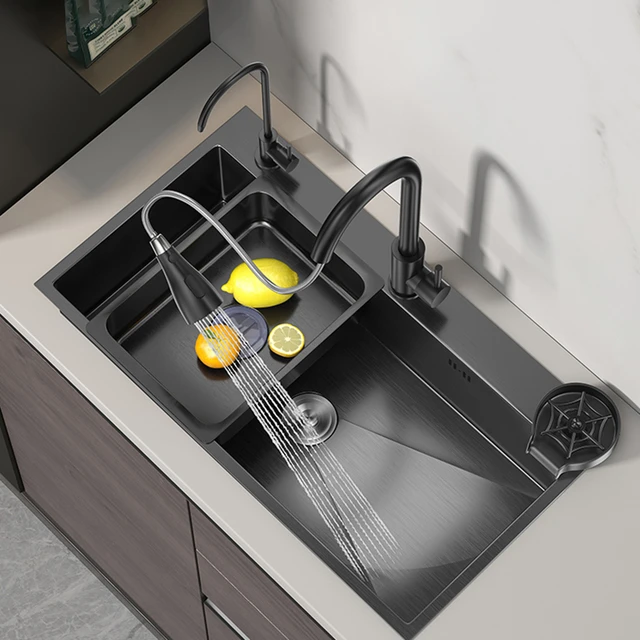
Stainless Steel Sink:
Stainless steel sinks are popular choices due to their durability, affordability, and sleek appearance. They are resistant to corrosion, easy to clean, and can suit a variety of kitchen styles. Stainless steel sinks are available in various shapes and configurations.
Composite Sink:
Composite sinks are engineered from a combination of materials, typically a mixture of granite or quartz with resin. These sinks offer the strength and durability of stone, while also providing resistance to scratches, stains, and heat. Composite sinks are available in various colors and patterns.
Double Basin Sink:
Double basin sinks feature two separate basins, allowing for multitasking and separation of tasks. This type of sink is suitable for households that require separate areas for washing dishes and food preparation.
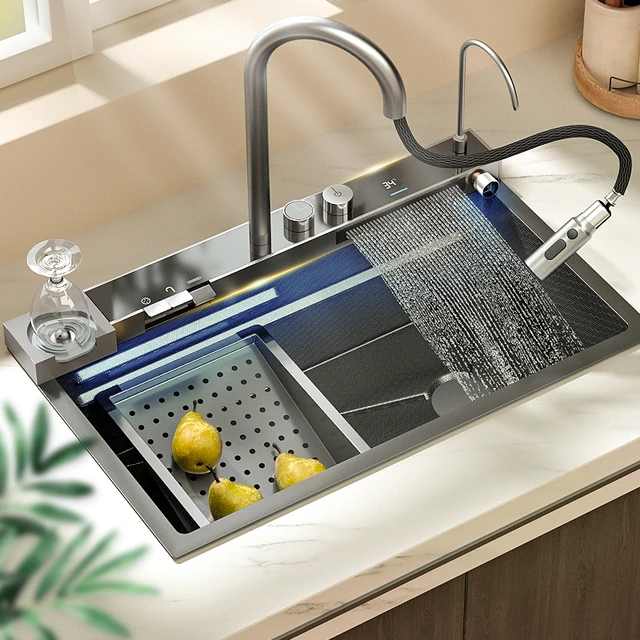
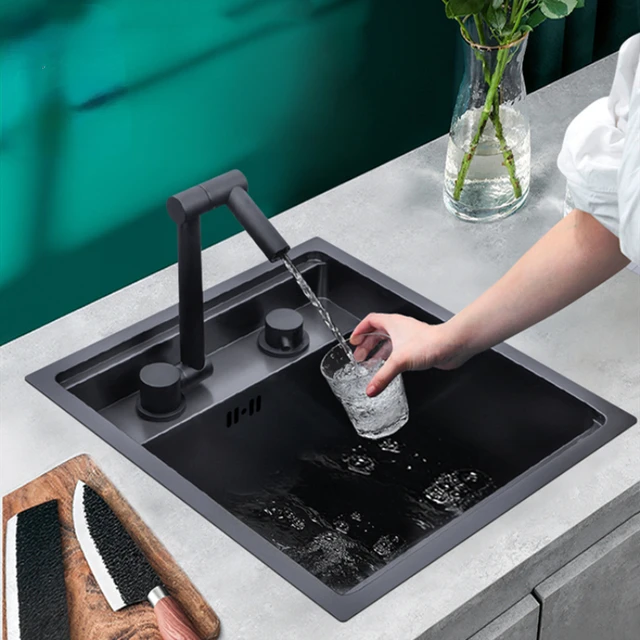
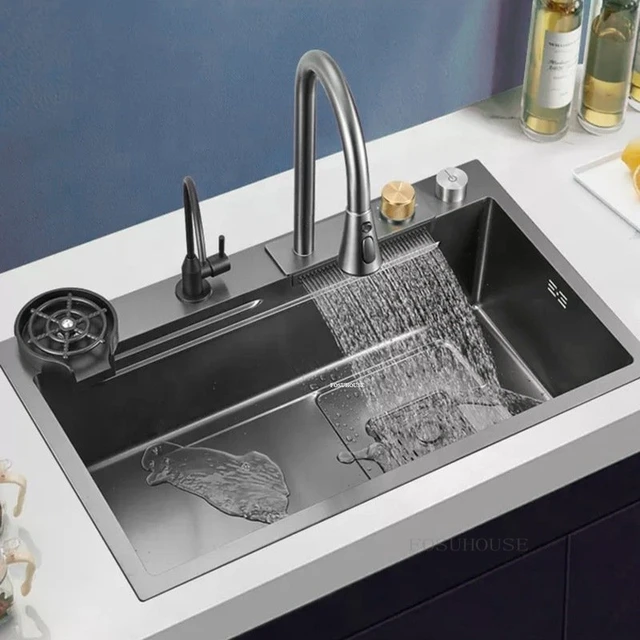
Single Basin Sink:
Single basin sinks have a single large basin, providing ample space for various tasks. They are ideal for larger pots and pans, accommodating more substantial items during cleaning.
These are just a few examples of the types of kitchen sinks available. It’s essential to consider factors such as size, material, style, and functionality when choosing the right sink to meet your specific needs and kitchen design.
 Disconnecting the Water Supply
Begin by disconnecting the water supply to the kitchen sink.
A. Shut Off the Water Supply: Locate the shut-off valves under the sink and turn them clockwise to shut off the water supply.
B. Release Pressure: Open the faucet to release any remaining water pressure in the lines.
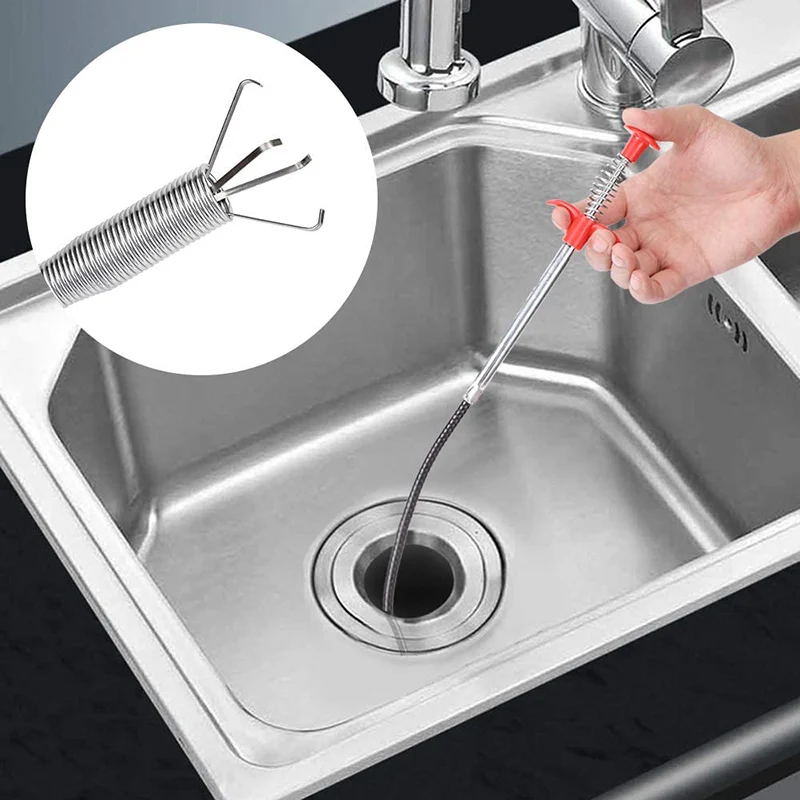
Removing the Drain Lines
Disconnect the drain lines to free the sink from the plumbing system.
A. Place a Bucket: Position a bucket beneath the sink to catch any water that may pour out during the removal process.
B. Loosen Slip Nuts: Use pliers or an adjustable wrench to loosen the slip nuts connecting the drain pipes. Remove the p-trap and any other fittings as necessary.
C. Detach the Tailpiece: Disconnect the tailpiece or strainer from the sink’s drain opening by loosening the slip nut or compression nut.
Disassembling the Faucet
Remove the faucet and its components from the sink.
A. Turn off the Valves: Shut off the valves connected to the faucet’s hot and cold water supply lines.
B. Disconnect Supply Lines: Unscrew the supply lines from the bottom of the faucet using an adjustable wrench. Place a bucket beneath to catch any water.
C. Loosen the Faucet Mounting: Depending on the faucet type, locate and remove any mounting nuts or screws holding the faucet to the sink.
D. Remove the Faucet: Lift the faucet out of the sink and set it aside.
Loosening Sink Mounting Clips or Brackets
To free the sink from its mounting points, loosen the clips or brackets holding it in place.
A. Undermount Sink: If you have an undermount sink, locate the mounting clips beneath the sink and use a screwdriver or pliers to loosen them.
B. Topmount Sink: For a topmount sink, check for mounting brackets or clips securing the sink to the underside of the countertop. Use pliers or a screwdriver to loosen them.
Cutting the Caulk or Adhesive
Separate the sink from the countertop by cutting through the caulk or adhesive sealing them together.
A. Score the Caulk: Use a utility knife to score along the edges of the sink where it meets the countertop. This will break the seal created by the caulk or adhesive.
B. Pry the Sink: Gently insert a putty knife or flathead screwdriver into the cut line and carefully pry the sink away from the countertop.
Lifting and Removing the Sink
Once the sink is free from its mounting points and the caulk has been cut, lift it out of the countertop.
A. Lift Carefully: Ensure proper lifting techniques and ask for assistance if the sink is heavy. Lifting straps may be useful for larger sinks.
B. Inspect the Drain Opening: After removing the sink, inspect the drain opening to ensure there are no remaining or damaged components.
 Finishing Up
After removing the sink, clean the area and make any necessary repairs or preparations for the new sink or countertop.
A. Clean and Disinfect: Thoroughly clean the area where the sink was located, removing any debris or residues.
B. Address Repairs or Modifications: Take this opportunity to repair or modify the countertop or plumbing as needed.
C. Prepare for Installation: If you’re installing a new sink, ensure the area is ready for the installation process as per the manufacturer’s instructions.
 Conclusion
Removing a kitchen sink may initially seem daunting, but by following the step-by-step instructions outlined in this guide, you can successfully complete the task. Remember to exercise caution, turn off the water supply, and use the appropriate tools for disconnecting the plumbing connections. Loosen the sink mounting brackets or clips, cut through the caulk or adhesive holding the sink in place, and carefully lift and remove the sink from the countertop. Afterward, clean the area and prepare for any necessary repairs or installations. With careful attention and the right approach, you can confidently remove a kitchen sink and proceed with your desired modifications or upgrades.