 Introduction:
Dealing with a leaky kitchen faucet can be frustrating and wasteful. Fixing a leaky kitchen faucet with two handles is a common plumbing task that can save you money on water bills and prevent further damage. In this comprehensive guide, we will provide you with a step-by-step approach to fixing a leaky kitchen faucet with two handles. From gathering the necessary tools to identifying the type of faucet and replacing faulty parts, we will cover all the essential steps to help you successfully repair your leaky kitchen faucet.
 Some common types of kitchen faucets:
There are several types of kitchen faucets available, each offering different features and functionalities. Here are some common types of kitchen faucets:
Single-Handle Faucet:
Single-handle faucets have one lever or knob that controls both the flow of water and the temperature. They offer convenience and ease of use, as adjusting water temperature and flow can be done with one hand. Single-handle faucets are available in various styles and finishes.
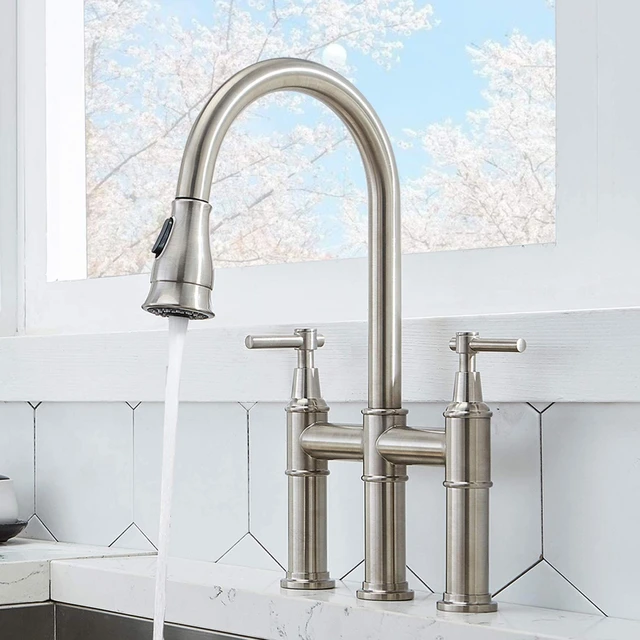
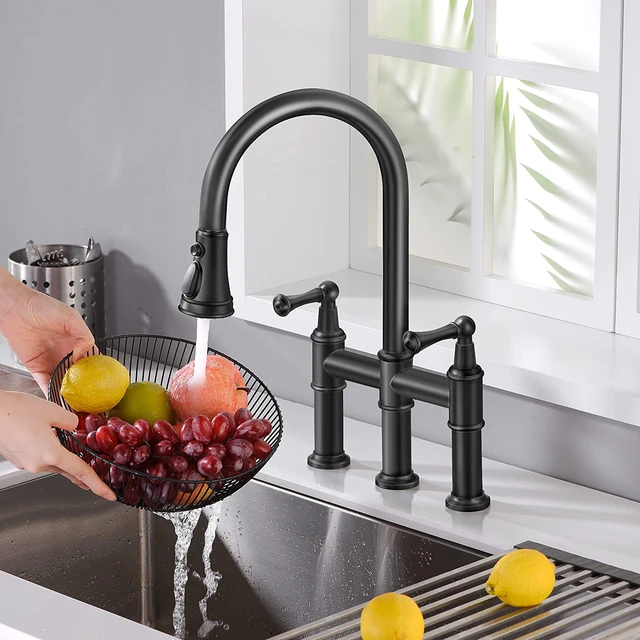
Double-Handle Faucet:
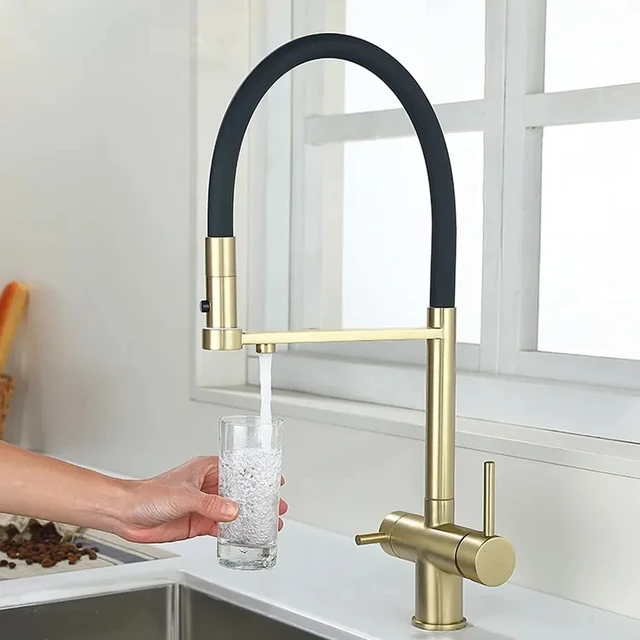
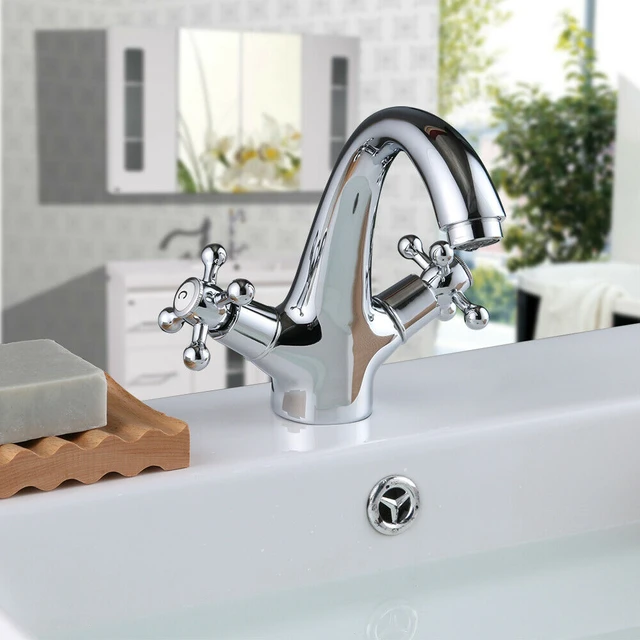
Double-handle faucets, also known as two-handle faucets, have separate hot and cold water handles. They often have individual controls for water temperature and flow. Double-handle faucets provide precise control over water temperature but may require both hands to operate.
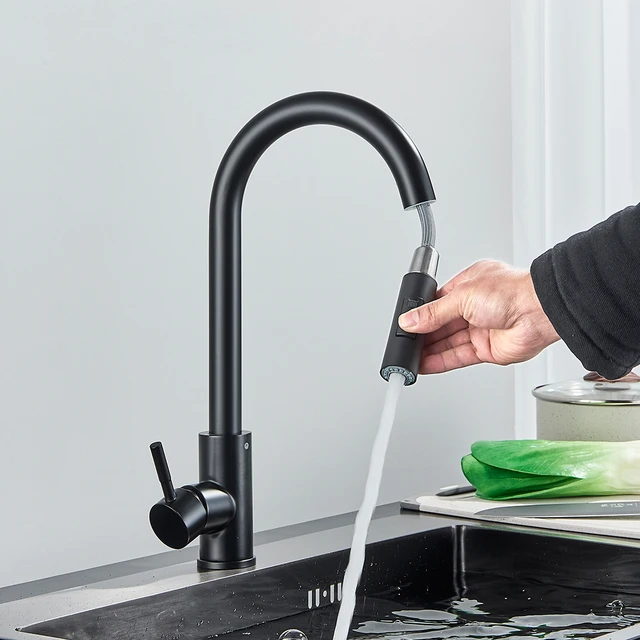
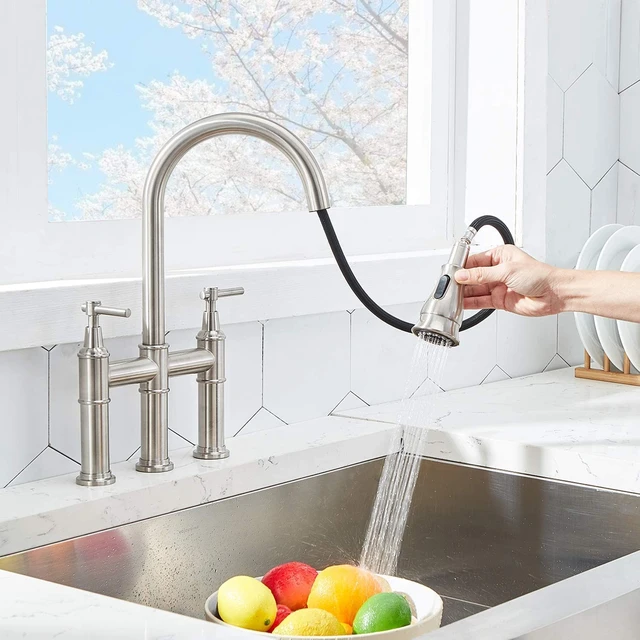
Pull-Out Faucet:
Pull-out faucets feature a spray head that can be pulled out from the faucet body. These faucets offer flexibility and convenience, as the spray head can be used to rinse or clean items in and around the sink. Pull-out faucets usually have a retractable hose for easy maneuverability.
Pull-Down Faucet:
Pull-down faucets have a spray head that pulls straight down into the sink. These faucets offer similar functionality to pull-out faucets but typically have a higher arc and a larger spray head. Pull-down faucets are commonly used in kitchens with deep sinks.
Wall-Mounted Faucet:
Wall-mounted faucets are installed on the wall above the sink instead of on the countertop. They provide a clean and streamlined look, as there is no faucet on the counter. Wall-mounted faucets require specific plumbing installations and are often used in modern or minimalist kitchen designs.
Commercial-Style Faucet:
Commercial-style faucets are inspired by professional kitchen faucets found in commercial kitchens. They typically have a high-arc spout and a robust design. Commercial-style faucets offer powerful water flow, excellent maneuverability, and durability. They are often chosen for their functionality and industrial aesthetic.
Touchless Faucet:
Touchless faucets, also known as sensor faucets or hands-free faucets, activate the water flow through sensor technology. They use motion sensors to detect hand movements, allowing for touch-free operation. Touchless faucets offer convenience and improved hygiene, as they eliminate the need to touch the faucet handles with dirty hands.
These are just some of the common types of kitchen faucets available. When choosing a faucet, consider factors such as sink configuration, style preferences, functionality, and budget to find the most suitable option for your kitchen.
 Some of the possible risks and effects of a leaky faucet:
A leaky kitchen faucet with two handles can have several potential hazards and consequences. Here are some of the possible risks and effects of a leaky faucet:
Water Wastage:
The immediate and most evident consequence of a leaky faucet is the waste of water. Even a small drip can add up to a significant amount of wasted water over time. This not only impacts your water bill but also puts additional strain on water resources, especially in areas where water scarcity is a concern.
Increased Utility Costs:
When water is continually leaking from a faucet, it means your household is using more water than necessary. This can lead to higher utility bills, as you are essentially paying for water that is not being used efficiently. Fixing the leak can help you save money on your water bills in the long run.
Potential Damage to Fixtures and Surfaces:
A persistent leak from a faucet can cause damage to the surrounding fixtures and surfaces. Constant water exposure can lead to discoloration, warping, or deterioration of the sink, countertop, or cabinetry. This can be costly to repair or replace.
Mold and Mildew Growth:
Constant moisture from a leaky faucet can create an ideal environment for mold and mildew to thrive. Mold growth can not only discolor surfaces but also cause respiratory issues and allergies, especially for those with sensitivities. Mold remediation can be expensive and time-consuming.
Slip and Fall Hazards:
If water from a leaky faucet accumulates on the floor, it can create slippery surfaces, increasing the risk of slip and fall accidents. This is particularly dangerous in the kitchen, where spills and wet areas can be more frequent.
Negative Environmental Impact:
Wasting water unnecessarily has an adverse environmental impact. Water is a precious resource, and every drop counts. Conserving water helps in sustainable management of natural resources and is essential for maintaining ecological balance.
Addressing a leaky kitchen faucet promptly can help mitigate these risks. Whether it’s repairing or replacing the faucet or seeking professional assistance, taking action can save both water and money while preventing potential damage to your kitchen and promoting a safe and healthy environment.
 Introduction to Fixing a Leaky Kitchen Faucet with Two Handles
Fixing a leaky kitchen faucet with two handles involves identifying the issue and replacing faulty parts to restore proper functionality.
A. Importance of Timely Repair: A leaky faucet wastes water, increases water bills, and can lead to further damage if left unaddressed.
B. Types of Faucets: There are various types of faucets, such as compression, ball, cartridge, and ceramic disk faucets.
Gathering the Necessary Tools
Before starting the repair process, gather the required tools and materials.
A. Tools: You will need an adjustable wrench, screwdriver, Allen wrench, pliers, and a cloth or towel for cleaning.
B. Materials: Have replacement parts, such as O-rings, gaskets, washers, or cartridges, on hand based on your faucet type.
Shutting Off the Water Supply
Before attempting any repairs, it is essential to turn off the water supply to the faucet.
A. Locate the Water Shut-Off Valve: The water shut-off valve is typically situated beneath the sink, near the pipes feeding the faucet.
B. Shut Off the Water: Use a wrench or your hand to turn the valve clockwise until it is fully closed.
Identifying the Faucet Type
Different types of faucets require specific repair techniques and replacement parts.
A. Compression Faucets: Compression faucets have separate hot and cold handles and require replacing rubber washers.
B. Ball, Cartridge, or Ceramic Disk Faucets: These types of faucets have a single lever or handle and typically need replacement cartridges or ceramic disks.
Disassembling the Faucet
Follow these steps to disassemble the faucet and identify the faulty parts.
A. Handle Removal: Locate the screw that holds the handle in place and use a screwdriver or Allen wrench to remove it.
B. Valve Stem Removal: Unscrew the valve stem from the faucet body using pliers or an adjustable wrench.
C. O-Ring or Cartridge Replacement: Inspect and replace O-rings or cartridges as needed.
Cleaning and Reassembling the Faucet
Clean the faucet components and reassemble them with new replacement parts.
A. Cleaning: Use a cloth or towel to clean all the faucet components, removing any dirt or mineral deposits.
B. Reassembly: Reverse the disassembly process, ensuring all parts fit back together properly and tighten any screws or bolts.
Testing the Faucet
Turn on the water supply and test the faucet to ensure it is no longer leaking.
A. Slowly Turn On Water Supply: Gradually turn the water supply valve counterclockwise to restore water flow to the faucet.
B. Test Each Handle: Turn each handle on separately and check for any leakage. If leakage persists, ensure all parts are correctly assembled or consider replacing additional components.
 Conclusion
Fixing a leaky kitchen faucet with two handles is a practical and cost-effective way to save water and prevent further damage to your plumbing. By following the step-by-step instructions provided in this comprehensive guide, you can successfully repair your leaky kitchen faucet. Remember to gather the necessary tools, shut off the water supply before starting the repair, and identify the type of faucet for proper replacement parts. Embrace the guidance provided to restore the functionality of your faucet and enjoy a drip-free kitchen sink.