 Introduction:
Removing a kitchen faucet may be necessary for various reasons, such as replacing a worn-out faucet or installing a new one. While it may seem intimidating, the process can be relatively straightforward if you follow the correct steps. In this article, we will provide you with a step-by-step guide on how to remove a kitchen faucet. From gathering the necessary tools to disconnecting the water supply lines, we will walk you through the process to help you successfully remove your kitchen faucet.
 Some common types of kitchen faucets:
There are several types of kitchen faucets available, each with its own design, features, and functionality. Here are some common types of kitchen faucets:
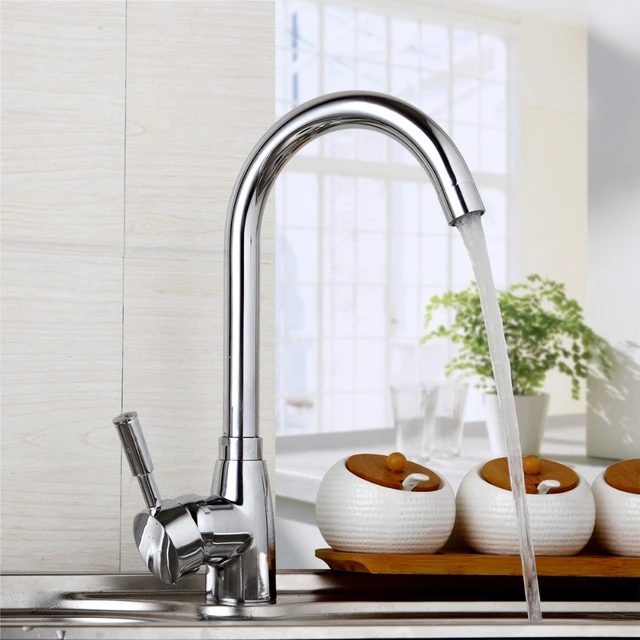
Single Handle Faucet:
Single handle faucets have a single handle that controls both the flow of water and the temperature. They are popular for their sleek and minimalist design and ease of use.
Double Handle Faucet:
Double handle faucets have separate handles for hot and cold water. They provide more precise temperature control and are often found in traditional or vintage-style kitchens.
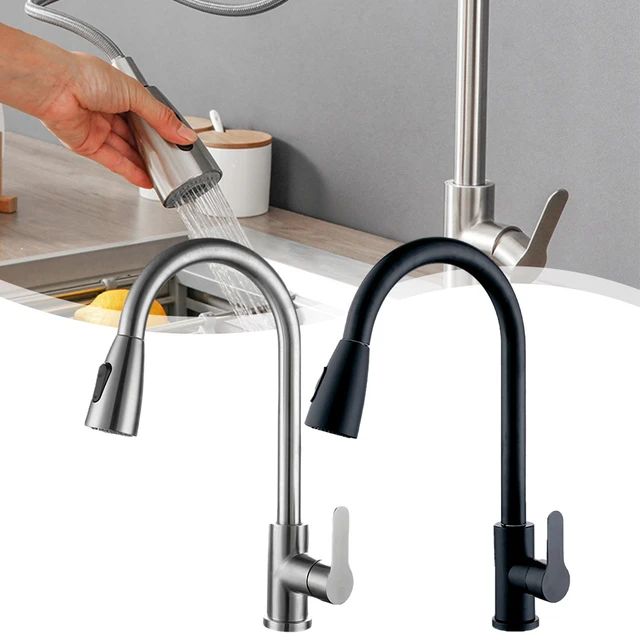
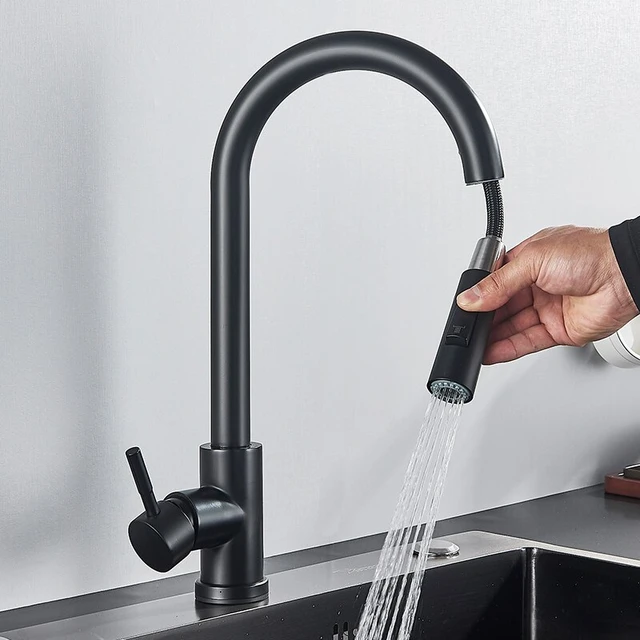
Pull-Down Faucet:
Pull-down faucets have a tall spout with a detachable spray head that can be pulled down towards the sink. This type of faucet offers flexibility and convenience, allowing you to easily direct the water flow and fill pots or clean the sink.
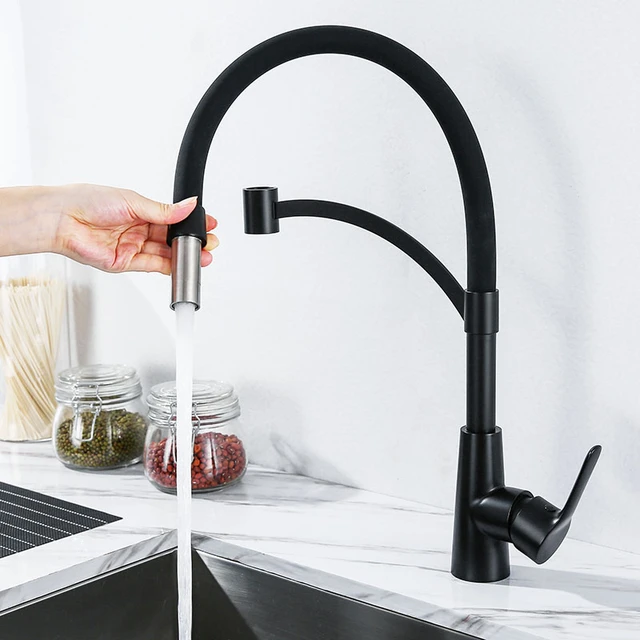
Pull-Out Faucet:
Pull-out faucets also have a detachable spray head but are generally shorter in height compared to pull-down faucets. They can be pulled out towards you for easier rinsing and filling tasks.
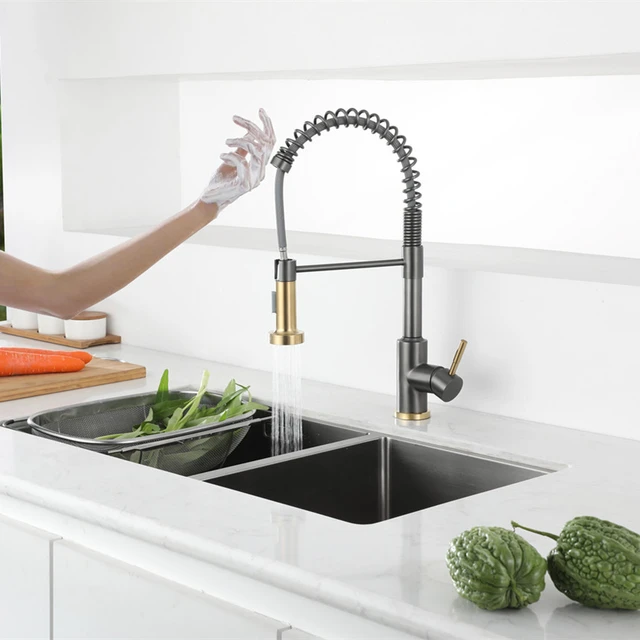
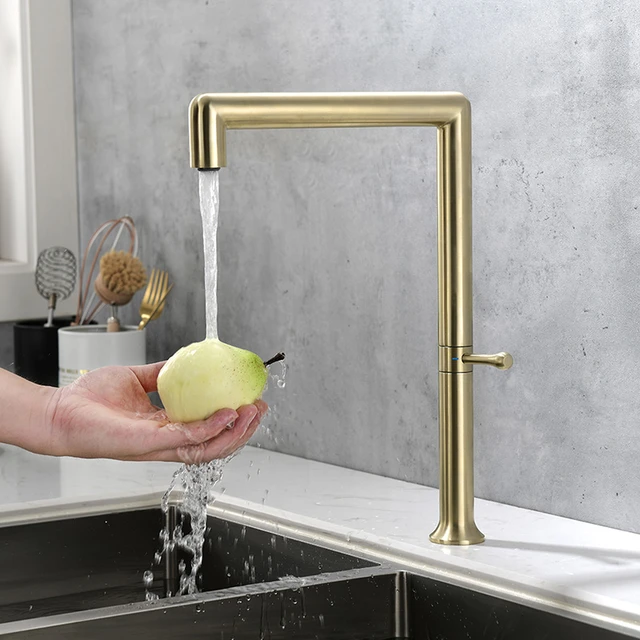
Commercial Style Faucet:
Commercial style faucets are inspired by professional kitchens and often feature a high arc spout and a powerful spray function. They are durable and ideal for those who frequently cook or entertain in their kitchen.
Touchless Faucet:
Touchless faucets incorporate motion sensing technology to detect your presence and turn on the water flow automatically. They offer convenience and help maintain hygiene, especially when your hands are dirty or occupied.
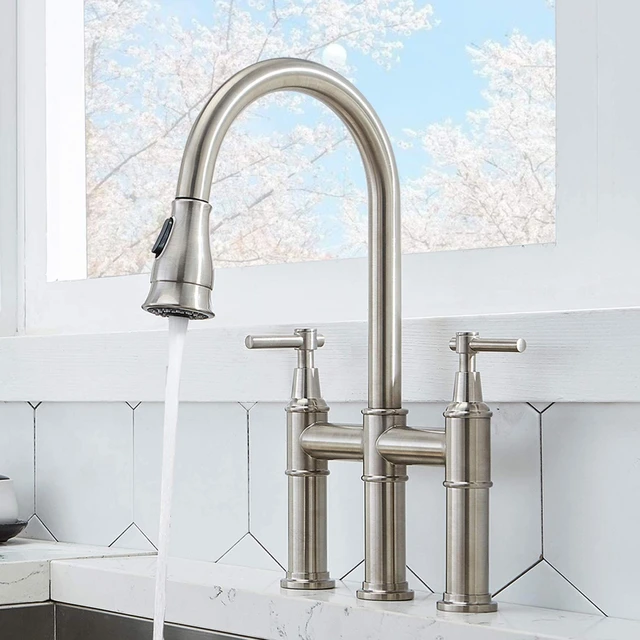
Bridge Faucet:
Bridge faucets feature a vintage-inspired design with the hot and cold handles connected by a bridge or a bar. They are known for their classic and elegant appearance, often found in traditional or farmhouse-style kitchens.
Wall-Mounted Faucet:
Wall-mounted faucets are installed directly on the wall above the sink, rather than on the countertop. They provide a clean and streamlined look, especially in modern or minimalist kitchens.
Each type of kitchen faucet offers its own advantages in terms of design, functionality, and ease of use. Consider factors such as your kitchen style, personal preference, and specific needs when choosing the right type of faucet for your kitchen.
 Introduction to Removing a Kitchen Faucet
Removing a kitchen faucet is a necessary task for maintenance and replacement purposes.
A. Common Reasons: Reasons for removing a kitchen faucet include wear and tear, leaks, upgrading to a new faucet, or making plumbing repairs.
B. DIY Possibility: While it may require some effort, removing a kitchen faucet is a task that can often be completed by homeowners without professional help.
Gather the Necessary Tools and Supplies
Before starting the faucet removal process, gather the tools and supplies you will need.
A. Tools: The tools typically needed include an adjustable wrench, basin wrench, screwdriver (Phillips or flathead), pliers, and plumber’s tape.
B. Supplies: Supply items might include a bucket, rags or towels, a container for water supply line drainage, and a flashlight (if necessary).
Shut Off the Water Supply
Before disconnecting any plumbing components, it is crucial to shut off the water supply.
A. Locate the Shut-Off Valves: Find the shut-off valves beneath your sink. The hot water valve is usually on the left, while the cold water valve is on the right.
B. Close the Valves: Turn the shut-off valves clockwise (right) to close them fully. This will shut off the water supply to the faucet.
C. Check for Residual Water: Turn on the faucet handles to relieve any remaining pressure in the lines.
Disconnect the Water Supply Lines
Once the water supply is shut off, you can begin disconnecting the water supply lines from the faucet.
A. Disconnect the Flexible Hoses: Use pliers or an adjustable wrench to loosen and disconnect the flexible hoses that connect the water supply lines to the faucet.
B. Drain the Water: Place a container or bucket beneath the disconnected hoses to catch any remaining water in the lines. Use rags or towels to soak up any spills.
 Loosen the Mounting Nuts or Bolts
After disconnecting the water supply lines, you can move on to loosening the mounting nuts or bolts that secure the faucet to the sink or countertop.
A. Locate the Mounting Nuts/Bolts: Look underneath the sink or countertop to find the mounting nuts or bolts securing the faucet.
B. Use the Basin Wrench: If access is limited, use a basin wrench to loosen and remove the mounting nuts or bolts. A basin wrench has a long handle and a pivoting claw head designed for tight spaces.
C. Remove the Faucet: Once the mounting nuts or bolts are loosened, lift the faucet assembly out of the sink or countertop.
 Optional: Remove Additional Components
Depending on your specific faucet design, you might need to remove additional components before fully removing the faucet.
A. Handle Removal: If your faucet has handles separate from the spout, you might need to remove them separately. This can typically be done by locating and unscrewing the handle screws or using a screwdriver to release any retaining clips.
B. Sprayer Removal: In some cases, you might need to detach a separate sprayer from the main faucet assembly. This is typically done by unscrewing the hose connection beneath the sink.
Conclusion
Removing a kitchen faucet is a task that can be accomplished with some basic tools and a step-by-step approach. By shutting off the water supply, disconnecting the water supply lines, and loosening the mounting nuts or bolts, you can successfully remove your kitchen faucet. As you progress through the process, take note of any additional components that might need to be removed before fully detaching the faucet. With patience and careful execution, you can remove your kitchen faucet and prepare for the installation of a new one or any necessary repairs.