 Introduction:
How to change a kitchen faucet? Replacing a kitchen faucet can be a rewarding DIY project that improves the functionality and aesthetics of your kitchen. Whether you want to upgrade to a new style or fix a leaky faucet, this comprehensive guide will walk you through the process of changing a kitchen faucet. From gathering the necessary tools to step-by-step installation instructions, you’ll have the confidence and knowledge to successfully complete this project.
 Here are common materials used in the construction of kitchen faucets:
Kitchen faucets can be made from various materials, each with its own unique characteristics and benefits. Here are common materials used in the construction of kitchen faucets:
Stainless Steel:
Stainless steel is a popular choice for kitchen faucets due to its durability, corrosion resistance, and sleek appearance. It is resistant to tarnishing, scratches, and stains, making it easy to clean and maintain. Stainless steel faucets can complement a variety of kitchen styles and are known for their longevity.
Brass:
Brass is a traditional material used in faucet construction. It is known for its strength and resistance to corrosion. Brass faucets can be finished in various ways, including polished brass, antique brass, or brushed nickel, providing different aesthetic options.
Chrome:
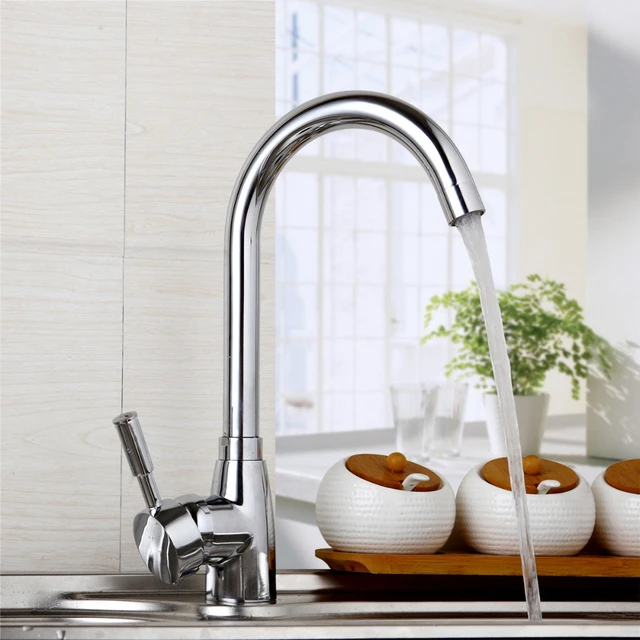
Chrome-plated faucets are widely used due to their affordability, durability, and shine. Chrome finishes are highly reflective and provide a classic, polished look that matches well with a variety of kitchen decor styles. However, they may show water spots or fingerprints more visibly compared to other finishes.
Bronze:
Bronze faucets offer a warm and luxurious look to the kitchen. Depending on the type of bronze used, faucets can have different finishes, such as oil-rubbed bronze or antique bronze. Bronze faucets are typically durable, corrosion-resistant, and can provide an elegant focal point in the kitchen.
Copper:
Are less common but can add a unique and rustic touch to a kitchen design. Copper faucets develop a patina over time, which adds to their charm. Copper is durable and naturally antimicrobial, making it a hygienic choice for kitchen faucets.
It’s important to note that the material used for the body of the faucet may be different from the finish applied to the exterior. For example, a faucet made of brass can have a stainless steel or chrome finish. Care and maintenance requirements may vary depending on the material and finish chosen. It’s recommended to consider factors such as durability, aesthetics, and the overall style of the kitchen when selecting the material for a kitchen faucet.
 Here are some common types of kitchen faucets:
Single-handle Faucet:
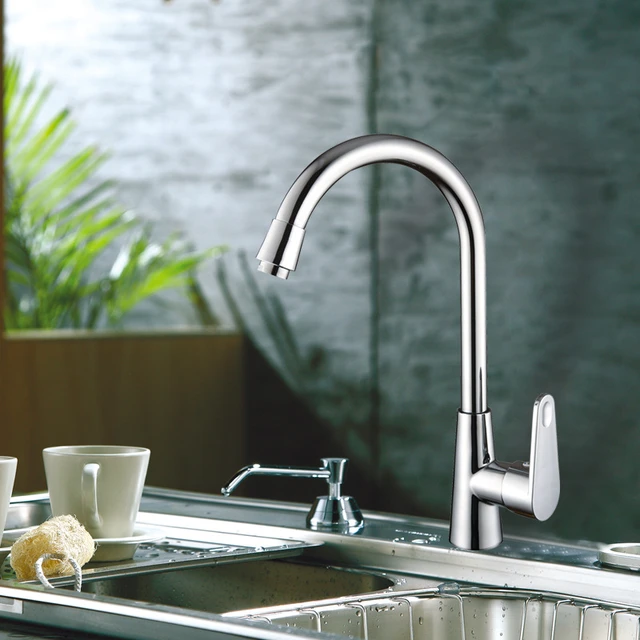
Single-handle faucets have a single lever that controls both the water temperature and flow rate. They are convenient and easy to use, requiring one hand to operate. Single-handle faucets come in various styles and finishes to match different kitchen designs.
Double-handle Faucet:
Double-handle faucets have separate handles for hot and cold water control. They provide more precise temperature control but may require both hands to operate. Double-handle faucets come in different designs, such as bridge-style or widespread faucets, offering a traditional or vintage look.
Pull-out Faucet:
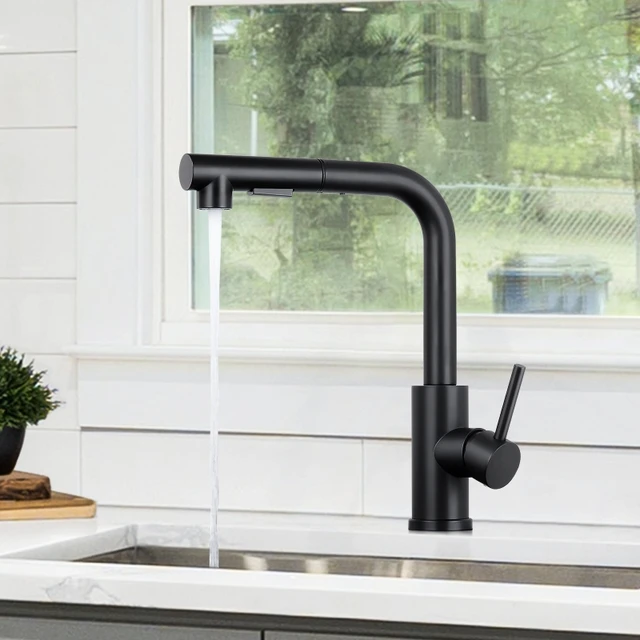
Pull-out faucets feature a detachable spray head that can be pulled out and maneuvered to reach different areas of the sink. They are versatile and convenient for tasks like cleaning dishes or filling large pots. Pull-out faucets often have multiple spray options, such as aerated flow or powerful spray.
Pull-down Faucet:
Pull-down faucets also have a detachable spray head, but instead of extending straight out, they have a downward pull motion. This makes them suitable for deep sinks or filling tall containers. Pull-down faucets often have a high-arc spout for added clearance.
Commercial-style Faucet:
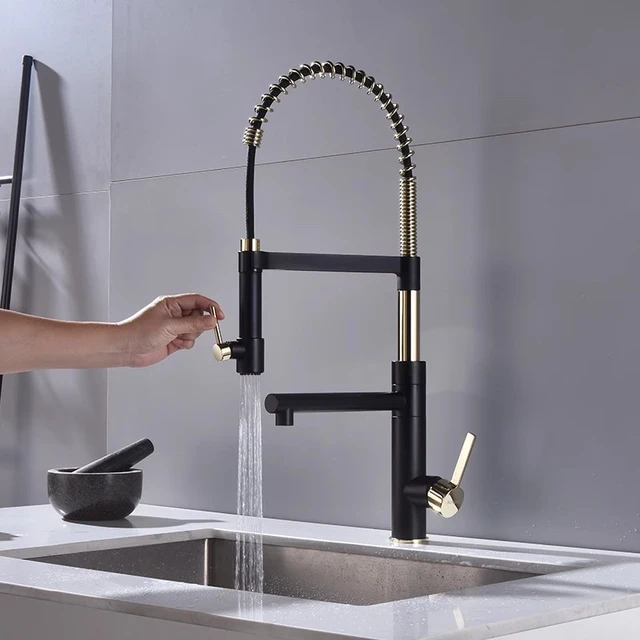
Commercial-style faucets are inspired by professional kitchens and are known for their robust build and functionality. They often have a high-arc spout, flexible hoses, and powerful spray options. Commercial-style faucets can add a modern and professional look to a kitchen.
Wall-mounted Faucet:
Wall-mounted faucets are installed on the wall above the sink, rather than on the countertop or sink deck. They provide a clean and streamlined look, save space on the countertop, and offer flexibility for sink placement.
Touchless or Sensor Faucet:
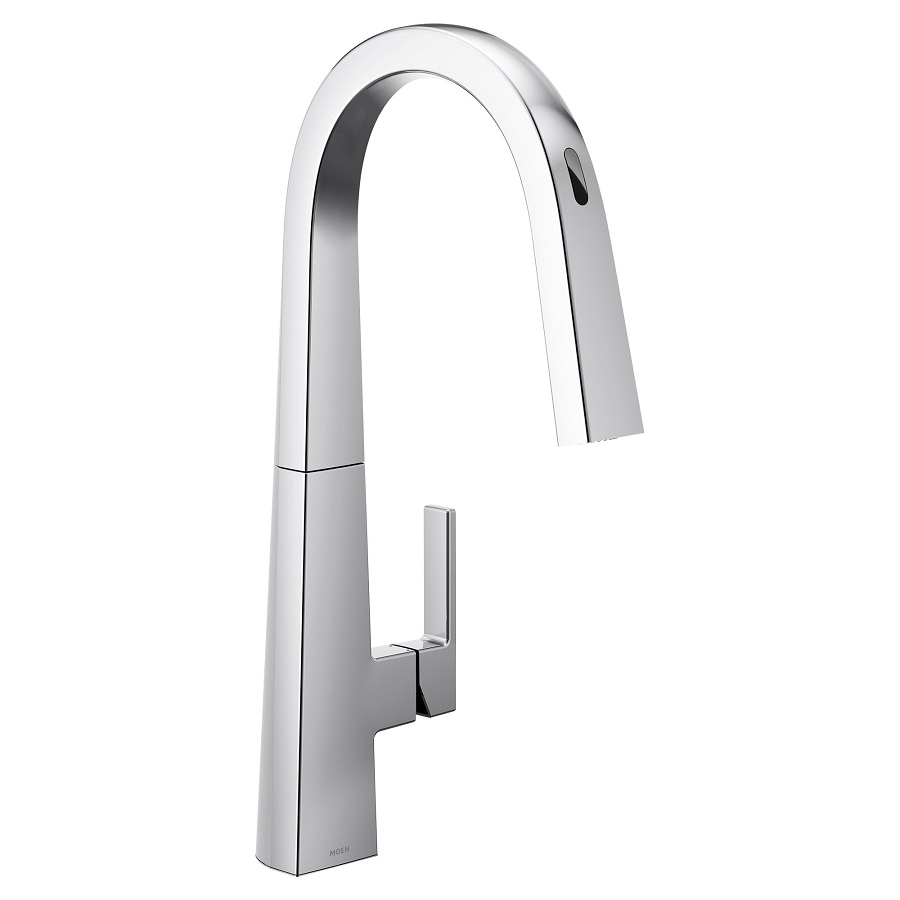
Touchless or sensor faucets use motion sensors to detect the presence of a hand and turn on the water flow automatically. They are convenient and hygienic, as they reduce the need to touch the faucet handles with dirty or soapy hands.
These are just a few examples of the various kitchen faucet types available. Each type offers different features and benefits, so it’s important to consider your specific needs and preferences when selecting a kitchen faucet for your home.
Gather the Necessary Tools and Materials
New Faucet:
Choose a new kitchen faucet that fits your needs and style.
Consider factors such as the number of handles, spout type, finish, and features like a built-in sprayer.
Plumber’s Tape:
Purchase plumber’s tape (Teflon tape) to ensure a watertight seal.
Adjustable Wrench:
Have an adjustable wrench available to loosen and tighten nuts and connections.
Bucket or Towels:
Use a bucket or towels to catch any water that may leak during the process.
Flashlight:
A flashlight can be useful for better visibility in hard-to-see areas.
 Preparation and Removal of the Old Faucet
Turn Off the Water Supply:
Locate the shut-off valves under the sink and close them to cut off the water supply.
Disconnect Supply Lines:
Use an adjustable wrench to loosen and disconnect the water supply lines from the faucet valves.
Remove the Mounting Nuts:
Underneath the sink, locate and remove the mounting nuts that secure the faucet to the sink.
Disconnect the Old Faucet:
Gently lift the old faucet out of the sink, ensuring any remaining water in the lines is collected in the bucket or absorbed by towels.
Installation of the New Faucet
Clean the Sink Area:
Clean the sink thoroughly to remove any debris or residue left behind by the old faucet.
Apply Plumber’s Tape:
Wrap plumber’s tape around the threads of the faucet connections to create a tight seal.
Insert New Faucet:
Carefully lower the new faucet into the mounting holes on the sink.
Secure the Mounting Nuts:
Underneath the sink, tighten the mounting nuts onto the faucet using an adjustable wrench.
Connect Water Supply Lines:
Attach the water supply lines to the corresponding valves, ensuring they are tightened securely with the adjustable wrench.
Testing and Finalizing the Installation
Turn On the Water Supply:
Open the shut-off valves and slowly turn on the water supply.
Check for Leaks:
Inspect all connections and joints for any signs of leaks.
If leaks are detected, tighten the connections or use plumber’s tape to create a better seal.
Test the Faucet:
Turn on the faucet handles, one at a time, to check for smooth water flow and proper operation.
Verify that the hot and cold water are properly connected.
Cleanup and Finishing Touches:
Clean up any excess water, debris, or old materials from the installation area.
Add any decorative caps or covers provided with the new faucet for a polished appearance.
 Conclusion:
Changing a kitchen faucet is a satisfying DIY project that can enhance the beauty and functionality of your kitchen. By following the step-by-step instructions in this comprehensive guide and gathering the necessary tools and materials, you can successfully complete the installation. Remember to prepare the area, remove the old faucet carefully, and properly install the new faucet. After testing for leaks and verifying proper operation, you can enjoy the convenience of your newly installed kitchen faucet. With patience, attention to detail, and the knowledge gained from this guide, you can confidently change a kitchen faucet and transform your kitchen space.

