 Introduction:
Accurate measurements are crucial when it comes to selecting and installing a kitchen sink. Whether you are replacing an existing sink or renovating your kitchen, knowing how to measure a kitchen sink ensures a proper fit and a successful installation. In this comprehensive guide, we will provide a step-by-step approach to measuring a kitchen sink. From determining the sink type to measuring the dimensions, you will learn the necessary techniques to ensure a seamless and well-fitted sink in your kitchen.
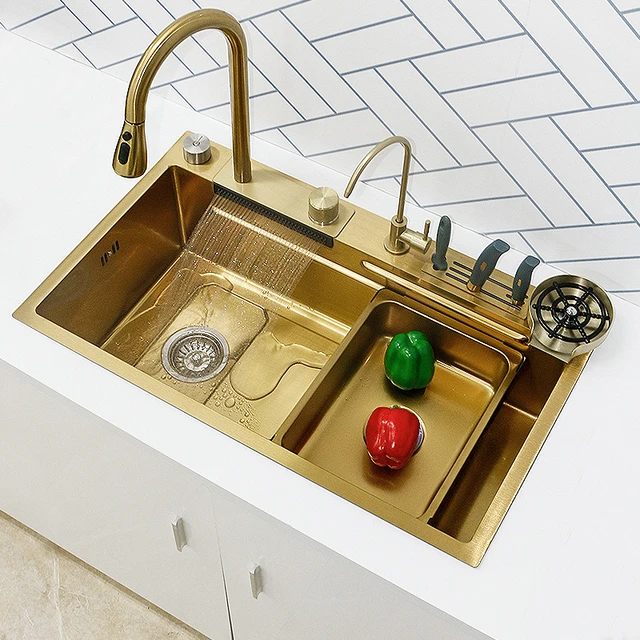
 Sink Type: Top Mount or Undermount
Before measuring a kitchen sink, determine whether you want a top mount or undermount sink.
A. Top Mount Sink: A top mount sink is installed by dropping it into a pre-cut hole in the countertop, with the rim resting on the countertop surface.
B. Undermount Sink: An undermount sink is attached beneath the countertop, creating a sleek and streamlined look.
Measuring the Sink Width
Measure the width of the space available for the sink in your kitchen.
A. Existing Cabinet Width: Measure the width of the cabinet beneath the countertop where the sink will be installed.
B. Allowance for Clearance: Consider providing some extra space on each side of the sink for clearance during installation and future maintenance.
Measuring the Sink Depth
Measure the depth of the sink to ensure it fits comfortably within the cabinet space.
A. Existing Cabinet Depth: Measure the depth of the cabinet space from the front edge to the back wall.
B. Allowance for Installation: Consider providing some additional depth to account for sink installation and plumbing connections.
Measuring the Sink Height
Measure the height of the sink to ensure it aligns with your countertop and practical requirements.
A. Existing Countertop Thickness: Measure the thickness of your countertop.
B. Sink Depth and Installation: Consider the sink depth and installation method (top mount or undermount) to accurately measure the overall sink height.
 Measuring the Sink Cutout
For top mount sinks, measure the cutout dimensions in the countertop.
A. Existing Cutout: If you are replacing an existing sink, measure the dimensions of the cutout in the countertop.
B. Measurements for a New Cutout: If it is a new installation, carefully mark the desired dimensions of the sink cutout.
Measuring the Faucet Holes
Measure the spacing for faucet holes, considering the number and placement of faucets and other accessories.
A. Determine the Number of Faucet Holes: Decide whether you need one, two, three, or more holes based on your intended faucet and accessory setup.
B. Standard Spacing: Standard spacing between faucet holes is typically 4 inches, but it can vary depending on the specific faucet and accessory requirements.
Considering Special Features
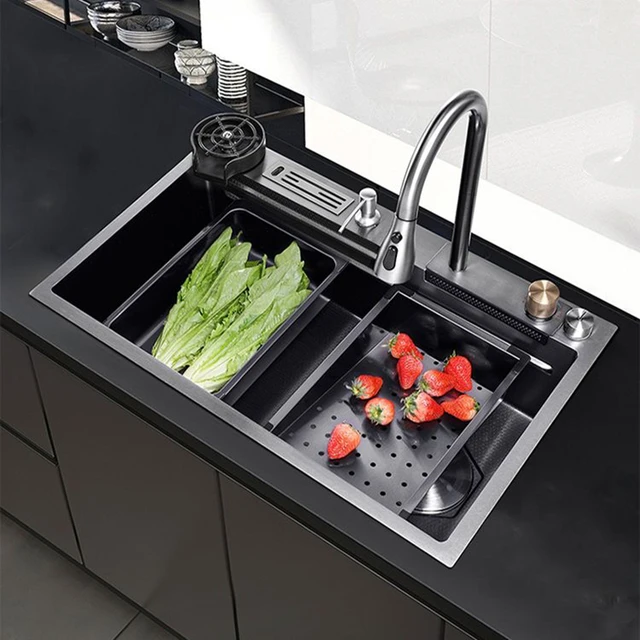
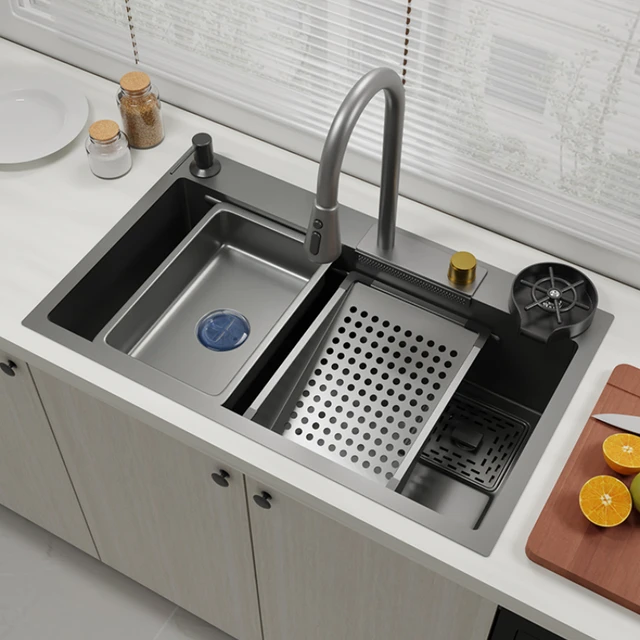
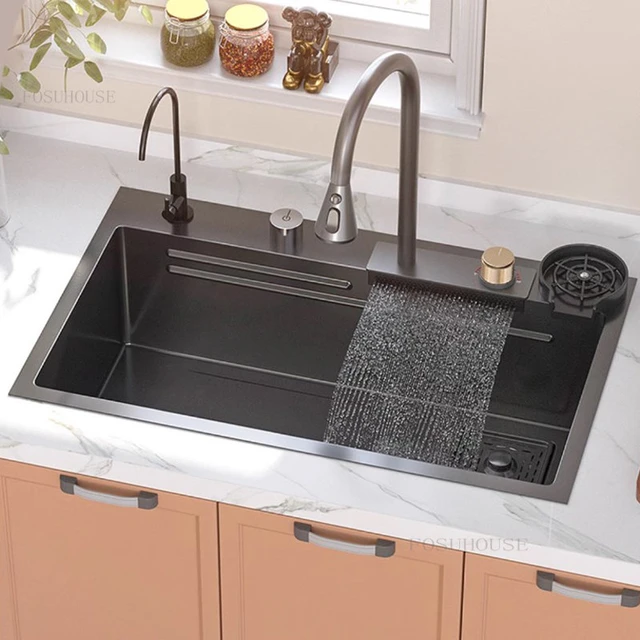
Consider any special features or accessories you want to include with your sink and measure accordingly.
A. Sink Accessories: If you plan to add accessories such as a soap dispenser or built-in colander, measure the required space.
B. Garbage Disposal Unit: If you are installing a garbage disposal unit, measure the space needed for proper installation.
 Pairing a kitchen sink with a faucet:
When it comes to pairing a kitchen sink with a faucet, there are a few factors to consider:
Sink Size and Configuration:
The size and configuration of the kitchen sink will determine the compatibility of different faucet styles. For example, a single-hole faucet is suitable for a sink with a single pre-drilled hole, while a widespread faucet requires multiple holes for installation. It’s essential to ensure that the faucet chosen matches the available sink configuration.
Sink Material and Finish:
Consider the material and finish of the sink when selecting a faucet. The faucet’s finish should complement the sink’s material and match the overall aesthetic of the kitchen. Common faucet finishes include chrome, stainless steel, brushed nickel, and bronze, among others.
Faucet Functionality:
Determine the desired functionality of the faucet. Some kitchen faucets offer additional features such as a pull-out sprayer, touchless operation, or a separate sprayer hose. Consider whether these features align with your needs and preferences when selecting a faucet for your kitchen sink.
Compatibility and Installation:
Ensure that the chosen faucet is compatible with the plumbing system and water supply in your kitchen. The faucet should be easy to install and connect to the existing plumbing without extensive modifications.
Budget and Quality:
Determine your budget for the sink and faucet combination. Keep in mind that higher-quality faucets often come with better durability, functionality, and warranties. It’s important to strike a balance between your budget and the desired quality and features of the faucet.
By considering these factors, you can choose a kitchen sink and faucet combination that not only suits your functional needs but also enhances the overall aesthetic of your kitchen.
Some maintenance tips:
To ensure the longevity and proper functioning of a kitchen sink, here are some maintenance tips to keep in mind:
Clean Regularly:
Clean the sink regularly to prevent the buildup of dirt, stains, and mineral deposits. Use a mild dish soap or a specialized sink cleaner and a soft cloth or sponge. Avoid abrasive cleaners or scrub brushes that can damage the sink’s surface.
Avoid Harsh Chemicals:
Refrain from using harsh chemicals like bleach, ammonia, or drain cleaners, as they can corrode or discolor the sink. These chemicals can also damage the surrounding plumbing and may be harmful if they come in contact with skin or eyes.
Prevent Scratches:
Avoid using abrasive materials or tools on the sink’s surface, as they can scratch or dull the finish. Use cutting boards or mats when chopping or slicing food to prevent contact with the sink. Rinse and wipe away any acidic or corrosive substances promptly, as they can damage the sink’s material.
Handle with Care:
Be cautious when handling heavy or hard objects in the sink, as dropping or banging them can cause chips or cracks. Use caution when placing hot pans or boiling water directly onto the sink’s surface, as extreme temperature changes can potentially damage some sink materials.
Maintain Proper Drainage:
Regularly clean the sink’s drain to prevent clogging. Use a sink strainer to capture and remove food debris, hair, or other particles that could lead to blockages. Avoid pouring grease, oil, or coffee grounds down the drain, as they can solidify and cause clogs.
Check for Leaks:
Inspect the sink and its surrounding area for any signs of leaks, such as water stains, corrosion, or dampness. Repair any leaks promptly to prevent water damage to the sink, countertop, or cabinets below.
Avoid Impact:
Try to avoid placing excessive weight or pressure on the sink’s edges, as it can cause them to separate from the countertop or crack. Be cautious when moving heavy objects near the sink to prevent accidental damage.
By following these maintenance practices, you can keep your kitchen sink clean, functional, and in good condition for years to come.
 Conclusion
Accurate measurements are essential when selecting and installing a kitchen sink. By following the step-by-step guide outlined in this article, from determining the sink type to measuring the dimensions, you can ensure a seamless and well-fitted sink in your kitchen. Take the time to measure the width, depth, and height of the sink, consider faucet hole spacing, and factor in any special features or accessories you wish to include. With precise measurements and careful consideration, you can confidently select the right sink for your kitchen and achieve a successful installation.